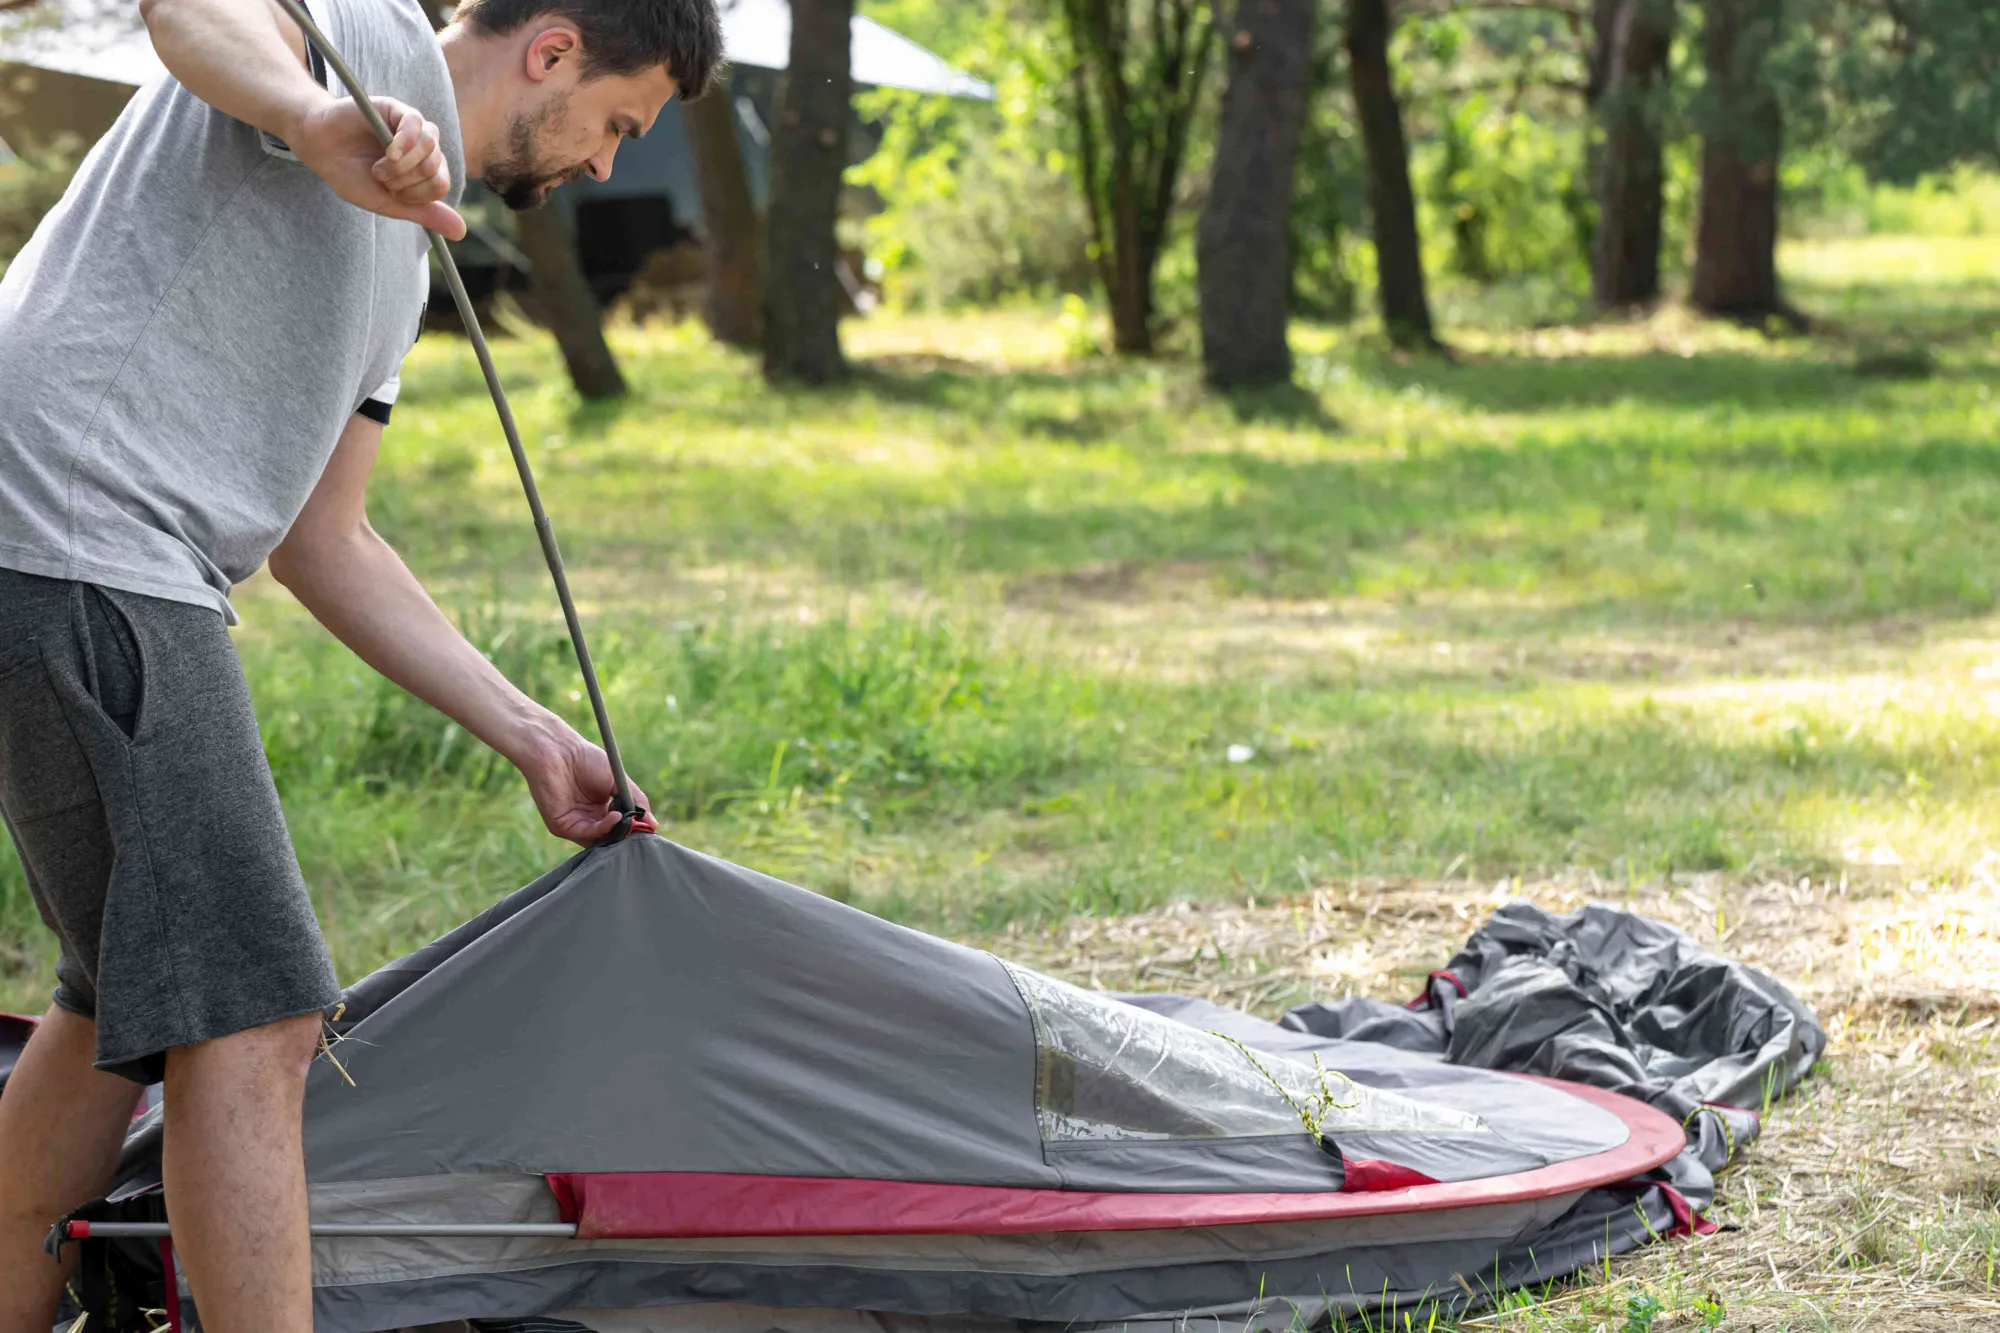

A camping tarp is one of the simplest pieces of gear you can own, and one of the easiest to set up badly. It is just a sheet of fabric, a few lines and something to hold it up. But a saggy tarp that flaps all night and funnels rain into your lap can ruin a good afternoon. This guide covers what you need, how poles and knots work, and five shelter styles you can pitch in a few minutes.
You do not need a lot of gear to get started. Most camping tarps have grommets or loops around the edges, and some come with poles, stakes and guylines in the bag. Check what is included before you buy anything extra. Once you know where your tarp's attachment points are, most of the work comes down to where you put the poles and how tight you pull the lines.
What You Need Before You Start
Gather everything before you unfold the tarp. Hunting for a stake while the fabric catches the wind is no fun.
- The tarp itself. Lay it out flat and find every grommet, loop and reinforced corner.
- Poles or trees. Poles work anywhere. Trees only help if the campsite allows tying to them.
- Guylines. These are the cords that pull the tarp out and hold it in place. Bring a few extra feet of cord.
- Stakes. Bring more than you think you need. Corners and side loops each want one.
- A mallet or a rock. Handy for hard ground.
- A small piece of cloth or a stuff sack. Useful for padding a pole tip so it does not poke through the fabric.
How to Choose and Use Tarp Poles
Poles decide the shape and height of your shelter, so they are worth understanding.
Length. Taller poles give you more headroom and a bigger covered area. Shorter poles keep the tarp low, which helps in wind and rain. Many campers bring two poles of the same height plus one longer or shorter pole for shaping.
Material. Aluminum is popular because it is light and strong. Steel is heavier but often sturdier. Whatever you choose, look for a solid locking system so the sections do not slide.
Tips and grommets. Check that the pole tip fits your tarp's grommet. If the fit is loose, use a guyline or a small loop of cord to keep the tip from slipping out.
Placement. Stand each pole straight, or lean it slightly away from the center of the tarp. Guyline tension pulls the pole into place, so a pole that leans toward the tarp can collapse under load.
Ground. Soft dirt or sand can let a pole sink. A flat stone, a folded cloth or a small piece of wood under the base spreads the weight.
A tarp setup works best when the poles are doing the lifting and the lines are doing the holding. If your poles are leaning or wobbling, the guylines need adjusting.
Five Knots That Cover Most Tarp Setups
You do not need to be a knot expert. These five handle almost every tarp job.
1. Taut-line hitch
This is an adjustable knot for guylines. Loop the line around your anchor, wrap the working end twice around the standing line, then add one more wrap on the outside toward the tarp. It slides when you push it and grips when it is loaded, so you can tighten or loosen a guyline without retying.
2. Bowline
The bowline makes a fixed loop that will not slip. It is good for tying a line to a grommet, a tree or a pole. It comes undone easily even after a heavy load, which is why campers like it.
3. Clove hitch
Use this for quickly attaching a line to a pole, stake or branch. It is fast to tie and easy to adjust, but it can slip if the load changes direction, so back it up with a half hitch if the line matters.
4. Trucker's hitch
Need a really tight ridgeline? A trucker's hitch gives you leverage. Make a loop in the line, pass the free end around the anchor, feed it back through the loop, pull hard and finish with two half hitches. You get much more tension than you could pulling by hand.
5. Two half hitches
This is a simple, reliable way to finish a line around a pole, post or stake. If you only learn one knot, this one and the bowline will get you through most setups.
Practice at home first. Tying knots with cold, wet hands in a windstorm is a bad time to learn them.
5 Easy Camping Tarp Shelter Styles
Every style below can be adjusted for weather, group size and campsite layout. Start with the one that matches your conditions.
1. A-Frame
The A-frame is the classic. Run a ridgeline between two supports, drape the tarp over it and stake the edges down on both sides.
How to set it up: Tie the ridgeline at a height you can sit under, drape the tarp evenly, then stake out each side with a guyline.
Best for: Rain, general camping and sleeping under. It sheds water well because it slopes on both sides.
Watch out for: The ends are open, so wind blowing straight down the length can push rain in.
2. Lean-To
The lean-to is a single sloped wall, like half a tent. Raise one edge high and stake the other to the ground.
How to set it up: Attach the high edge to poles or a line, then stake the low edge. Angle the low side toward the wind.
Best for: Cooking, reflecting fire warmth (at a safe distance) and simple windbreaks.
Watch out for: It offers less coverage than an A-frame, and rain can blow in from the open sides.
3. Flat Sun Shade
Set the tarp flat and high, held up on four corner poles, with the center lifted if you have an extra tall pole.
How to set it up: Raise all four corners to the same height, then guy each corner out at a slight angle. Lower one side a bit so rain runs off.
Best for: Hot days, dining areas and lounging spaces. It gives you the largest open shade area.
Watch out for: A flat tarp can collect water and sag in rain, so always tilt one edge lower.
4. Low Storm Pitch
Bring one side of the tarp all the way to the ground and angle the other side up slightly. It looks like a low wedge.
How to set it up: Stake the windward edge close to the ground, raise the leeward edge on a pole or line and keep the pitch tight.
Best for: Bad weather, when you want protection more than headroom.
Watch out for: You give up standing room. Getting in and out means crouching.
5. Awning Pitch
Attach one edge of the tarp to your tent or vehicle and raise the outer edge on poles.
How to set it up: Secure the tarp edge to a solid attachment point, raise the far edge with two poles and guy it out. Angle it slightly for water runoff.
Best for: Creating an outdoor room next to your tent, especially for gear storage, sitting and cooking.
Watch out for: Never use a stove or open flame under or near a tarp attached to a tent. Check the manufacturer's instructions and keep cooking well away from fabric.
Common Mistakes to Avoid
- Pitching too flat. Water needs a slope. Even a small tilt keeps rain off the fabric.
- Loose lines. A slack tarp flaps, wears out faster and fails in wind. Tighten as you go.
- Ignoring wind direction. Point the low, closed side toward the wind and keep the open side downwind.
- Placing stakes too close. Stakes set farther from the tarp hold better than stakes set right under the edge.
- Skipping the ground check. Look for rocks, dips and roots. Do not set up in a spot where water will pool.
- Tying to trees without checking rules. Some campgrounds and public lands restrict tying to trees. Follow local rules and protect the bark with wide straps if allowed.
Safety Basics
- Do not use stoves, grills or open flames under a tarp unless the manufacturer says it is safe. Fabric can melt or burn, and enclosed spaces can trap carbon monoxide.
- Keep fires a safe distance from any tarp, and be aware that sparks can burn holes in some materials.
- Check the weather before you go. Strong wind can turn a tarp into a sail, so take it down if conditions become dangerous.
- Follow campsite rules for fires, trees and setup. They vary by location.
Final Thoughts
A good tarp setup is about a handful of habits: choose a spot with good drainage, use stable poles, pull your lines tight and give the fabric a slope. Start with the A-frame because it is forgiving, then try the other styles as you get comfortable. Practice once in your backyard and you will pitch it faster and calmer at the campsite.
Ready to set up your own campsite shelter? Explore DOD Outdoors gear for your next trip, and check out our tarp poles.























Sign in to leave a comment.