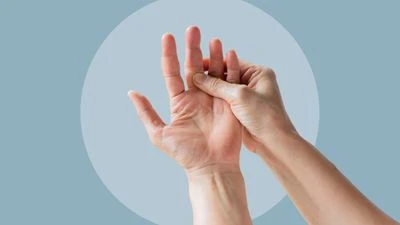
Ultrasound therapy has long been a staple in physical therapy offices for breaking up scar tissue and increasing blood flow. When searching for an effective non-surgical Dupuytren's treatment, many patients are turning to home-use ultrasound technology. The goal is to provide deep-tissue warmth and vibration to the thickened fascia, making it more pliable and easier to manage without invasive procedures.
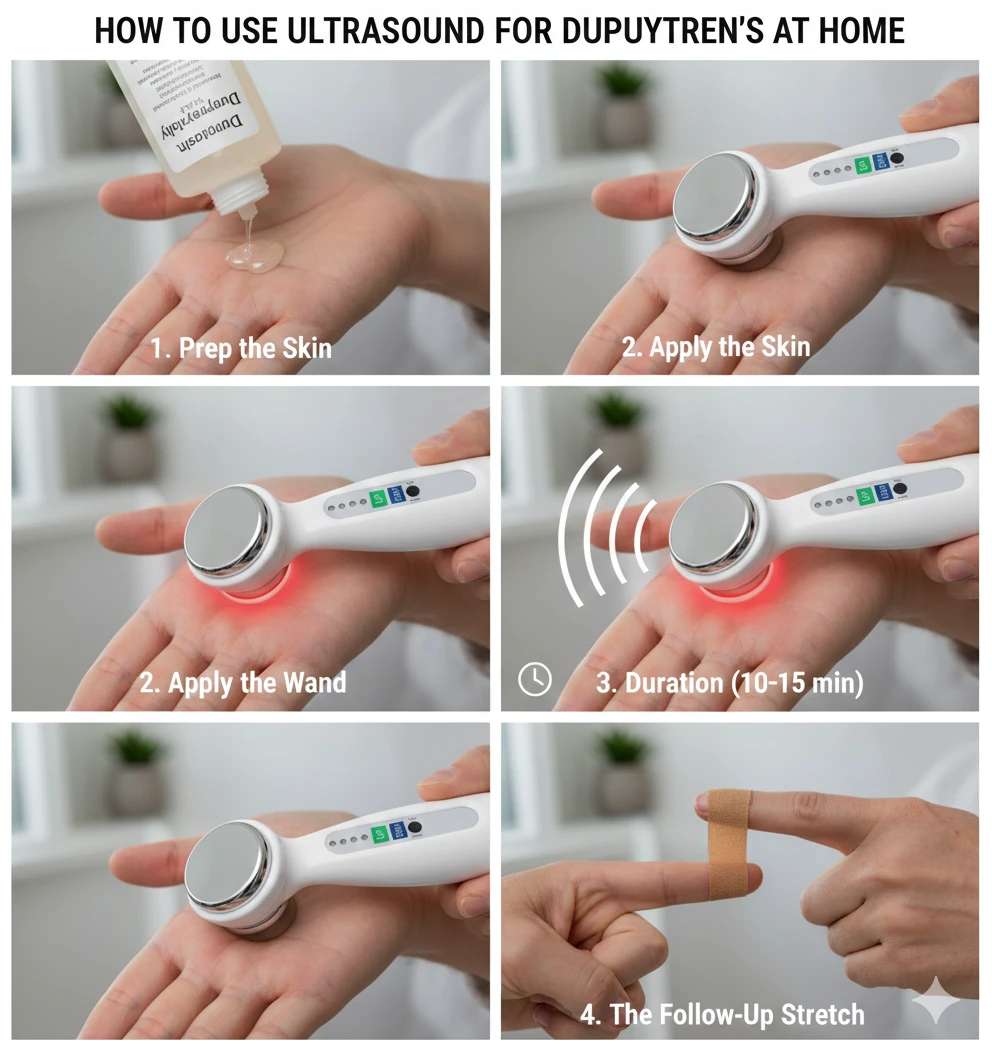
Step-by-Step Guide to the Dupuytren’s Wand:
Using the Wand is simple, but consistency is the key to seeing a real difference in hand range of motion.
- Prep the Skin: Apply a conductive medium, like our Dupuytren’s Jelly, to the affected area of your palm. This ensures the ultrasound waves travel directly into the tissue rather than bouncing off the air.
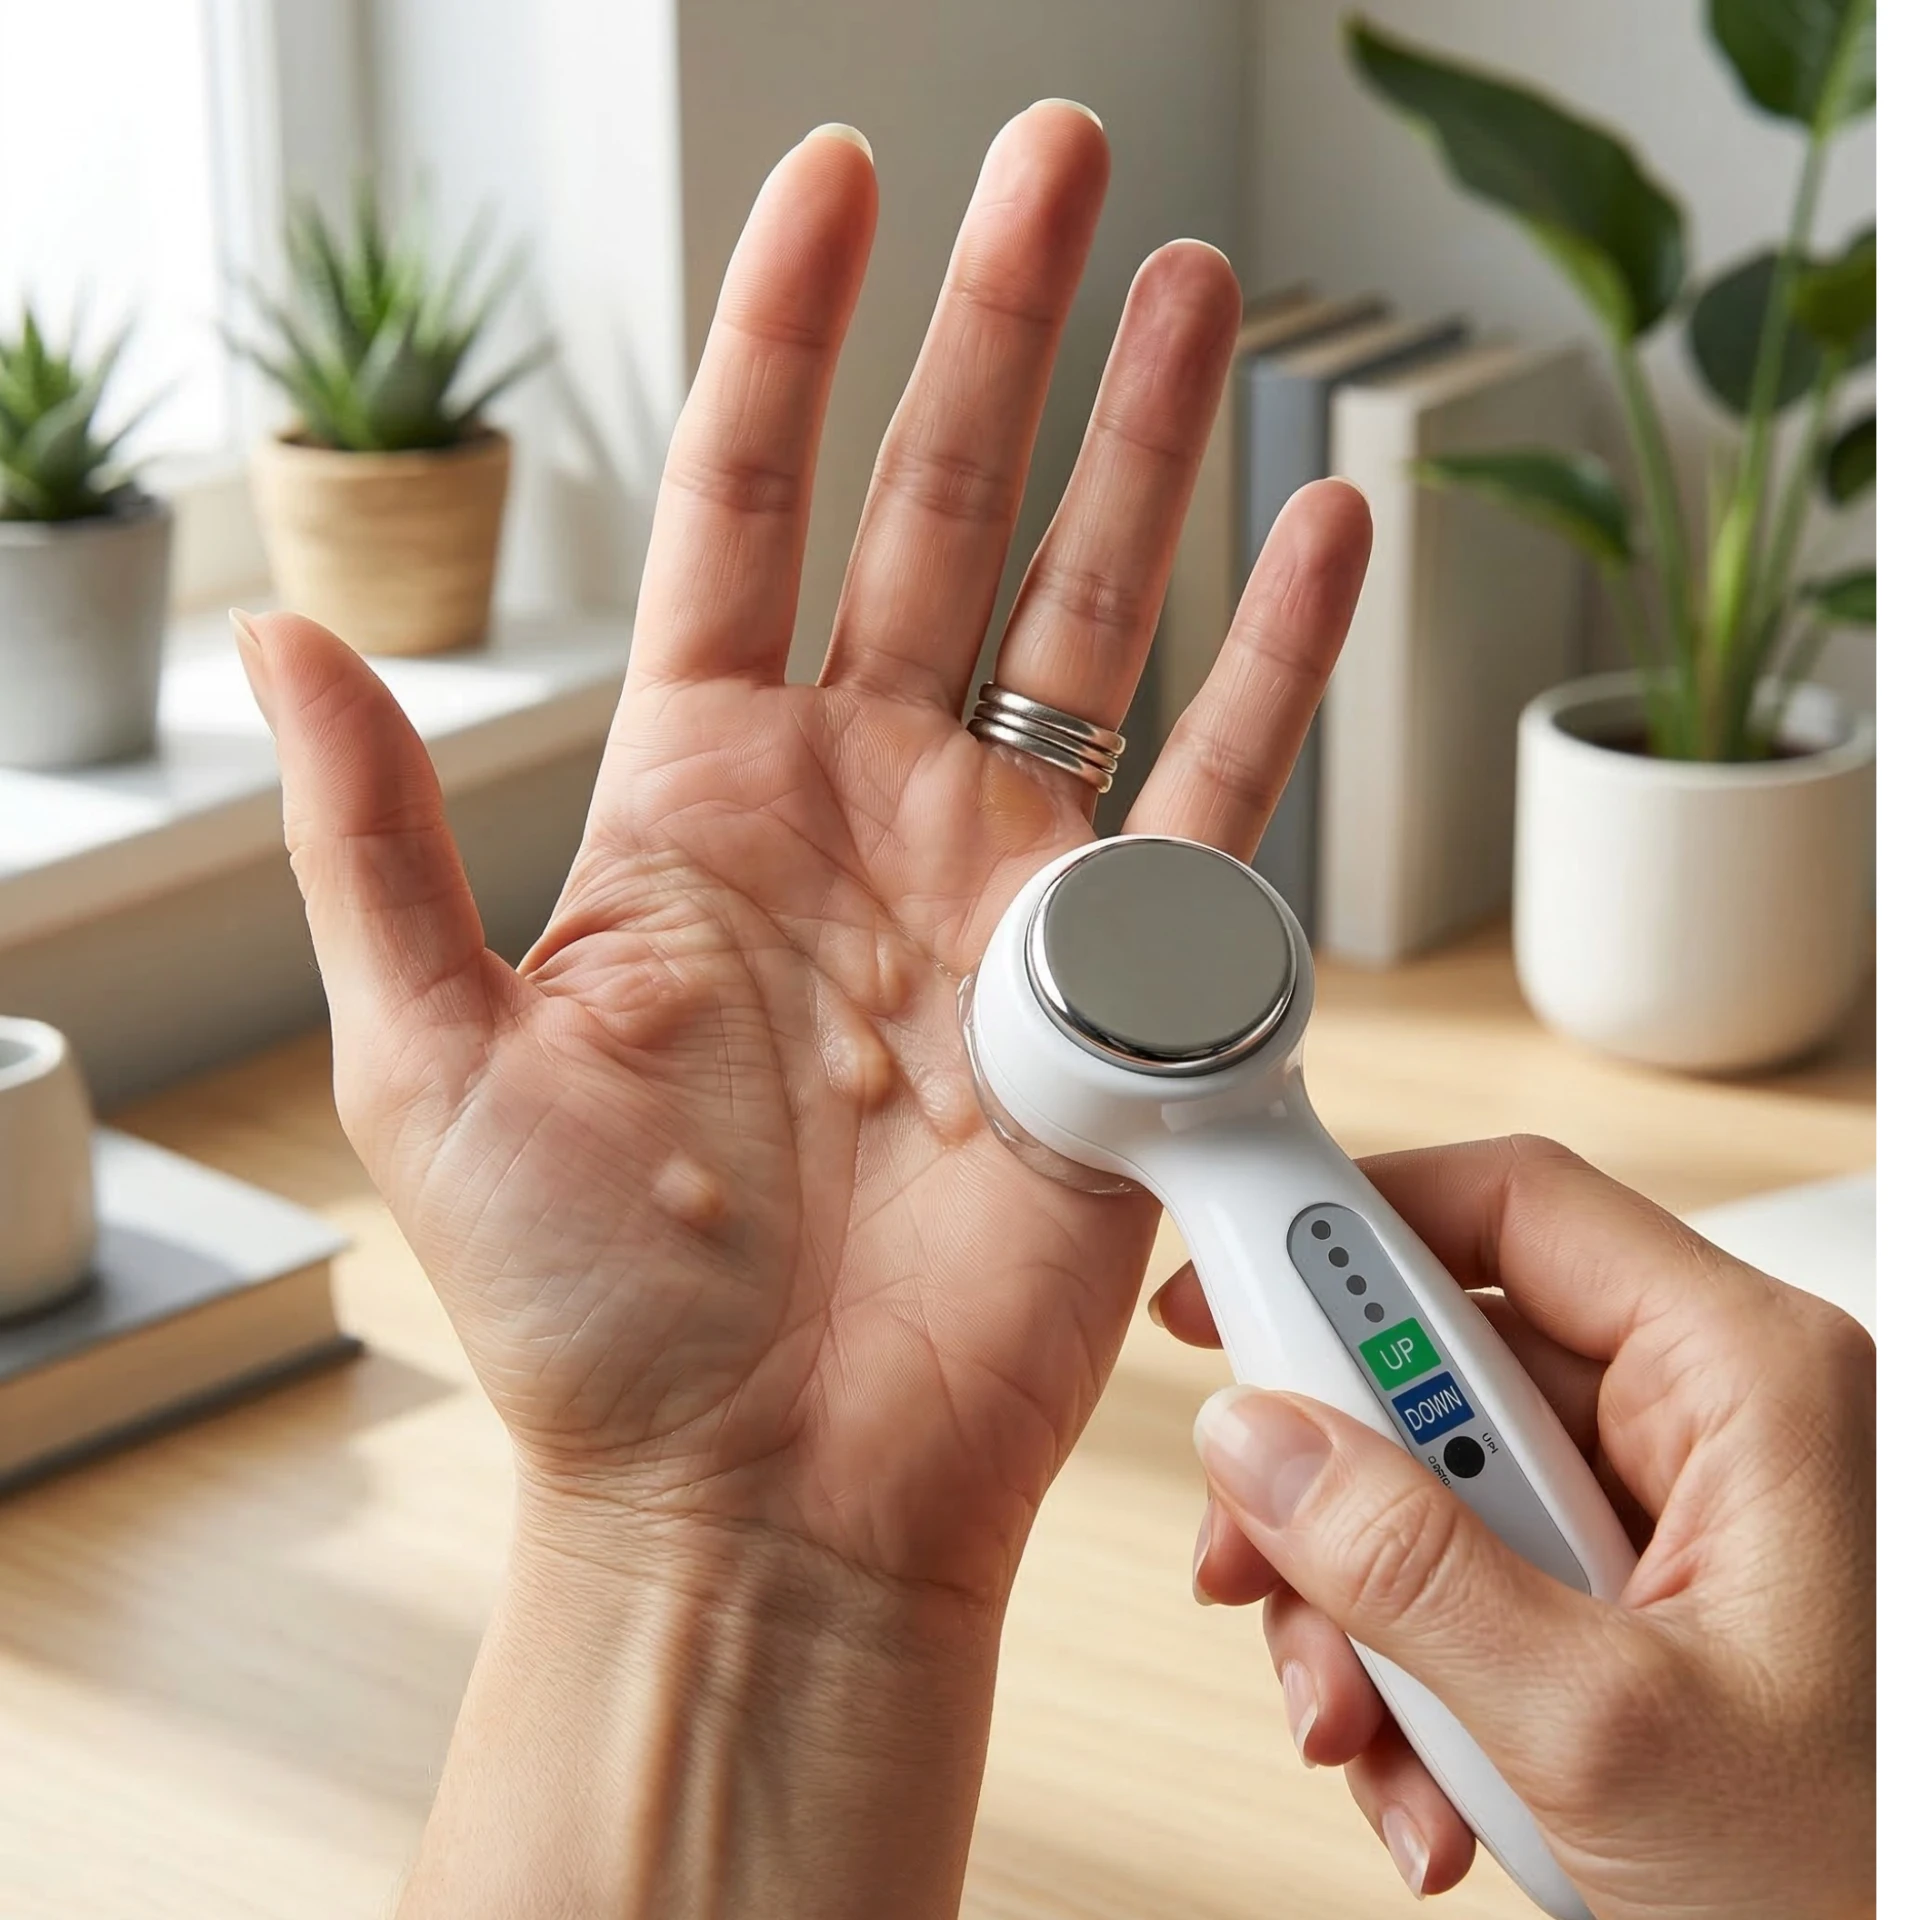
- Apply the Wand: Turn on the device and move it in slow, circular motions over the nodules or cords. As a leading non-surgical Dupuytren's treatment option, you won't feel "heat" like a stove, but rather a subtle, deep-reaching warmth that targets the root of the tightness.
- Duration: Spend about 10–15 minutes per session. This allows the far-infrared and ultrasound to penetrate the collagen fibers effectively.
- The Follow-Up Stretch: Immediately after using the Wand, while the tissue is "warmed up," apply Dupuytren’s Tape. This holds the finger in a gentle, extended position, reinforcing the flexibility gained during the session.
By incorporating this 15-minute routine into your daily life, you are giving your hands the best chance at staying straight and functional, providing a powerful non-surgical Dupuytren's treatment right from the comfort of your home.
Sign in to leave a comment.