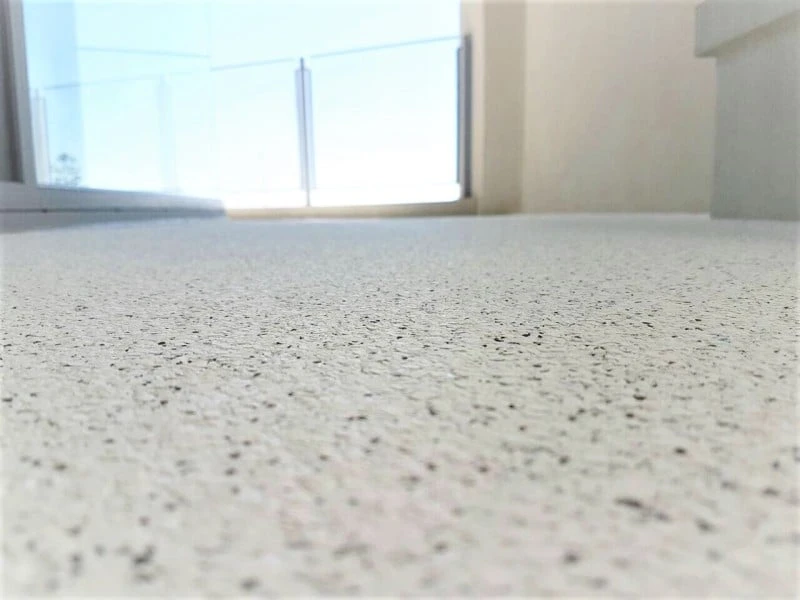
Epoxy floor cover – a two-part combination of resins and hardeners— revitalises, preserves and refurbishes concrete floors in garages, cellars, bedrooms and patios. Epoxy coats, which roll in an assortment of layers, produce smooth areas in which fats, squash, moisture and chemicals are resistant. Epoxy coatings – which need mixing two different elements before use – stick securely to the concrete. Like ordinary paints on the garage, they are unlikely to crack or peel.
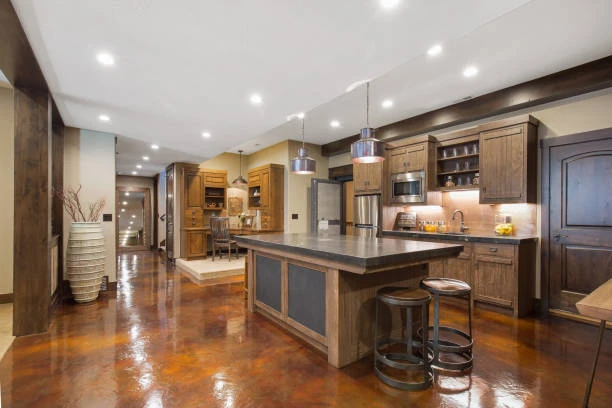
Epoxy is sufficiently robust to survive dropping tools, support the weight of rolling and parked automobiles and cope with any sort of spillage. Epoxy Floor DIY may last for up to 20 years when properly applied.
Pick the Right Epoxy
Epoxy paint is available in three types: solid, solvent-based, and water-based.
Solid epoxy: The purest type of epoxy is solid epoxy. It contains no evaporating solvents. These are costly and hard to handle since they harden extremely quickly.
Solvent-based epoxy: Solvent-based epoxies contain from 40 to 60 per cent solids. It enters the concrete surface with utmost suitability. There are a variety of colours.
Water-based epoxy: Water-based epoxies include 40 to 60 per cent solids, like solvent-based epoxy as well. There are no dangerous solvent vapours with this form of epoxy. These epoxy coatings are being marketed and become more popular alternatives to solvent-based products in most home centres and hardware stores.
How to DIY Epoxy Floor Coatings?
Two-Part Epoxy Paint
Flat-Edge Shovel or Scraper
Shop Vacuum
Garden Hose
Power Scrubber with the Brush Attachment
Stiff-Bristle Brush
Rubber Squeegee
Plastic Sprinkler Can
Drill with Stirring a Bit
Paintbrushes
9-Inch Medium-Nap Roller and Roller Pole
Duct Tape
Plastic Bag
Cleaning Degreasing Solution
Rubber Gloves
Respirator
32% Muriatic Acid
Steps for Epoxy Flooring DIY
1. Clean the surface: To remove hardened material, use a flat-side pad or scraper, if necessary. Then, vacuum the garage floor. Make a cleaning solution the way it is asked to in the manual. Wear rubber gloves, using a stiff-bristle brush and the solution to scrub off any grease or oil stains.
2. Wet the flooring: Use a hose for watering the whole floor. Use a power scrubber with a brush connection and a degrader to work in 5-foot-square areas to purify the whole floor. To scrub nooks and walls the machine cannot reach, use the brush of a firm brown. Use a rubber squeegee to draw soapy water into a central location when the floor is clean. With a wet-dry vacuum, remove the solution. Test the environmental office of your county to check if you may dispose of the solution by washing the toilet down.
3. Make an acid-etching mixture: Pour in a sprinkler can, a gallon of water. Using the vapour respirator, pour into 15 cups of water boilers and 12 ounces of 32.0% muriatic acid (use 1 part of acid to 10 portions of water for lesser or greater quantities). Combine the solution with a paint mixer for a few seconds. Sprinkle over the 10x10 foot area of the mixture evenly.
4. Clean and cut: Drain 10x10 feet or use a long-handled acid pin for 10 minutes (to save on equipment rental). Repeat the sprinkling procedure until the acid is etched throughout the floor. Rinse the acid residue three times. Overnight, let the floor dry.
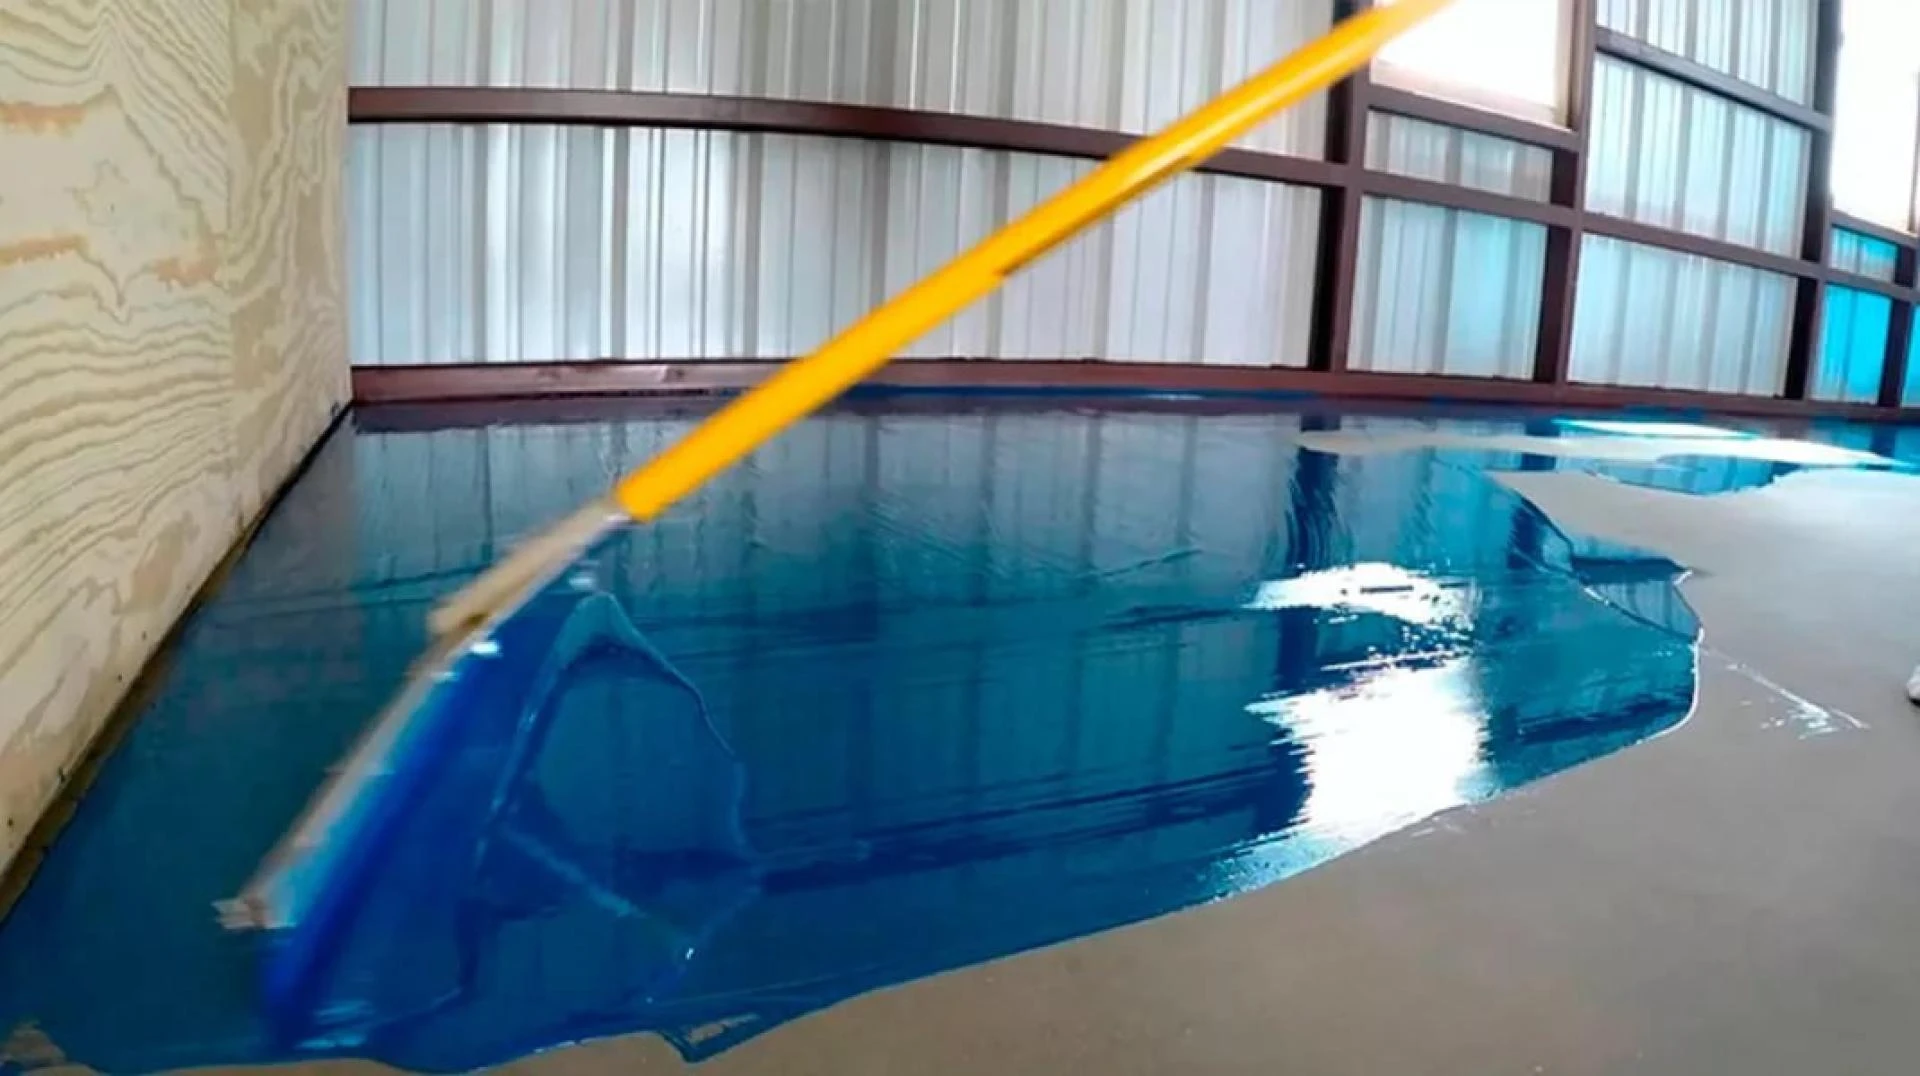
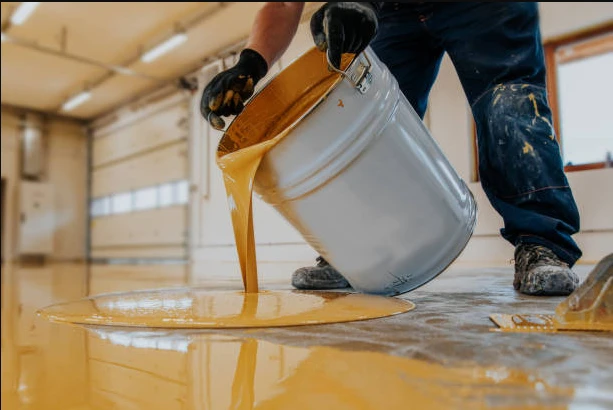
5. Add epoxy coating: Use a drill and stir a little to mix the two epoxy solutions, following the manufacturer's instructions. Pour the liquid into the second bucket and combine the paint once more to achieve thorough mixing.
6. Apply to the borders: Place the space under the garage door using tape, then brush a 4" strip of epoxy against the tape and along the garage walls.
7. Apply epoxy with a roller: To paint the floor, use a nine-inch broad roller with a medium nap. Join a pole with the roller. Then dip the roller into the epoxy bucket and cover only the lower part. Apply epoxy in a big "W" pattern on a 4-foot-square area to the garage floor. Rollback to complete the design and erase any markings on the roller. Ensure that edges stay moist when you move from part to section to avoid obvious seams. Let the manufacturer dry the first coat.
8. Apply the second layer: Add a non-skid floor layer to the second coat of epoxy if you don't want the glistening floor. Remove the drill and stir. Repeat the step 7.
9. Endgame: Mask and paint the lowest 4 inches using an epoxy mix used on the floor of a garage or basement wall. This border gives a unified aesthetic that is also a protective foundation.
Sign in to leave a comment.