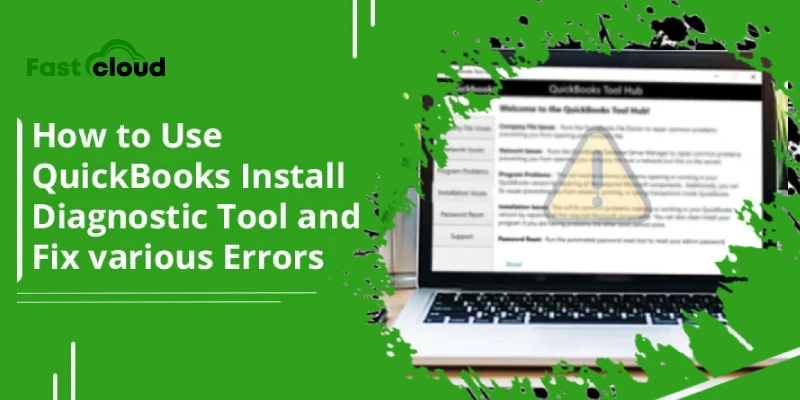
Being a feature-rich accounting software, QuickBooks is popular among the accounting community. Well, it attained this reputation because of its user-support framework. Intuit contributes a lot to promote this, and its tool hub menu is one such effort. The tool hub menu contains multiple tools as a single unit. And QuickBooks Install diagnostic tool is one such feature you can look for.
QB’s install diagnostic tool is an added option that users can find within the tool hub menu. You can learn details of it with the given guide. So, keep reading the post to enhance your understanding of the tool’s features.
QuickBooks Install Diagnostic Tool: A Brief Description
The evolution of technologies has resulted in the growth of tools and features. In this direction, Intuit inducted install diagnostic tool finds its utility among many. Through this menu, you can fix installation errors independently. Now, you may ask about installation errors.
Installation errors are technical glitches that can trouble you greatly. Moreover, these can overpass your accounting experience through their unnecessary interference. Hence, you can use the install diagnostic tool to fix the issues independently.
After taking a basic idea of the tool, it is time to learn its usability. So, here is the description for this.
Step 1: Download QB Tool Hub Menu
To utilize the install diagnostic tool, you first need to install the tool hub menu. This menu contains different error-resolving programs. Some of these involve the following:
File doctor toolConnection diagnostic toolQB Install Diagnostic toolPDF repair tool and moreWith these tools, you can repair any error occurring on your system. But you can use these tools only after installing the setup on your computer. Thus, you can follow these steps to download the tool hub menu on your device.
Firstly, go to Intuit’s official siteIn the site menu, locate the tool hub menu’s “.exe” fileAfter this, click the file and subsequently select a folder to save itAfter downloading the tool’s extension file, access it from the device folderThe moment you click on the file, a message with the necessary permissions request will appear on your screenRead those conditions and subsequently approve the sameLastly, wait for a while till your system installs the tool hub menuStep 2: Run Install Diagnostic Tool
After installing the tool hub menu, it is time to utilize the tool for error fixing. For this, you can use the install diagnostic tool in the following ways:
Firstly, open the tool hub menuAfterwards, locate the "Installation Issues" tab and subsequently open itNow, wait until the tool starts properlyFollowing its functioning, allow it to run in the background windowFor a regular diagnosis, the tool usually takes around 20 minutes so wait for itAfter the completion of diagnosis, reboot the system to enjoy a seamless accounting experienceStep 3: Windows Upgradation
If the error persists after the system rebooting, you can upgrade Windows on your device. You can do this thing in the following steps:
Update the windows to the latest windows versionAfterwards, restart your computer Even after doing this, if the error persists on your computer, then you can access the company fileAnd lastly, try to reinstall the QB Desktop versionStep 4: Fix Windows Components
In case your system still shows the error, you can try to repair the windows components. For this, you need to work on two components, i.e. .NET framework and the MSXML component. The description of this involves the following:
.NET Framework Re-installation
This framework helps in the diagnosis of the issue within the component. The users can do this in the following steps:
First, close all programs running in the systemNow, navigate to the Windows “Start” menuAfterwards, type “Control Panel” in the search tabNow, click on the “Programs and Features” optionSubsequently, click on the “Uninstall a Program” tabAfter this, click on the "Turn Windows features on or off" tabHere, go to the .NET Framework 3.5 option and grant permission for itMicrosoft MSXML Repairing
Besides fixing the .NET Framework, you have to work on MS’s MSXML component. This thing you can do in the following steps:
First, select the Windows Start menuAfterwards, type “cmd” thereNow, click on Run as administrator menu and subsequently right-click on the "cmd" optionAfter this, give this command-”cdwindowssyswow64” at the C: prompt tabFollowed by this, type another command i.e. “regsvr32 MSXML6.dll”Lastly, tap on the “Enter” icon and allow the repairing of the MSXML fileThese are two ways in which you can fix Windows components on your accounting setup.
Conclusion
The given guide discussed many parameters of the QuickBooks Install diagnostic tool. Hence, you can say that the tool is suitable for all your file installation-related queries. Moreover, you can connect with Mathomatic’s QB experts to upgrade your accounting framework.
Mathomatic is a QB support partner that can assist you with its advanced customer support framework. You can learn more about their services by visiting their official website.
Frequently Asked Questions
How Do I Use The QB Install Diagnostic Tool?You can go to the tool hub menu to use the install diagnostic tool on your setup.
How Do I Install The Tool Hub Menu On My Device?You can install the tool hub menu by downloading it from Intuit’s official website.
How Do I Fix Error Codes Arising In The QB Setup?You can fix error codes in your setup by using the tool hub menu. Moreover, you can dial the toll-free number 18447349204 to seek expert support.
What Is QB Toll-Free Number?QB toll-free number is a customer support number which you can dial at 18447349204 for any of your QB-related queries.
What Is The Most Common Error For The QB Setup?For the QB setup, “Error Code 404” is the most common error you can face due to network interruption.

![A Quick Guide on QuickBooks Tool Hub [ Comprehensive Solutions]](https://writeupcafe.com/data/post/981484/6addc8dc2ae8c08c9bb61194acdaf272.png.webp)


Sign in to leave a comment.