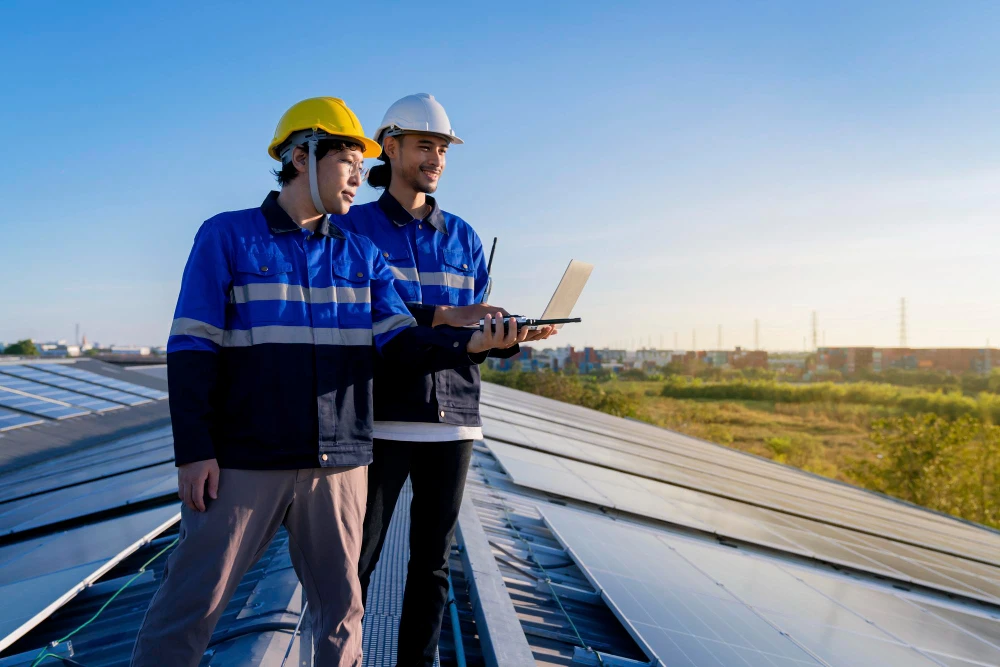
Switching to solar energy is one of the smartest decisions for homeowners and businesses today. Solar energy not only reduces electricity bills but also contributes to a sustainable future. However, successful solar adoption doesn’t start with just buying panels—it begins with understanding the solar panel installation process and selecting the right solar company and professional solar panel installers.
This comprehensive guide will walk you through every step of solar panel installation, from planning and site assessment to commissioning and maintenance. It’s designed to be beginner-friendly, easy to understand, and backed by real-world evidence.
Why Proper Solar Panel Installation Matters
A well-executed solar panel installation ensures your rooftop solar system operates efficiently for decades. Poor installation can lead to:
- Reduced energy production
- Roof leaks or structural damage
- Electrical hazards
- Voided warranties
Industry studies show that solar panels typically last 25–30 years, with annual degradation of around 0.5–0.8% per year. Choosing experienced solar panel installers and a reputable solar company ensures that you maximize both efficiency and longevity.
Step 1: Site Survey and Assessment
The installation process begins with a detailed site survey:
- Inspect roof condition, strength, and orientation
- Measure available rooftop space for panel placement
- Analyze shading from trees, nearby buildings, and chimneys
- Evaluate electrical infrastructure for inverter and wiring placement
The survey helps the solar company design a system that is optimized for your specific location. It also identifies potential challenges early, avoiding delays and unexpected costs.
Step 2: System Design and Sizing
After the survey, the design phase begins:
- Determine the number of panels needed based on energy consumption
- Choose panel type (monocrystalline, polycrystalline, or thin-film)
- Design electrical wiring and inverter sizing
- Consider environmental factors like wind load, snow, or extreme heat
A robust system design ensures your solar panel installation is both efficient and cost-effective. It also forms the blueprint for permits and approvals.
Step 3: Permits, Documentation, and Incentives
Before installation, several legal and administrative steps are necessary:
- Apply for local building permits
- Submit electrical and grid interconnection approvals
- Explore government incentives or net metering benefits
- Confirm adherence to building codes and safety regulations
A reliable solar company usually handles the paperwork, saving you time and ensuring compliance. Permits can take anywhere from a few days to several weeks depending on your region.
Step 4: Mounting Structure Installation
Proper mounting is crucial for the safety and performance of rooftop solar:
- Roof brackets or ground-mounted frames are securely installed
- Waterproofing measures prevent leaks
- Panels are aligned for optimal sun exposure
- Structural integrity is checked to withstand wind and weather
High-quality installation prevents future roof damage and maximizes energy output.
Step 5: Solar Panel Placement and Wiring
Once the mounting structure is ready:
- Solar panels are mounted and secured
- Wiring is run from the panels to the inverter
- String or micro-inverters are connected to optimize performance
- Grounding, surge protection, and DC/AC disconnects are installed
Professional solar panel installers ensure all electrical connections meet safety standards, reducing risks and maintaining system efficiency.
Step 6: Inspection and Testing
Before activation:
- Authorities inspect structural and electrical compliance
- The solar company conducts performance testing
- Voltage, current, insulation, and safety checks are performed
- Inverter communication and monitoring systems are verified
Passing inspection is essential to safely connect your system to the grid.
Step 7: Interconnection and Commissioning
After inspection, your system is connected to the utility grid (for grid-tied setups):
- The utility grants Permission to Operate (PTO)
- System monitoring dashboards are activated
- Energy generation begins, and you start saving on electricity bills
This step marks the official start of your rooftop solar journey.
Step 8: Maintenance and Monitoring
Even after installation, proper maintenance ensures long-term performance:
- Clean panels regularly to prevent dust or debris accumulation
- Inspect wiring and mounting structures periodically
- Monitor system output for anomalies
- Address minor repairs before they become major issues
Most modern systems allow remote monitoring, giving real-time insights into energy production.
Types of Solar Systems
Understanding the type of solar system is important for installation:
- Grid-tied systems: Connected to the electricity grid; allow net metering
- Off-grid systems: Independent, using batteries for storage
- Hybrid systems: Combine grid-tied and storage for flexibility
Your solar company will recommend the best option based on energy needs and budget.
Common Mistakes to Avoid
- Choosing untrained or uncertified installers
- Ignoring roof structural integrity
- Skipping permits or approvals
- Selecting panels without warranty or degradation data
- Neglecting maintenance and monitoring
Avoiding these pitfalls ensures your investment is protected.
Real-World Insights
- Average solar panel lifespan: 25–30 years
- Annual energy production degradation: 0.5–0.8%
- Typical installation timeline: 5–8 weeks
- System efficiency depends heavily on panel orientation, shading, and installation quality
Investing in skilled solar panel installers and a reliable solar company significantly reduces operational issues.
Final Tips for a Successful Solar Panel Installation
- Verify credentials and past work of your solar company
- Ensure solar panel installers are trained, insured, and experienced
- Confirm warranties on both equipment and installation
- Opt for high-quality panels suited to your local climate
- Regularly monitor and maintain your rooftop solar system
By following these steps and working with professionals, your solar panel installation will be safe, efficient, and long-lasting. Investing time in planning, choosing the right solar company, and monitoring performance ensures maximum energy savings and a sustainable future.























Sign in to leave a comment.