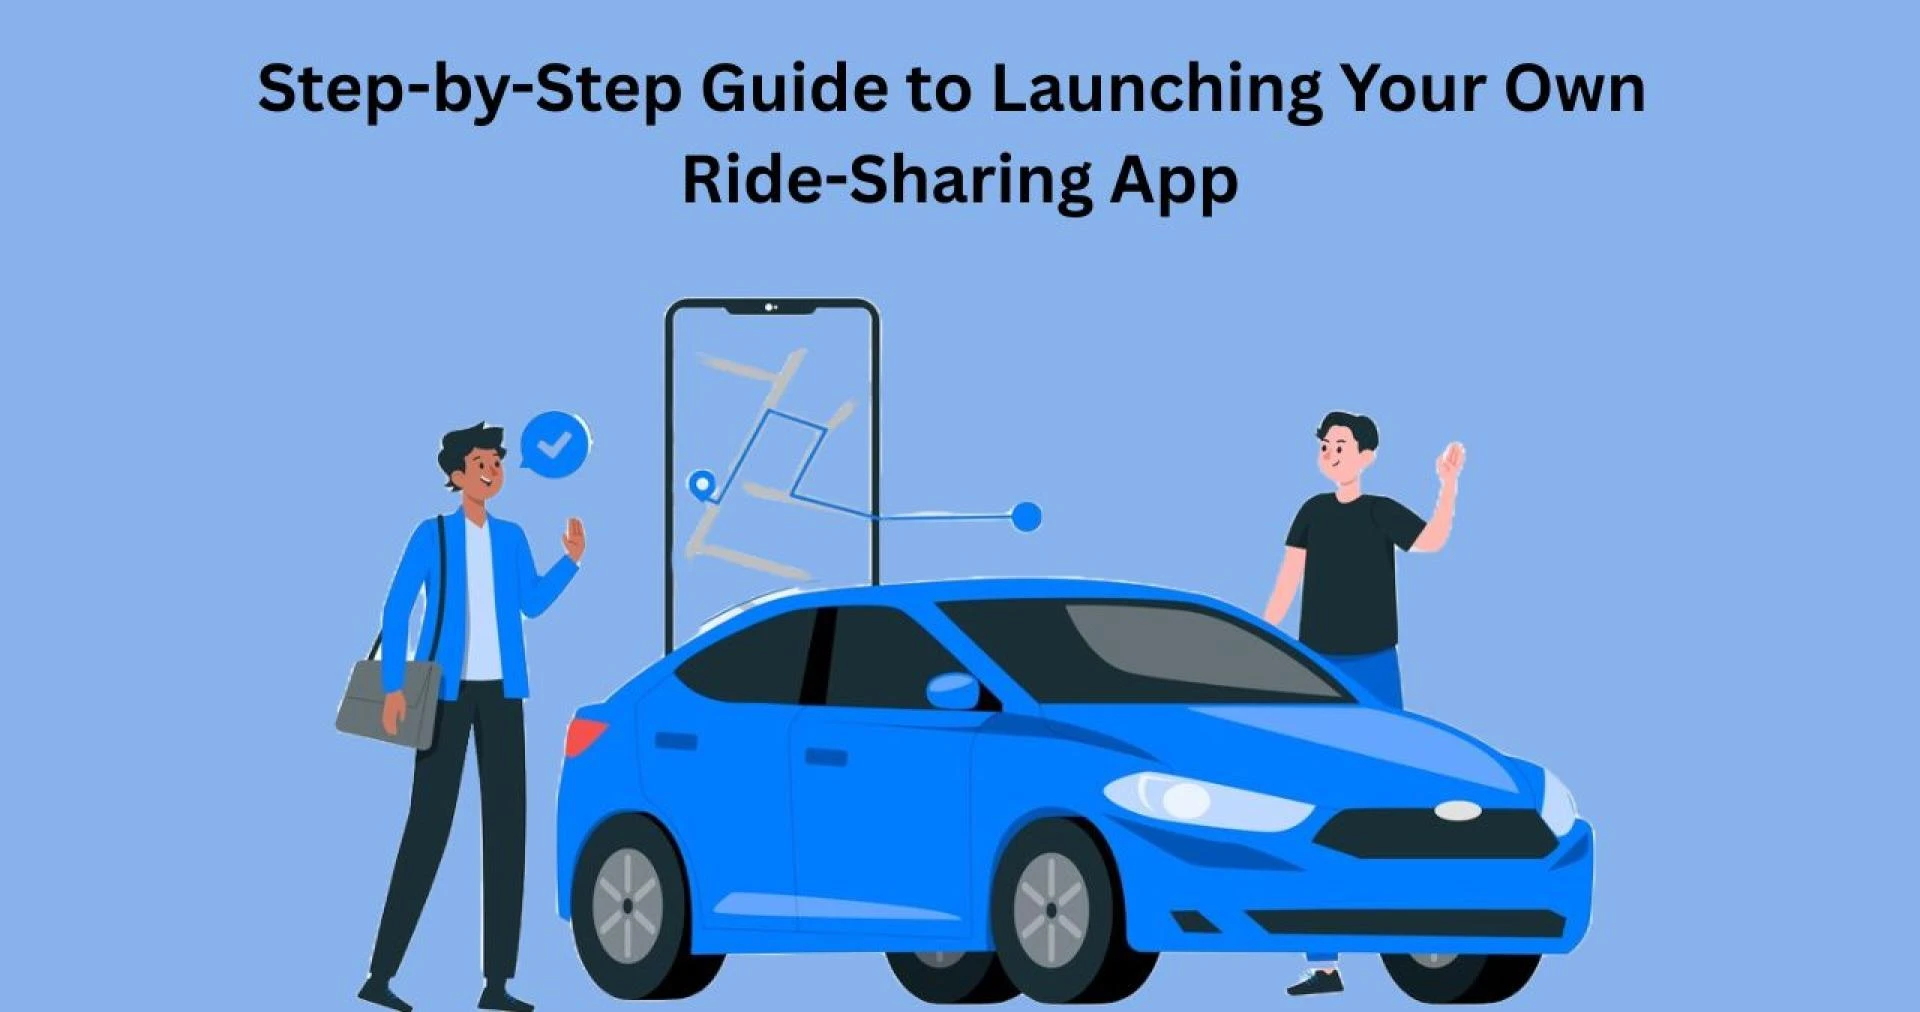
The ride-sharing industry is booming, and if you’ve been thinking about launching your own ride-sharing app, now is the right time to act. With more users looking for affordable and convenient transportation options, starting a ride-sharing business can be a smart and rewarding move.
However, launching a ride-sharing app is more than just building software—it involves market research, planning, and long-term growth strategy. In this step-by-step guide, we’ll walk you through how to start your own ride-sharing app from scratch and make it a success.
Step 1: Research the Market
Before anything else, get to know the market you want to enter. Understanding your audience, competitors, and local regulations is key to building a relevant and useful platform.
Key things to research:
- Are there existing ride-sharing apps in your region?
- What are their strengths and weaknesses?
- What kind of rides are most in demand—city rides, intercity trips, carpooling, or taxis?
- What age group or type of users are most likely to use your app?
- Are there any legal permits or licenses required?
Market research helps you plan a platform that stands out and fills gaps left by competitors.
Step 2: Define Your Business Model
Ride-sharing apps can operate in several different formats. Choosing the right business model ensures that your app serves your audience and generates income.
Common models include:
- Peer-to-peer carpooling: Users share rides for cost-sharing (e.g., BlaBlaCar)
- Taxi-hailing: On-demand city rides with commercial drivers (e.g., Uber)
- Corporate transport: For companies offering employee rides
- Subscription model: Monthly fees for regular ride users
Decide how your app will earn revenue—commission on rides, subscriptions, premium features, or ads.

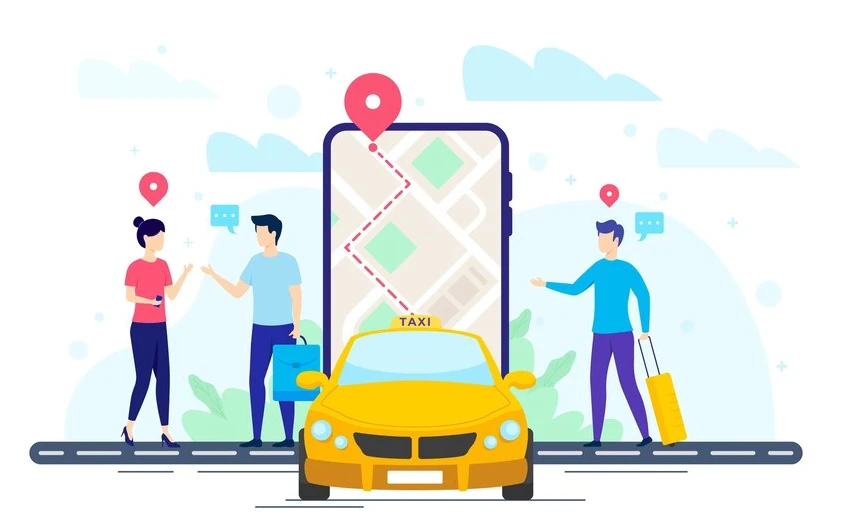
Step 3: Plan Your App Features
The next step is planning the features your app will offer. A ride-sharing app typically consists of three interfaces: the rider app, the driver app, and the admin panel.
Rider App Features:
- Easy signup/login
- Search and book rides
- Fare estimate
- Real-time driver tracking
- Ride history and ratings
- Secure payment options
Driver App Features:
- Registration and document upload
- Accept/reject ride requests
- Route navigation
- Earnings report
- Availability status
Admin Panel Features:
- Manage users and drivers
- Monitor rides in real time
- Analytics and reporting
- Payment and commission management
- Promotion and offer tools
Choose features based on your business model and target audience preferences.
Read More: BlaBlaCar Business Model: How BlaBlaCar Works & Makes Money?
Step 4: Choose the Right Development Approach
You now have two main choices:
- Build from scratch
- Use a ready-made clone solution
Build from Scratch:
- Takes more time and money
- Gives full control over design and features
- Ideal for large-scale businesses or unique ideas
Clone App Development:
- Much faster to launch
- Cost-effective
- Pre-built with essential features
- Customizable for branding and region-specific needs
For most startups, clone app development is the smarter choice as it helps you enter the market quickly without heavy upfront investment.
Step 5: Design a User-Friendly Interface
Your app’s design can make or break the user experience. A simple, clean, and intuitive interface keeps both drivers and riders happy.
Good design practices:
- Easy navigation and booking process
- Clear buttons and labels
- Responsive design for all screen sizes
- Smooth transitions and loading times
- Language localization if needed
Work with designers who understand mobile user behavior to ensure a seamless experience.
Step 6: Integrate GPS, Payments, and Notifications
A ride-sharing app depends heavily on real-time technologies. The following integrations are a must:
- GPS and Maps: For ride tracking and navigation
- Payment Gateway: Secure payments using credit/debit cards, wallets, or UPI
- Push Notifications: Alerts for ride status, driver arrival, offers, and receipts
These features improve communication between users and drivers, while also making operations smoother.
Step 7: Ensure Safety and Security
Trust is critical in the ride-sharing space. Riders want to feel safe, and drivers want fair treatment.
Must-have security features:
- User and driver verification (ID, license, etc.)
- SOS/emergency button for riders
- Ride-sharing option with friends and family
- Encrypted transactions
- User reviews and driver ratings
- Driver background checks
Transparent safety measures will help you build long-term trust and attract more users.
Step 8: Test Your App
Before you launch publicly, test your app thoroughly with real users (beta testers). This helps identify bugs, design flaws, or technical glitches.
Test areas:
- Booking and canceling rides
- Driver-rider matching
- Fare calculations
- App speed and performance
- User interface and flow
Collect feedback from testers and make final adjustments.
Step 9: Launch and Promote Your App
Once your app is ready, plan a soft launch in a limited region before scaling up. This gives you time to fix issues while keeping risk low.
Promotion ideas:
- Offer free rides or discounts at launch
- Run local ads on social media or Google
- Partner with colleges or events
- Referral bonuses for users who bring in friends
- Influencer marketing to reach your target audience
A strong launch campaign can bring in your first wave of loyal users.
Step 10: Monitor, Update, and Scale
Post-launch is when the real work begins. You’ll need to keep improving your app and expanding your reach.
Ongoing tasks:
- Monitor app performance with analytics tools
- Add new features based on feedback
- Expand to new cities or services (e.g., rentals, delivery)
- Provide regular support and driver training
- Keep your branding consistent and professional
Scaling gradually ensures quality remains high and your app grows sustainably.
Conclusion
Launching your own ride-sharing app is entirely possible in today’s tech landscape. By following a step-by-step approach—starting with market research and ending with post-launch scaling—you can create a platform that users love.
Whether you’re building from scratch or using a customizable clone solution, working with professionals who understand on demand app development services can speed up your process and improve your results. Ride-sharing is here to stay—now is your chance to be part of it.


Sign in to leave a comment.