Welcome to the world of carpet patch repair, where invisible transformations take place! Has your beloved carpet suffered a mishap? Fear not, because with the art of carpet patch repair, you can make those unsightly blemishes disappear like magic. Whether it's a stubborn stain or an unfortunate tear, this skill allows you to seamlessly restore your carpet to its former glory. In this blog post, we will delve into the secrets of effective patching and provide you with expert tips and tricks to master this craft. So grab your tools and let's get ready to weave some enchantment into our carpets!
What Is Carpet Patch Repair?
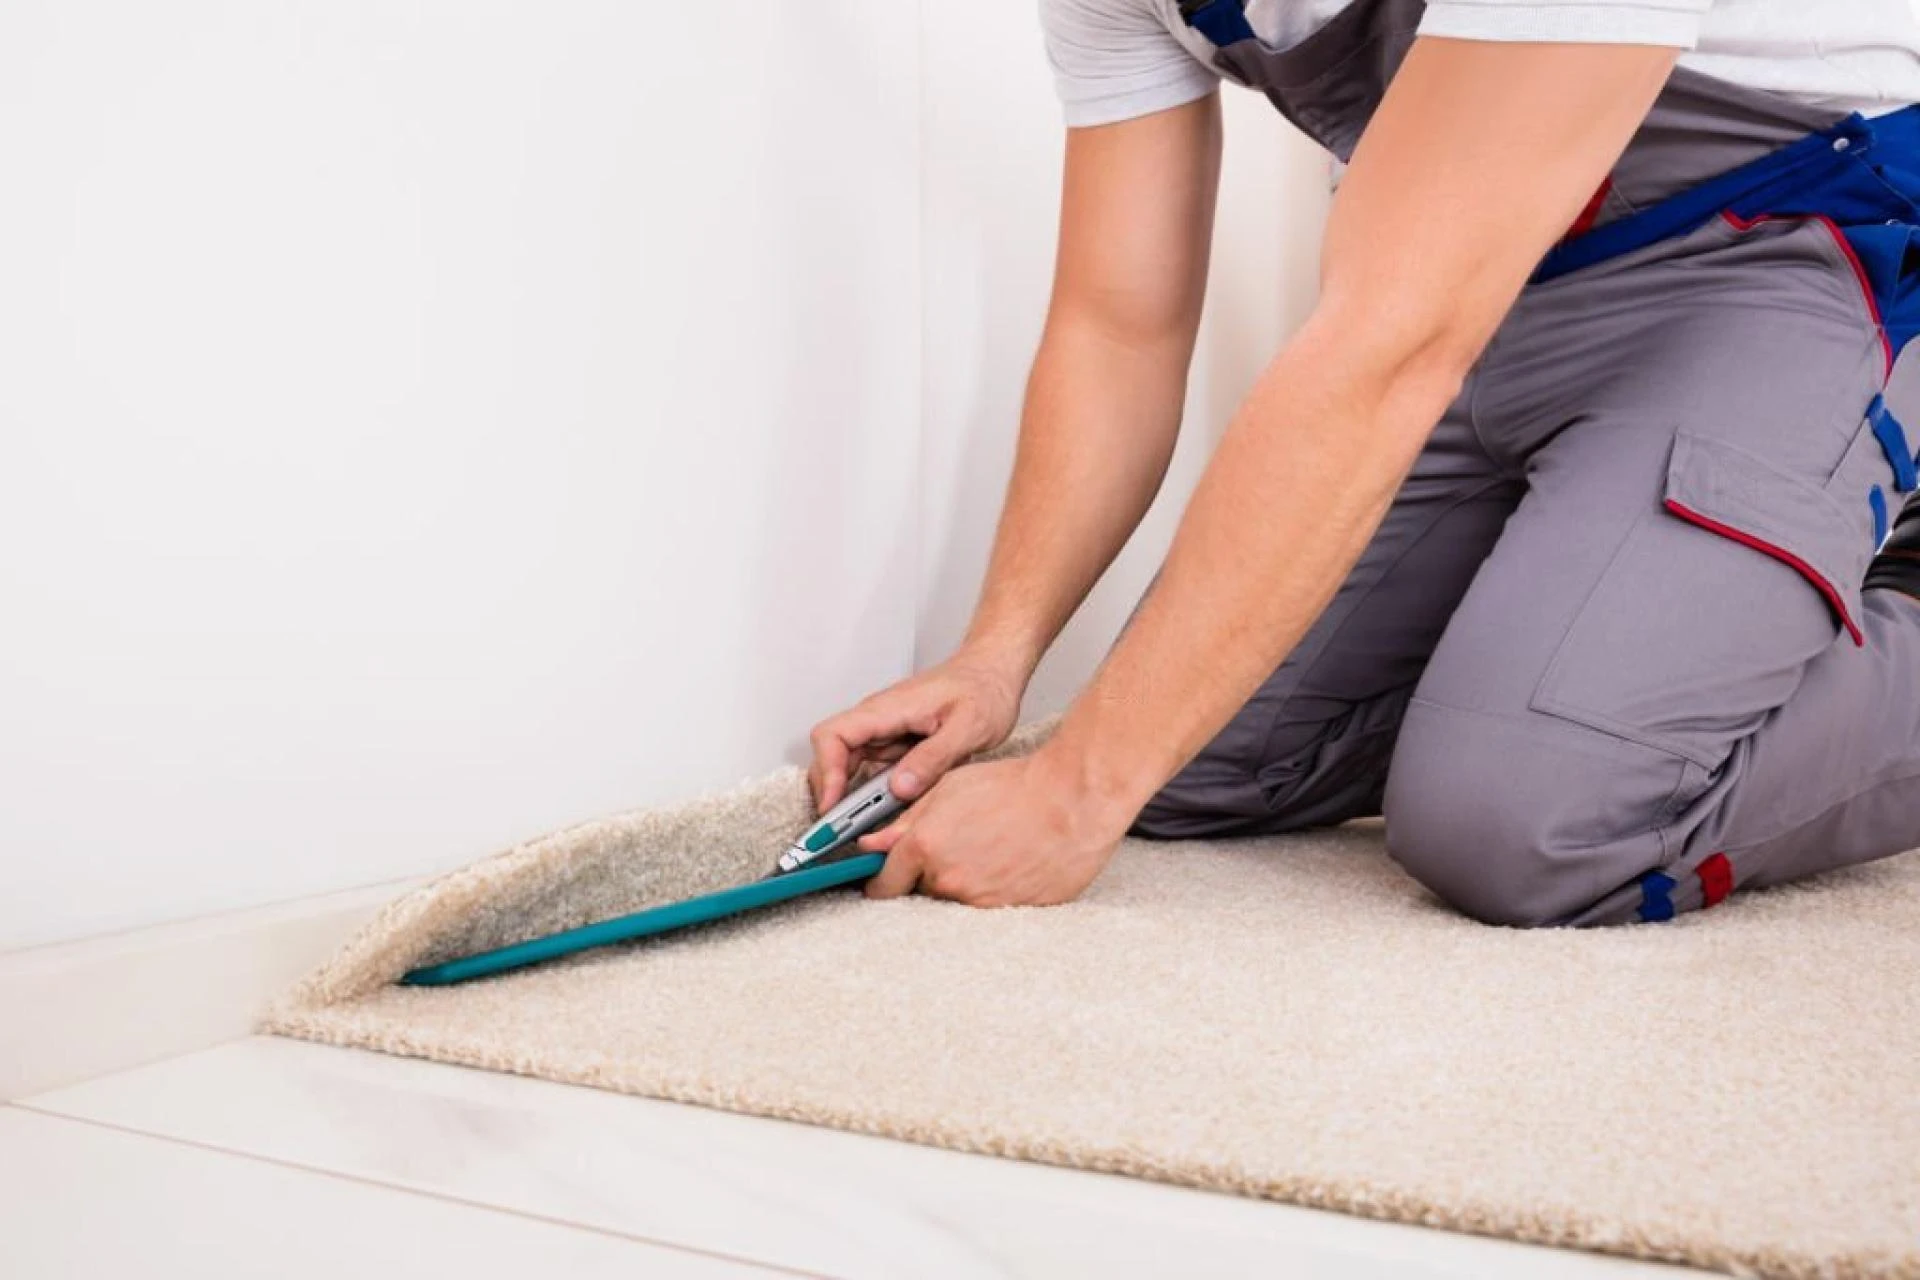
Carpet patch repair is a technique used to fix damaged areas of carpet by replacing them with new patches. It's like performing surgery on your precious floor covering, but fear not - it's much easier than it sounds! This method allows you to seamlessly blend the patched area with the surrounding carpet, making the repair virtually invisible. To perform a successful patch repair, you'll need a few essential tools and materials. You'll require a utility knife or carpet cutter for precise cutting. Additionally, having a straightedge or ruler will ensure clean lines during the process. You'll also need some adhesive such as carpet tape or glue to secure the patch in place. Before starting any repairs, it's crucial to assess the damage and determine if patching is suitable. Small stains or burns can easily be covered up with this method. However, extensive damage or large tears may require more extensive measures. Once you've identified an area that needs repairing, begin by removing any loose fibers around the damaged section using scissors or tweezers. Then carefully cut out a matching piece from an inconspicuous area of your carpet (such as inside a closet) or use leftover remnants from its original installation. Remember to measure and cut your replacement patch slightly larger than the damaged area for better blending results later on!
What Are The Tools And Materials Required For Patching?
When it comes to repairing a carpet patch, having the right tools and materials is essential. Here's a list of what you'll need to ensure a successful repair job.
First and foremost, you'll need a utility knife or carpet cutter to carefully remove the damaged portion of the carpet. Make sure to use a sharp blade for clean cuts.Next, you'll need an adhesive or double-sided carpet tape to secure the patch in place. Choose an adhesive that is specifically designed for carpets and provides a strong bond.A seam roller will come in handy when smoothing out any wrinkles or bubbles on the patched area. It helps create seamless integration between the patch and existing carpet fibers.Depending on your specific situation, you may also require additional tools such as knee kickers or power stretchers for stretching the carpet back into place after patching.In terms of materials, make sure you have extra pieces of matching carpet available. These can be obtained from leftover scraps, hidden areas like closets, or by purchasing extra material from your original installation. Keep some heavy objects like books or weights nearby to hold down the newly patched area while it dries properly with pressure applied evenly across its surface. With these tools and materials at your disposal, you're well-equipped to tackle any carpet patch repair project with confidence!
Tips And Tricks For Effective Carpet Patch Repair
Choose The Right Patching Material: When it comes to carpet patch repair, selecting the right patching material is crucial for a seamless and long-lasting result. Opt for a piece of carpet that closely matches the colour, texture, and pile height of your existing carpet.Prep The Area Properly: Before starting the patch repair process, make sure to thoroughly clean and vacuum both the damaged area and the replacement piece of carpet. This will ensure proper adhesion and a clean surface for patching.Use Double-Sided Carpet Tape: To secure the patched area in place, consider using double-sided carpet tape instead of liquid adhesive. It provides a strong bond without any messy residue or drying time.Feather Out Edges: When cutting out the damaged portion of your carpet, be sure to cut along natural lines or patterns to help blend in with surrounding fibers seamlessly. Feather out edges by slightly tapering them so they transition smoothly into undamaged areas.Utilize A Reversible Seam Iron: A reversible seam iron can be incredibly helpful in creating an invisible bond between your patched area and surrounding carpet fibers. Gently press down on top of a damp cloth over low heat setting to activate the adhesive while providing uniform pressure across seams.Conclusion
In the world of carpet repair, patching is a skill that can save you time and money. Whether it's a small burn mark or a larger section that needs to be replaced, knowing how to effectively patch your carpet can make all the difference. By following the tips and tricks outlined in this blog, you'll be well-equipped to tackle any carpet patch repair job with confidence. Remember to start by gathering all the necessary tools and materials, including a utility knife, adhesive, and matching carpet remnant. Take your time when cutting out the damaged area and fitting in the new piece – precision is key. Additionally, don't forget about proper preparation – vacuuming thoroughly before starting will ensure better adhesion between layers. With practice and patience, you'll soon master the art of invisible carpet patch repair.


Sign in to leave a comment.