Making a 3D asset in Autodesk Maya starts with understanding this amazingly user-friendly software that is customizable in many ways. The best part about this software, when clubbed with the right type of system to support it is how easy the process of creation is. The top visual effects studios in India and the world use a variety of 3D software, with Autodesk Maya and Blender being the two favorites.
Simple Steps to Making a 3D Asset
Step 1
First, take reference images for your 3D asset and study them carefully. Checking 2D images makes it easier for an artist to grasp the shapes that will form the base of any design.
Once that’s done, get perspective images of an asset, like the top angle, right angle, left angle, bottom angle, and front and back angle, to ease into the creation process.
Step 2
Place your perspective 2D images on the 3D software grid following the X, Y, and Z angles and lock them in. This makes the creation process easier from all angles and gives the creator a general understanding of how the asset should be from all angles.
Step 3
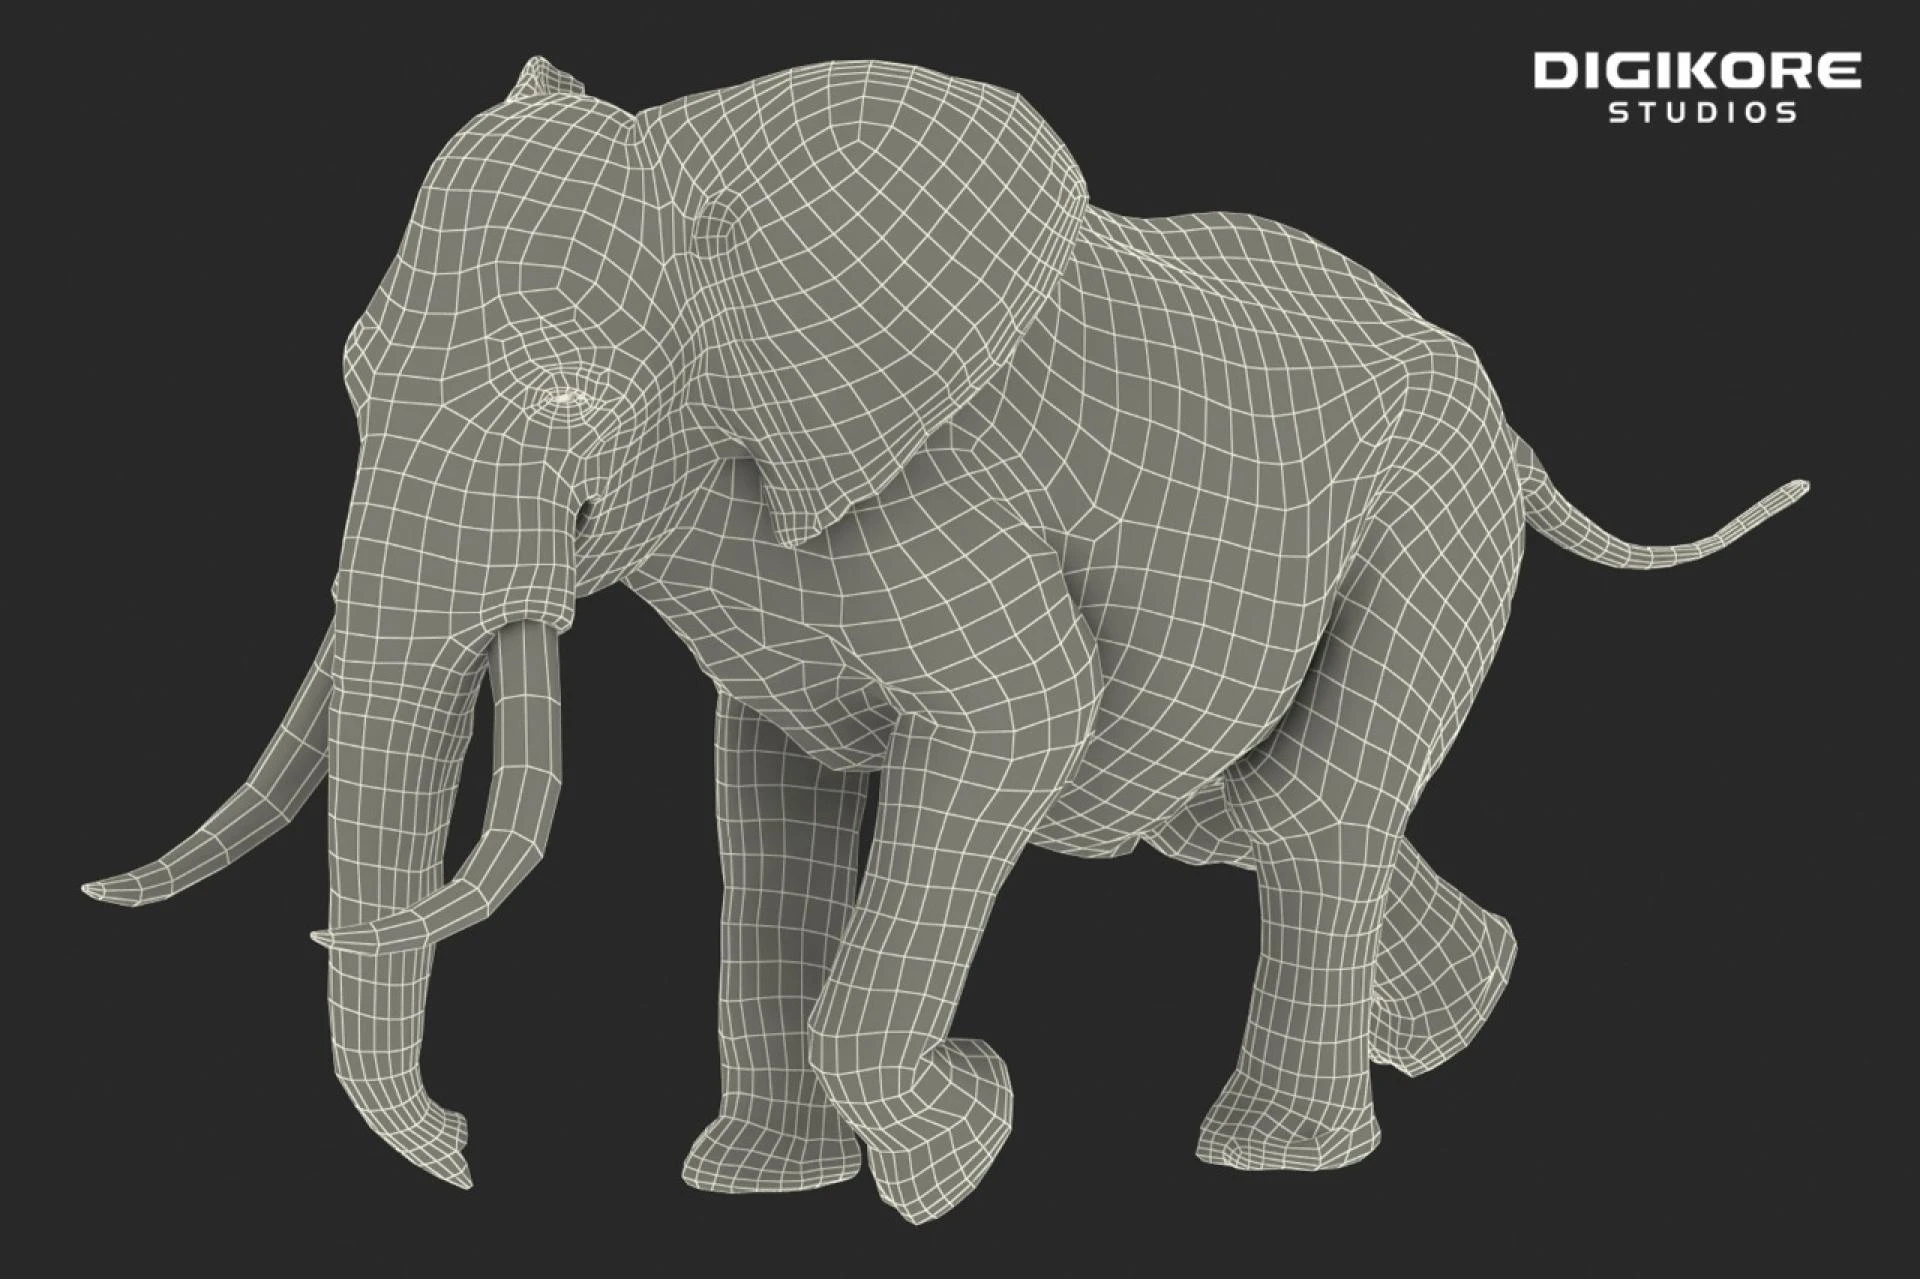
Use basic shapes like a sphere, square, or even rectangle as the base of the 3D asset. The base shape comes with defined vertices, edges, and faces that can be manipulated to create any shape.
In Conclusion,
As a creator, consider all perspectives when making an asset. Checking from all angles after making minute changes is a good habit that some of the best 3D modelers share in common. Take your time with the model to breathe in perfection, creativity, and unique 3D software skills. At Digikore Studios, we encourage texturing, lighting, and rendering the 3D model.
0


![Top 13 American Documentary Movies [Revealed!]](/data/post/1766858/36f48eed6f119c26a3bb71c9.webp)

![Top 45 Comedy Movies of 2023 [Revealed!]](https://writeupcafe.com/data/post/1751692/9ce4f4e25570f5855cb48c9985329075.webp)

Sign in to leave a comment.