Truck wraps have become a game-changing marketing tool in the bustling city of Edmonton, where businesses constantly vie for attention. These vibrant, full-colour graphics transform ordinary trucks into mobile billboards, reaching a vast audience on every journey.
But before you envision your company logo cruising down the highway, it\'s essential to understand the truck wrap installation process. This article delves into what you can expect, from the initial consultation to the final reveal.
What Are Truck Wraps?
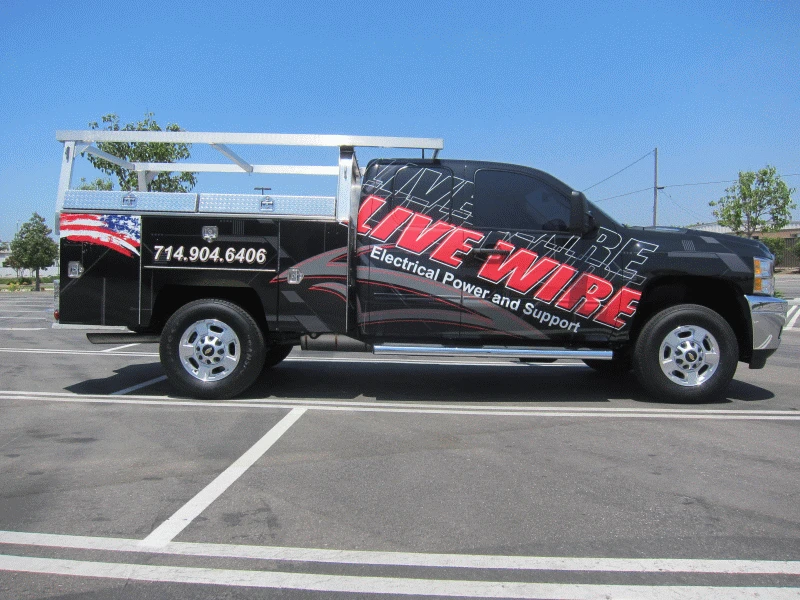
Truck wraps are large vinyl graphics or decals applied directly to a truck\'s surface. These wraps can cover the entire vehicle or just a portion of it, depending on your advertising needs and budget. They serve as moving billboards, capturing the attention of pedestrians and drivers alike.
Benefits Of Truck Wraps
Before diving into the installation process, it\'s essential to recognize the benefits that truck wraps offer:
- High Visibility: Your brand message reaches a broad audience as your vehicle moves around the city.
- Cost-Effective Advertising: Compared to traditional advertising mediums, truck wraps provide long-term exposure with a one-time investment.
- Protection For Your Vehicle: The vinyl wrap also protects the truck’s paint from scratches and UV damage.
- Easy To Update: When changing your marketing message, the wrap can be easily removed or replaced without damaging the vehicle.
The Installation Process: Step-By-Step
1. Initial Consultation
The first step in the process of getting a custom decals edmonton is the initial consultation. During this phase, you will discuss your needs, goals, and design preferences with a professional wrap installer. This is also the time to ask any questions you may have about the process and gather information on costs, timelines, and materials.
2. Design And Proofing
Once the consultation is complete, the next step is the design phase. Graphic designers will work to create a custom design that aligns with your branding and advertising objectives. They will consider the dimensions and contours of your truck to ensure the wrap fits perfectly.
Design Considerations
- Brand Colors And Logo: Ensure your brand\'s colors and logo are prominently displayed.
- Message And Imagery: Clear and concise messaging with high-quality images.
- Legibility: The design should be easy to read from a distance.
After the initial design is created, you will receive a digital proof. This is your opportunity to review the design, suggest changes, and approve the final version before production begins.
3. Preparation Of The Vehicle
Proper preparation of the truck is crucial for a successful wrap installation. The vehicle must be thoroughly cleaned to ensure that the vinyl adheres correctly.
Cleaning Process
- Exterior Cleaning: The truck is washed to remove dirt, grime, and any existing decals.
- Surface Inspection: Inspect the surface for any dents, scratches, or rust that may affect the wrap.
4. Printing The Wrap
Once the design is approved and the truck is prepped, the wrap is printed using high-quality vinyl materials. Advanced printing technology ensures that the colours are vibrant and the graphics are crisp. The vinyl is then laminated to protect it from UV rays, scratches, and other environmental factors.
5. Installation
The actual installation process is where the magic happens. Skilled installers carefully apply the wrap to the truck, ensuring a smooth, bubble-free finish.
Installation Steps
- Positioning: The wrap is positioned on the vehicle to ensure alignment with the design proof.
- Application: The vinyl is applied using squeegees and heat guns to adhere it firmly to the truck’s surface.
- Trimming And Sealing: Excess vinyl is trimmed, and edges are sealed to prevent peeling.
6. Post-Installation Inspection
After the wrap is applied, a thorough inspection is conducted to ensure quality and durability. Installers will check for any bubbles, wrinkles, or misalignments and make necessary adjustments.
7. Curing Period
Once the wrap is installed, the vehicle may need to sit for a period (usually 24 hours) to allow the adhesive to fully cure. This ensures the wrap adheres perfectly and has a longer lifespan. During this time, it\'s important to keep the vehicle in a controlled environment to prevent any debris or moisture from affecting the adhesive.
8. Maintenance And Care
To maximize the lifespan of your truck wrap, proper maintenance is essential. Regular washing with gentle, non-abrasive cleaners will help keep the wrap looking new. Avoid using high-pressure washers or harsh chemicals, as these can damage the vinyl.
Conclusion
Investing in a truck wrap is a significant step towards enhancing your business\'s visibility and reach in Edmonton. By understanding the installation process, from the initial consultation to the final post-installation care, you can ensure a smooth and successful wrap application. Not only do truck wraps serve as an effective marketing tool, but they also protect your vehicle and offer a high return on investment. Whether you\'re a small business owner or a large corporation, truck wraps can transform your vehicle into a powerful advertising medium.


Sign in to leave a comment.