Introduction
Are you considering expanding your living space in the bustling city of London? Building a house extension can be an exciting and rewarding project that not only enhances the functionality of your home but also adds value to your property. However, the process can seem overwhelming if you're unfamiliar with the steps involved. This comprehensive guide will walk you through the step-by-step process of building a house extension in London, helping you navigate the intricacies and ensure a successful project.
Step 1: Planning and Design
The first crucial step in building a house extension is careful planning and design. Begin by carefully outlining your extension's aims and needs. Consider the purpose of the extension, whether it's to create more living space, add a new room, or extend an existing area.
Engage with an experienced architect or architectural designer who specializes in house extensions. They will help you translate your ideas into a practical design, ensuring it complies with local building regulations and matches the aesthetics of your existing home. Work closely with them to finalize the design, incorporating features like windows, doors, lighting, and insulation.
Step 2: Permits and Permissions
Before commencing any construction work, it's essential to obtain the necessary permits and permissions. This step involves obtaining planning permission from the local council and ensuring compliance with building regulations.
Submit your architectural plans and designs to the local planning department, paying attention to any specific requirements or restrictions. The process typically involves a waiting period for approval, which can take several weeks or even months. Engage with a professional planning consultant if required, who can help expedite the process and ensure compliance.
Step 3: Budgeting and Financing
Building a house extension requires careful financial planning. Develop a realistic budget that encompasses all aspects of the project, including design fees, materials, labor, and unforeseen expenses. Consider obtaining multiple quotes from reputable contractors to compare costs and choose the most suitable option for your budget.
If necessary, explore financing options such as personal loans, home equity loans, or remortgage. Ensure that you have a clear understanding of your financial capacity and consult with a financial advisor, if needed, to ensure a well-structured financial plan.
Step 4: Hiring a Reliable Contractor
Selecting a reputable and experienced contractor is crucial to the success of your house extension project. Seek advice from friends, family, or neighbors who have recently completed comparable projects. Research and shortlist potential contractors, verifying their credentials, licenses, and insurance.
Invite at least three contractors to visit your property, discuss your project requirements, and provide detailed quotations. Evaluate their proposals, considering factors such as reputation, track record, past projects, and client references. Ultimately, choose a contractor who aligns with your vision, has excellent communication skills, and can deliver within your specified timeline.
Step 5: Construction and Project Management
Once you've finalized the contractor, it's time to begin the construction phase. Develop a project schedule in collaboration with your contractor, clearly outlining milestones and deadlines. Regularly communicate with your contractor to ensure progress aligns with the agreed timeline.
During construction, maintain a close eye on the quality of workmanship, adherence to specifications, and the use of approved materials. Regularly visit the site to monitor progress, address any concerns promptly, and maintain an open line of communication with the contractor.
Step 6: Completion and Final Touches
As the construction nears completion, it's essential to plan for the final touches that will transform your house extension into a functional living space. This includes painting, flooring, electrical and plumbing fixtures, and installing any custom features.
Engage with reputable vendors and suppliers to source high-quality materials and finishes. Collaborate with your contractor and ensure that all work is completed to your satisfaction. Conduct a thorough walkthrough with the contractor to identify any areas that require rectification or final touches.
Step 7: Utilities and Services
Before completing the construction, it's crucial to address the utilities and services required for your house extension. Coordinate with relevant service providers such as electricians, plumbers, and HVAC specialists to ensure the extension is properly connected to existing systems. This includes electrical wiring, plumbing connections, heating, ventilation, and air conditioning.
Step 8: Inspections and Certifications
Throughout the construction process, there will be several mandatory inspections to ensure compliance with building regulations. These inspections typically involve checking the structural integrity, fire safety measures, electrical installations, and plumbing systems. Coordinate with the local building control department to schedule inspections at appropriate stages of the construction.
Once all inspections are successfully completed, you will receive certifications and approvals, such as the completion certificate or building regulations compliance certificate. These documents are essential for future reference and potential property sales.
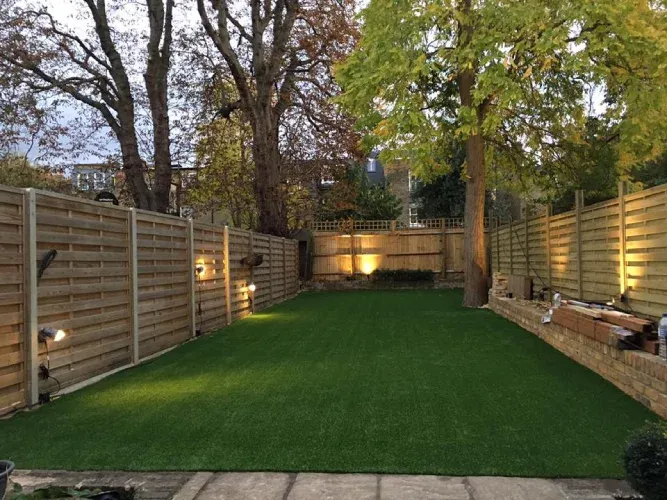
Step 9: Landscaping and Exterior Finishes
As the interior of your house extension nears completion, it's time to focus on the exterior finishes and landscaping. Consider elements such as garden design, patio or decking areas, pathways, and fencing. Engage with a professional landscaper or garden designer to create an appealing and functional outdoor space that complements your house extension.
Step 10: Interior Design and Furnishing
With the construction phase complete, it's time to bring your house extension to life through interior design and furnishing. Collaborate with an interior designer to create a cohesive aesthetic that seamlessly blends the new extension with your existing home. Choose furniture, fixtures, and decor that suit your personal style and enhance the functionality of the space.
Consider factors such as lighting, color schemes, flooring options, and storage solutions to optimize the use of space. Ensure that all furnishings and finishes are selected and installed in accordance with your design vision and budget.
Step 11: Final Inspections and Handover
Before officially completing the project and taking possession of your house extension, conduct a final walkthrough with your contractor. Inspect the entire space to ensure that all construction work is completed to your satisfaction and that all specifications and design details have been met.
Address any outstanding issues or deficiencies with the contractor and ensure they are resolved before finalizing the project. Once you are fully satisfied, sign off on the completion and handover of the house extension, and make any remaining payments to the contractor as per the agreed terms.
Step 12: Maintenance and Enjoyment
Congratulations! You have successfully built a house extension in London. However, your responsibilities don't end there. Regular maintenance is essential to keep your extension in top condition and ensure its longevity.
Create a maintenance schedule that includes tasks such as cleaning, painting, gutter maintenance, and regular inspections of electrical and plumbing systems. Additionally, enjoy the new space by using it according to its intended purpose and creating lasting memories with family and friends.
Conclusion
Building a house extension in London requires careful planning, budgeting, and collaboration with professionals. By following this step-by-step guide, you can navigate the complex process with confidence and create a beautiful, functional, and valuable extension to your home. Remember to prioritize open communication, adhere to local regulations, and work closely with your contractor to ensure a successful and satisfying project.


Sign in to leave a comment.