

Most homeowners thinking about artificial turf ask two questions first: how much does it cost, and how long does it take? But there's a third question that actually matters more than both of those:
Is it going to be done right?
The difference between a synthetic lawn that looks incredible for 20 years and one that turns into a wrinkled, smelly, poorly-draining mess after three years comes down almost entirely to installation quality. And installation quality comes down to process.
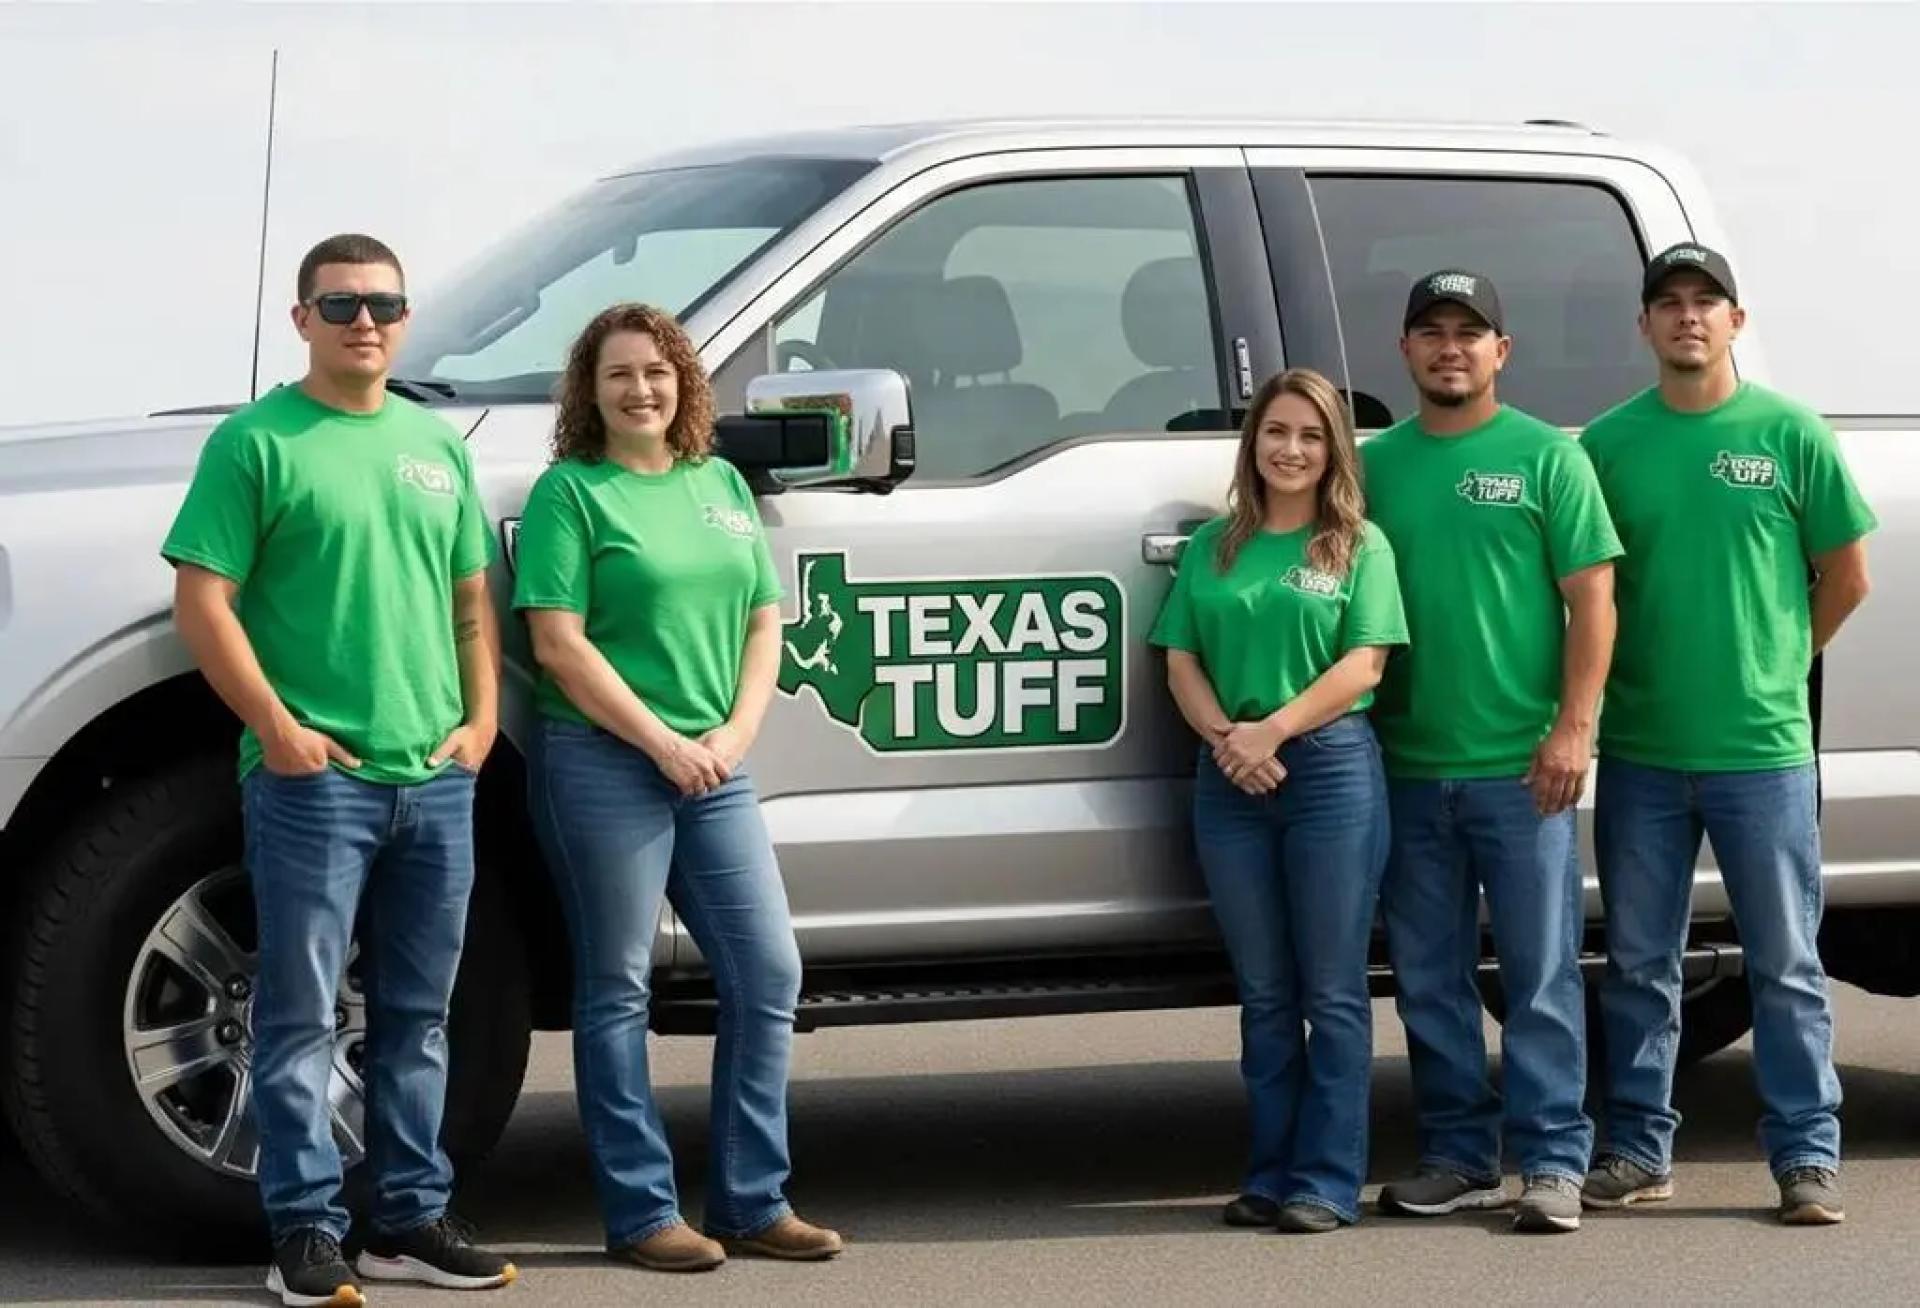
At Texas Tuff, we follow a rigorous 10-step artificial turf installation process refined across 500+ projects in Dallas and DFW. Here's exactly what happens - and why each step matters.
How Long Does Artificial Turf Installation Take in Dallas?
For most residential projects, installation takes 1 to 3 days depending on size and complexity. A standard 500–800 sq ft backyard typically takes a single full day with a skilled crew. Larger or more complex projects - multi-area installations, custom putting greens, or commercial properties - may take 2 to 3 days.
The preparation work that happens before and after installation day is equally important, which is why Texas Tuff always begins with a consultation before any tools come out.
The Texas Tuff 10-Step Installation Process
Step 1: Design Consultation
Everything starts with a conversation. A Texas Tuff turf specialist visits your property in person to understand your vision, assess the space, measure the area, and discuss product options.
This step is where most other installers cut corners - skipping it and just showing up with a roll of turf. At Texas Tuff, we believe the consultation is where the project is won or lost. Choosing the wrong product for your use case is a mistake that lasts 15 years.
During the consultation, we help you navigate our full product range - from the budget-friendly Alamo for high-traffic areas, to the premium Rio Grande Deluxe for the most natural look, to specialized pet turf options like the Scooby Deluxe.
Step 2: Installation Day Walkthrough
On installation day, your project manager walks the site with you before any work begins. This walkthrough confirms every detail - exact turf boundaries, drainage slopes, edge finishes, and any specific requests. You know exactly what's happening before the first shovel goes in.
Step 3: Vegetation and Sod Removal
All existing grass, weeds, rocks, and organic material are removed from the installation area. This isn't just clearing the surface - it's excavating down to a depth that allows for proper base installation. Removing all organic material is critical because organic matter breaks down over time, causing the surface to sink and become uneven.
This step also includes rough grading - shaping the ground to direct water away from structures and toward drainage points.
Step 4: Weed Barrier Installation
A commercial-grade weed barrier fabric is laid over the prepared ground. This suppresses future weed growth that would otherwise push up through the turf over time. While some installers skip this step to save time and cost, Texas Tuff includes it on every project as a standard part of the process.
Step 5: Base Layer Installation
This is the single most important step in the entire process, and the one that most discount installers skip or underperform. Texas Tuff installs a 3 to 6 inch layer of decomposed granite or similar base material across the entire installation area.
This base is compacted to create a firm, level, permeable foundation. It provides the structural stability that keeps the turf surface even over years of use and weather cycles, and it creates the drainage channel that prevents water from pooling under the turf. No base layer = a soft, uneven surface that degrades quickly. Proper base layer = a firm, flat, long-lasting lawn.
Step 6: Laying the Synthetic Grass
The turf is rolled out across the prepared base and oriented to ensure the blade direction is consistent - a subtle but important detail that affects how natural the lawn looks when viewed from different angles. The turf is then cut precisely to fit the exact dimensions and shape of your landscape. This is skilled work - imprecise cuts lead to gaps, overlaps, and visible seams that immediately expose an installation as amateur.
Step 7: Seaming
Where multiple turf sections meet - in larger installations - the seams must be joined with precision. At Texas Tuff, seams are secured with specialty adhesive and seaming tape, then checked carefully to ensure they're invisible from walking height. Visible seams are the most common sign of poor installation workmanship.
Step 8: Border and Edge Trimming
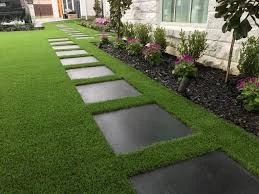
The outer edges of the turf are trimmed precisely to follow the exact contours of your landscape - around flower beds, pathways, fence lines, and structures. Clean, precise edges give your lawn that professionally installed look that makes visitors do a double-take.
Step 9: Infill Application
This step is what gives your artificial lawn its upright, natural appearance and cushioned feel.
Sand or antimicrobial infill - approximately 2 pounds per square foot - is spread evenly across the surface. A commercial power broom then works the infill deep down between the blades, causing them to stand upright and creating the dense, lush look of real grass. The infill also adds weight that stabilizes the turf and contributes to the cushioned feel underfoot.
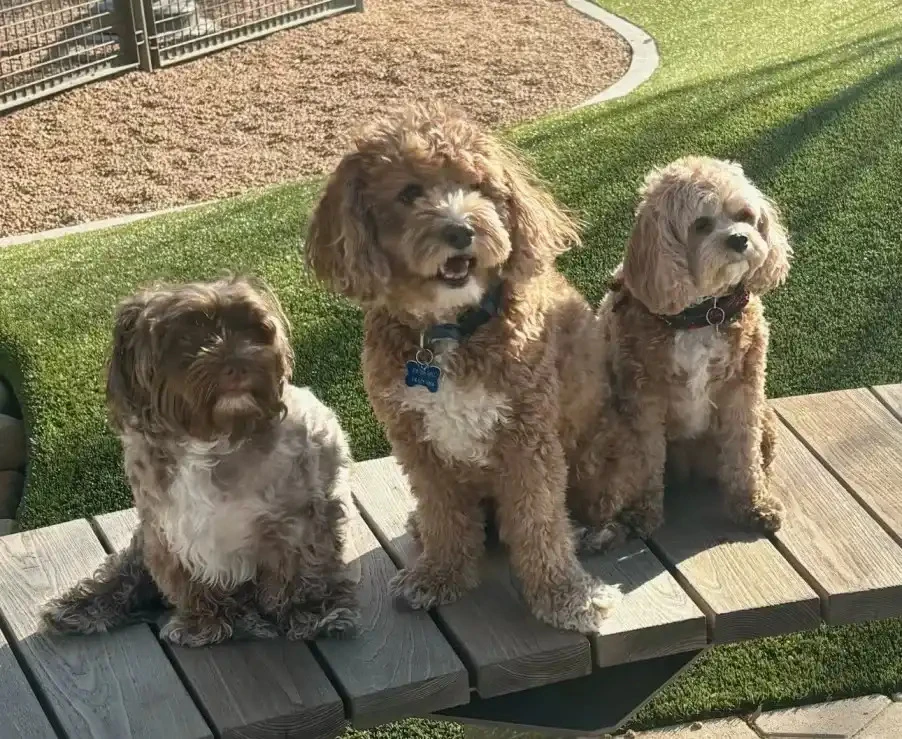
For pet turf installations, antimicrobial infill is used to inhibit bacteria and control odor from day one.
Step 10: Final Quality Inspection
Before Texas Tuff leaves your property, every inch of the installation is inspected. We check seam integrity, edge finishes, infill distribution, surface levelness, and drainage slope. Any issue is corrected on the spot. We don't leave until the finished product meets our standards - and yours.
Visualizing the Process
| Step | What Happens | Why It Matters |
| 1. Consultation | Product selection, design planning | Prevents wrong product choices |
| 2. Site walkthrough | Final alignment with homeowner | No surprises on installation day |
| 3. Sod removal | Clear existing vegetation, rough grade | Removes organic decomposition risk |
| 4. Weed barrier | Lay barrier fabric | Blocks future weed penetration |
| 5. Base layer | 3–6" compacted decomposed granite | Creates drainage + structural stability |
| 6. Turf laying | Roll out, orient, cut to fit | Determines natural appearance |
| 7. Seaming | Bond multiple sections | Invisible joins = professional finish |
| 8. Edge trimming | Trim to landscape contours | Clean, finished look |
| 9. Infill | Power-broom sand or antimicrobial infill | Upright blades, cushion, odor control |
| 10. Inspection | Full quality check | Catch and fix any issues before leaving |
What Happens After Installation?
Once your Texas Tuff installation is complete, your new lawn is immediately ready to use. There's no curing time, no watering-in period, and no waiting. You can walk on it, let the kids play on it, and let the dogs run on it the same day.
Ongoing maintenance is minimal. Occasional brushing to keep blades upright, a rinse with a garden hose after heavy debris or pet use, and periodic infill top-ups every few years are all that's needed. Texas Tuff's maintenance service is available if you'd prefer professional care.
Ready to Start? Get a Free Estimate from Texas Tuff
Now you know what goes into a proper artificial turf installation in Dallas. The process takes time, skill, and the right materials - and every step matters. That's exactly what Texas Tuff delivers on every project.
Call (214) 945-9388 or schedule your free consultation today. We serve all of Dallas and the DFW metroplex.
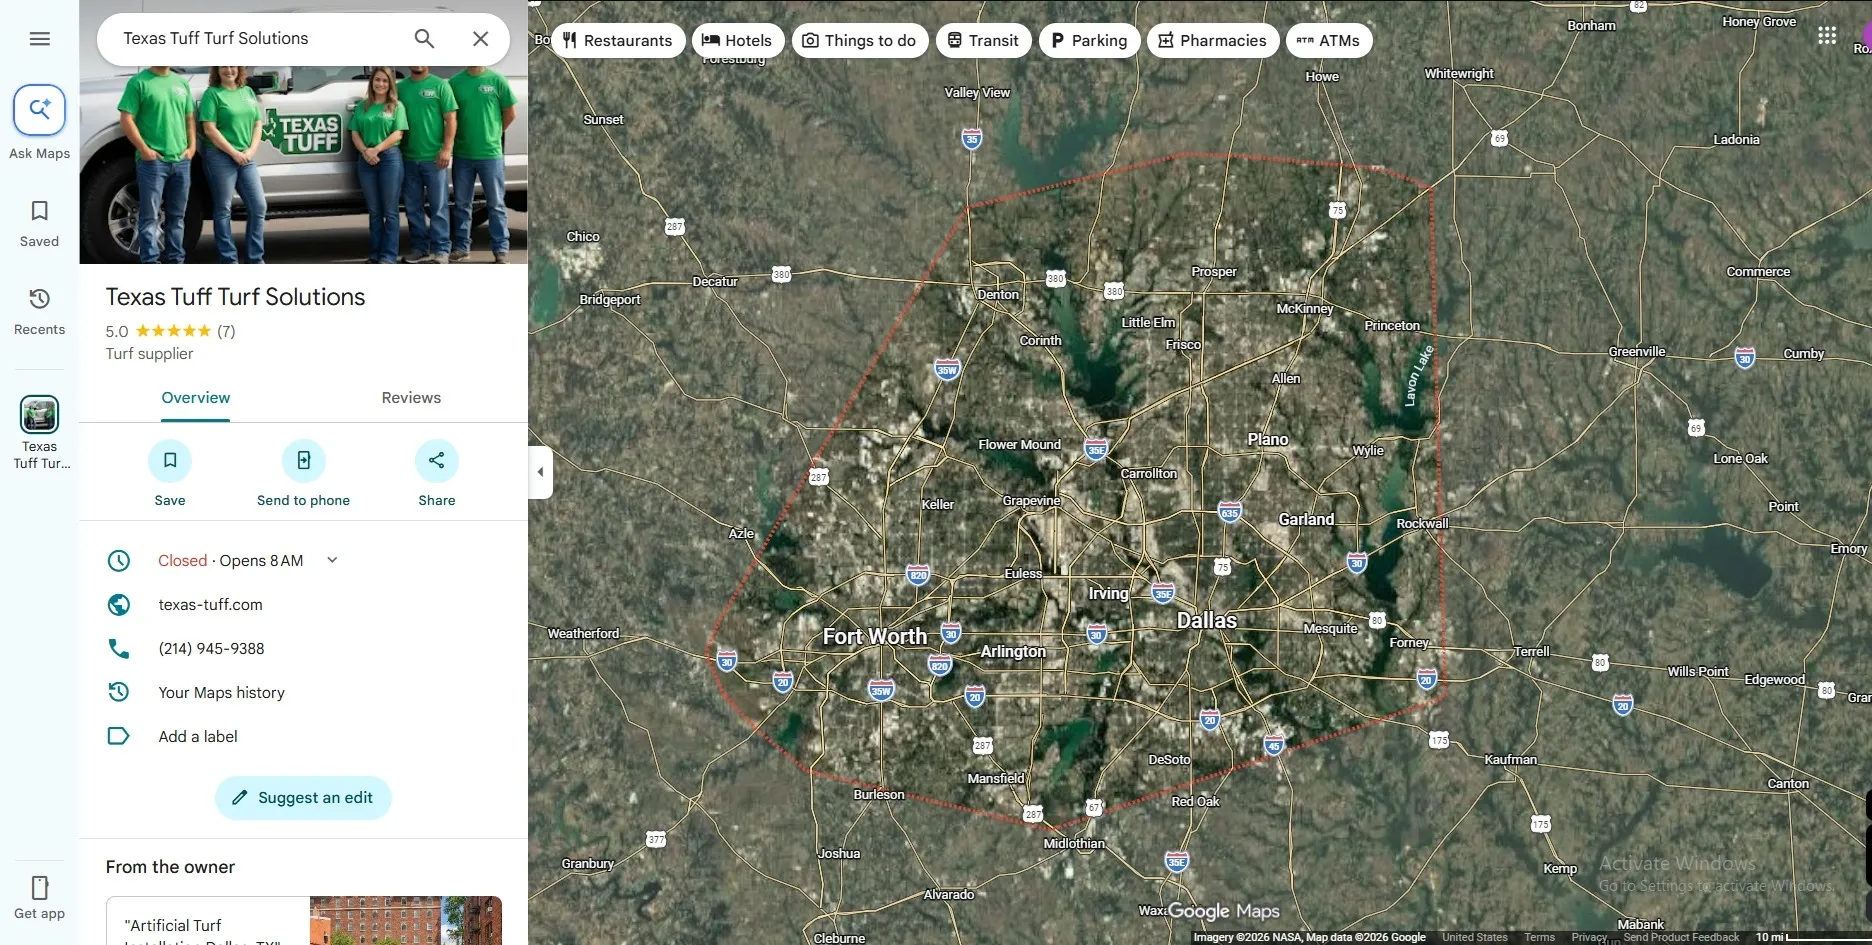
Texas Tuff Turf Solutions
Phone Number: (214) 945-9388
Address: 4636 Pine Valley Dr, Frisco, TX 75034
Map Location: https://maps.app.goo.gl/AbZ1hSytHneLCUGg6


Sign in to leave a comment.