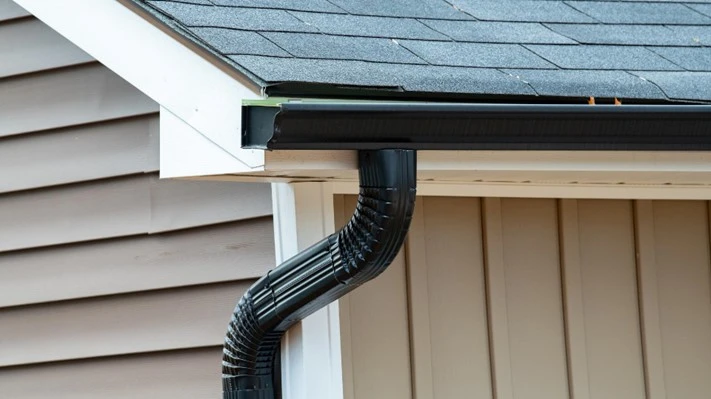
A rainwater downpipe helps divert excess water off our roofs and foundations, preventing potential damage and ensuring proper drainage. Over time, these downpipes can become clogged with debris, leaves, and other contaminants, impeding their functionality.
Regular maintenance and cleaning of rainwater downpipes are essential to keep them in optimal condition and ensure the smooth flow of rainwater. With that said, here are tips and step-by-step instructions for cleaning your rainwater downpipes.
Step 1: Gather the required tools and equipment
Before cleaning your rainwater downpipe at home, you must prepare the following tools and equipment:
LadderProtective gear (safety goggles, gloves, and a dust mask)Plumbing snake or wire coat hangerGarden hoseBucket or containerStep 2: Inspect the downpipes
Begin by visually inspecting your rainwater downpipes. Look for signs of blockages, such as overflowing water or noticeable debris accumulation. This initial assessment will help you determine the clog's severity and guide your cleaning approach.
Step 3: Safely position the ladder
Carefully position your ladder near the downpipe you intend to clean. Ensure the ladder is secure and on stable ground before climbing up. It's advisable to have a helper stabilise the ladder's base for additional safety.
Step 4: Remove debris from the top
Start at the top of the downpipe near the roof gutter. Use your gloved hand or a small scoop to remove visible debris, twigs, or leaves. Place the collected rubbish in the bucket for easy disposal later.
Step 5: Flushing the rainwater downpipe
With the initial debris removed, it's time to flush out the downpipe using a garden hose. Position the hose into the top opening of the downpipe and turn on the water supply.
Allow a strong stream of water to flow down the pipe, gradually dislodging any remaining debris. Watch out for areas that seem particularly clogged, as they may require extra attention.
Step 6: Clearing stubborn clogs
If you notice a restricted water flow even after flushing, you may need to employ additional techniques to clear stubborn clogs. A remedy for this is gently inserting a plumbing snake or a straightened wire coat hanger into the downpipe to dislodge blockages. Exercise caution to avoid damaging the pipe during this process.
Step 7: Repeat the flushing process
Once you have cleared any blockages, repeat the flushing process with the garden hose. This final step will help ensure all debris is out and the rainwater downpipe is in working order.
Step 8: Preventative maintenance
To keep your downpipes in good condition and minimise the frequency of clogs, consider the following preventative maintenance tips:
Trim overhanging branches:Regularly trim tree branches near your roof to minimise the debris that falls into the gutters and downpipes.Install gutter guards:Consider installing gutter guards to prevent leaves and large debris from entering the downpipes.Schedule routine inspections:Inspect your downpipes annually and clean them as needed to prevent significant clogs.Check for leaks:During inspections, check for any leaks or damaged sections. Promptly repair or replace them to maintain proper functionality.Regular cleaning and maintenance of your rainwater downpipe are vital for optimal performance. You can ensure that your downpipes remain free from clogs with these steps.
Remember that safety should always be a top priority when working at heights, so exercise caution and seek professional cleaning if necessary. By taking proactive measures, you can maintain the flow of rainwater and protect your property from possible water damage.


Sign in to leave a comment.