Professional portraits can show the visible signs of blemishes and pores which can prevent a photographer from capturing smooth skin of the model. Whether you are a beginner in photography or an experienced photographer, you can consider choosing online advanced skin retouching workflow tutorial that provides you with the best technical skills and knowledge for becoming a successful photographer.
Let’s take a look at the five advanced skin retouching tips for photographers:
AirbrushingIf you are a photographer searching for an effective method to capture an even skin tone in portraits, Photoshop can be the right tool for you! The airbrushing technique is similar to the concept of traditional airbrushing, which helps to give a flawless look to skin in a portrait. You can take online advanced skin retouching workflow tutorial to acquire an in-depth knowledge of airbrushing.
The first step is to open the Photoshop, go to the toolbox and select brush or another painting tool. Next, you need to go on the options bar and activate the airbrush mode by clicking a box, after which a tick will appear on the screen. Now, set the ‘flow’ amount, which is used to control the speed at which the tool applies paint.
Spot HealingYou can use the spot healing tool in photoshop to hide the blemishes in a portrait. Firstly, select a layer in the layers panel for removing the blemishes. Then, go to the tools panel, and select the spot healing brush tool.
You can move to the options bar for adjusting the size and hardness of the spot healing brush tool so that it adapts to the item that you have to cover and then click on a spot or drag over an object that you want to remove.
Avoid Painting Over BlemishesIf you are using the spot healing tool, you must avoid painting over blemishes. Instead of dragging your mouse over areas, you can click on the blemish that has to be removed. You can learn this method in advanced skin retouching workflow tutorial which can help you to spot heal the blemish without creating a large and smooth area that does not work well with the rest of the skin texture.
Work on a New LayerWhen you are applying the spot healing method, you must create a new blank layer to preserve the original image. Creating a blank layer allows you to make alterations to the new layer, and keep the original image in the same condition. You can create a new layer by clicking on the new layer button on the layers palette or press Ctrl+Shift+n.
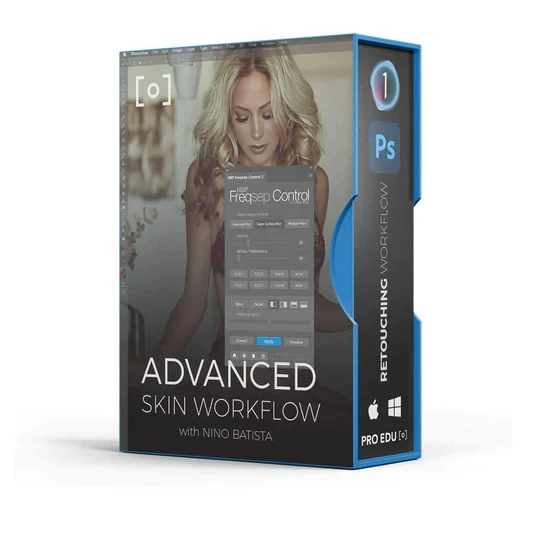
Frequency SeparationFrequency separation is a Photoshop technique that is used to give an even tone to your image with the use of two composite images. You can acquire knowledge about frequency separation in online commercial retouching workflow tutorial that can enable you to make a person’s complexion clearer, give a balanced skin texture appearance to dry or oily skin types and reduce wrinkles. Frequency separation is also beneficial for providing a smooth look to your background.
Wrap Up-
If you want smoother skin in portraits, you should be well-aware of the skin retouching basics. However, it is essential to practice the techniques that you learn in retouching tutorials to become a successful photographer. You can learn the basics of advanced skin retouching on any renowned online platform.


Sign in to leave a comment.