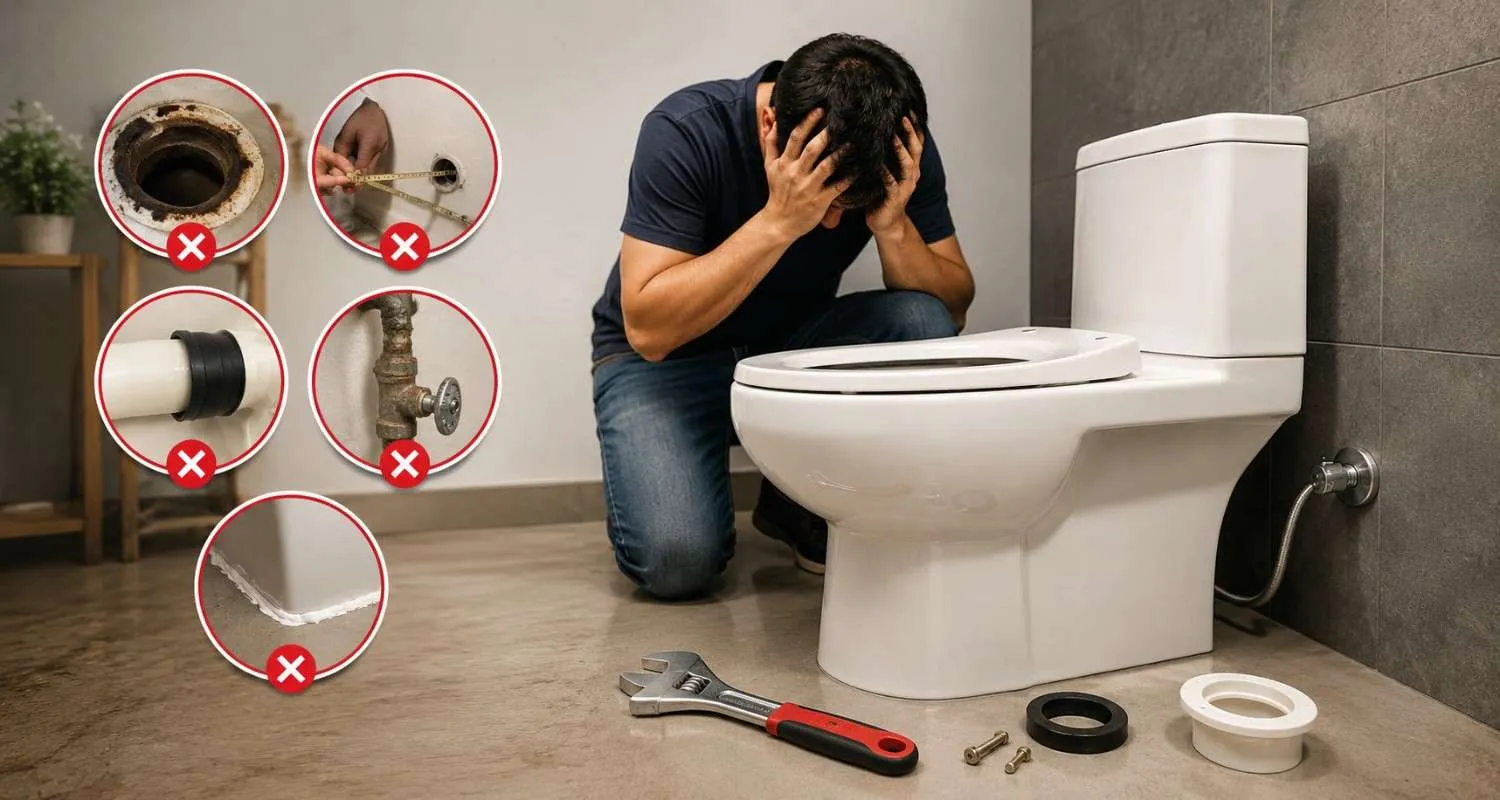

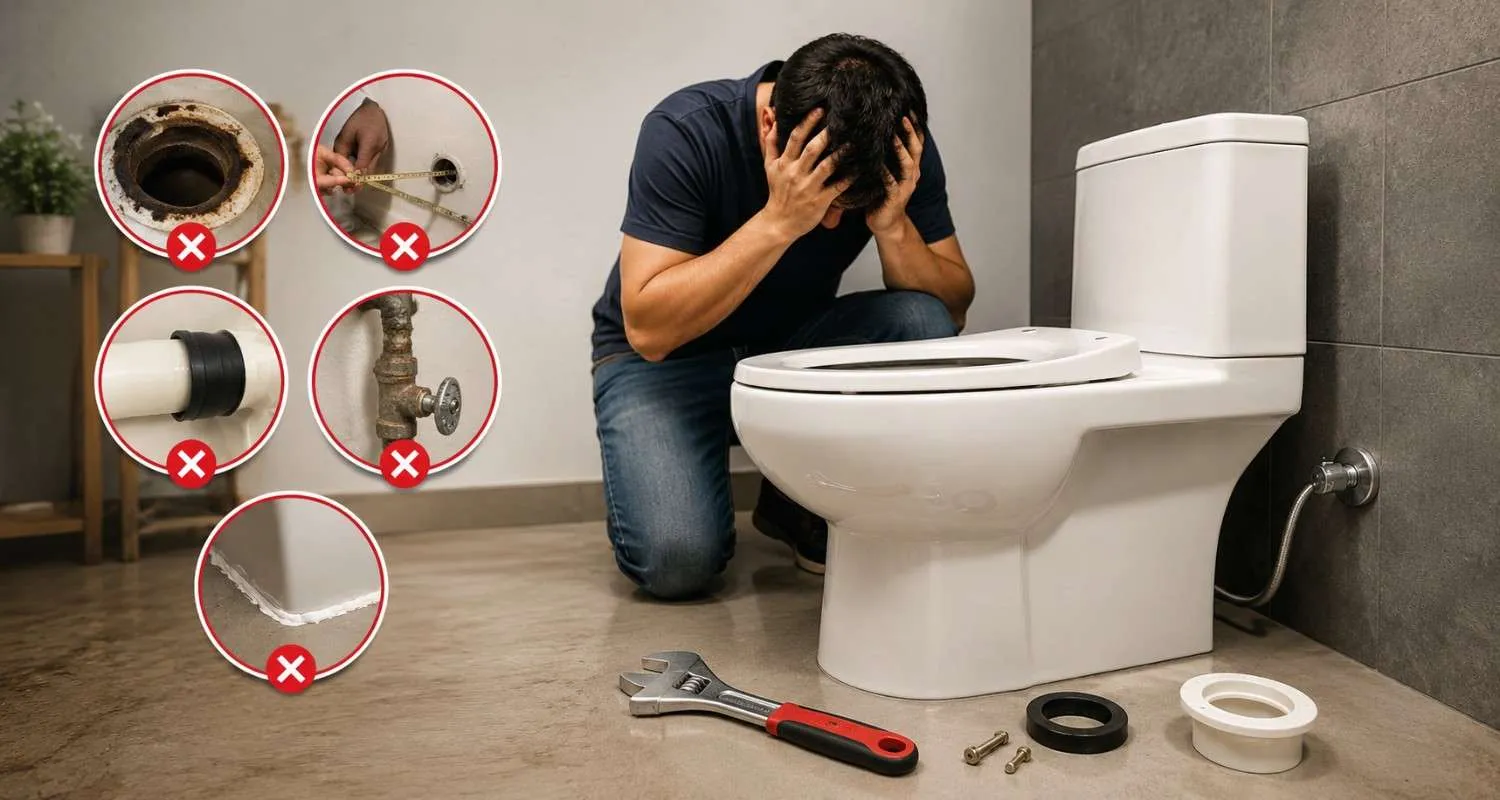
A fresh toilet fixture awakens a tired bathroom. Many homeowners, however, skip over small details that spark costly water damage and deep frustration. A smooth toilet bowl replacement in Singapore commands more than basic DIY excitement. You must grasp the hidden traps that wreck a sturdy installation. Dodge rushed choices and half‑baked prep from the very start. The blunders that follow snatch even skilled hands off guard. Lock in these warnings now, and your project will run trouble‑free for years.
Mistake 1: Overlooking the Water Shut-Off Verification
Before you wrench off the old bowl, you must confirm the water supply can halt without a drip. In many cases, DIY warriors skip this check and unleash a flood across the bathroom floor. At the same time, a faulty valve can spray water without warning. For this reason, you must turn the stop valve clockwise until it seats. After that, flush the toilet to drain the tank. In addition, watch for any trickle from the fill line. As a result, this simple verification guards your home from catastrophe.
How to Dodge This Flood Risk
- Turn the shut-off valve clockwise.
- Empty the tank with a flush.
Spot a Failing Shut-Off Valve Early
- Look for green corrosion buildup.
- Feel for a sticky handle turn.
Mistake 2: Neglecting the Closet Flange Condition
To start, the closet flange anchors your toilet to the floor. In contrast, if you ignore its state, you invite wobbling and leaks. In many instances, a corroded or cracked flange cannot hold the new bowl. For this reason, inspect the flange after you lift the old toilet. After that, remove any rust or old wax with a putty knife. At the same time, check the slots where the bolts sit. In addition, if they appear worn, you must replace the flange or use a repair ring. As a result, a sturdy base starts with a solid flange.
Ensure a Rock-Solid Foundation
- Examine the flange for cracks.
- Test the bolt slot integrity.
- Fit a repair ring if needed.
Reinforce the Flange Area
- Slide a repair strap underneath.
- Anchor the ring with concrete screws.
- Apply a wax ring with precision.
Mistake 3: Mismeasuring the Rough-In Distance
To begin, many people purchase a new toilet without measuring the rough-in. In particular, this gap stretches from the wall to the centre of the drainpipe. As a result, a wrong measurement yields a toilet that refuses to fit. For this reason, you must stretch a tape from the finished wall, not the baseboard. After that, record that number before you visit the store; also keep the number of an emergency plumber in Singapore. On the other hand, you may haul home a fixture that sits too far from the wall or cannot connect at all. In the end, precise measuring spares you a return trip.
Master the Measurement Game
- Measure from the finished wall.
- Confirm the standard rough-in size.
- Verify the new toilet’s rough-in size.
Avoid These Measurement Pitfalls
- Never guess the pipe location.
- Measure after removing the old unit.
- Check for an offset flange design.
Mistake 4: Cranking the Bolts with Excessive Force
To start, overzealous tightening can shatter the porcelain base. In fact, this mistake occurs when you want to halt any movement. In contrast, too much torque creates hairline cracks that expand over time. For this reason, you must tighten the bolts in a gentle, alternating pattern. After that, use a hand wrench instead of a power tool. In addition, stop the moment you feel resistance. The toilet should sit flush without rocking. As a result, a soft touch protects the ceramic for the long haul.
Tighten With a Cautious Grip
- Alternate between each bolt side.
- Use a hand wrench for control.
- Halt when you feel firmness.
Fix a Rocking Toilet Correctly
- Slip plastic shims under the gap.
- Never stack old coins as shims.
- Snip the shim ends with a blade.
Mistake 5: Rushing the Leak Test
To begin, after you connect the water line, you must test for leaks. In contrast, skipping this crucial step invites hidden water damage. Turn the supply back on and watch the connection points. After that, flush several times and observe the base and the tank. In fact, a tiny drip can morph into a major repair bill. For this reason, use a dry paper towel to detect moisture. In addition, if you spot any wetness, tighten the connection or replace the wax ring, then connect emergency plumber in Singapore.
Perform a Flawless Final Check
- Watch the supply line junction.
- Flush three times to test.
- Dry-check with a paper towel.
Detect Silent Leaks Early
- Add food colouring to the tank.
- Wait thirty minutes without flushing.
- Look for coloured water below.
Final Thought
Patience and sharp observation morph a tricky swap into a lasting triumph. Your careful work today guards the subfloor from hidden decay and foul sewer gas. A secure toilet bowl replacement in Singapore gifts you silent, leak‑free performance every single day. Scan the bolts and the supply line twice a year without fail. When a stubborn leak pops up or a flange falls apart, snatch the phone and wring a skilled hand. Your home earns that final layer of protection, and the peace of mind that follows is worth every careful step.
FAQs
Q 1: How do I know if the closet flange needs a swap?
If the flange splits or rusts through, the toilet will sway and drip. Inspect for heavy rust or snapped bolt slots. A broken flange cannot clutch the bolts, so mount a repair ring or exchange it.
Q 2: Why does my new toilet rock after installation?
A wobbling toilet often signals an uneven floor. Slide plastic shims under the base to anchor it. Never snatch coins or cardboard as shims. After you shim, tighten the bolts with a soft grip and trace a silicone seal.
Q 3: Should I replace the water supply line at the same time?
Always swap out the old supply line. Plastic tubes turn brittle and rupture over time. Pick a braided steel line instead. This small move halts a sudden burst and guards your bathroom from a damaging flood.
Q 4: When must I phone a skilled hand for help?
Ring for backup if you spot a fractured drainpipe, a snapped shut-off valve, or sewage surging back up. A leak that lingers after you swap the wax ring demands a pro to inspect the hidden plumbing.



























Sign in to leave a comment.