For a property to sell quickly and for the highest price, its listing must stand out in online. Both excellent listing photos and a compelling property description are necessary. When browsing listings, buyers first look at the headlines and images before reading the descriptions and features of the properties. So, you have to make an excellent first impression so customers will be swayed to click the contact button. Photography is essential to your success if you want to sell your home or property. You are against a plethora of property listings in the marketplace. Because of the saturated market, your photos must be stunning, especially your feature image, as it will compel viewers to pause and possibly browse the listing further. Ideally, if your goal is to showcase your property in the best light to get it sold quickly, you’ll want to invest in a professional real estate photographer. They are experts and have a lot of experience with digital imaging, photo editing, color balance, and ultimately, delivering photos that showcase your property to its fullest potential. Here are a few things that real estate photographers should be aware of: 1. Check the property beforehand A photographer should never just show up to a property and start taking photos. A good rule of thumb is to show up to a set a little early to get a lay of the land of the property and get a general idea of where the best shots are. A photographer can even take some test photos while walking around the property. Then they can look through those test photos to see what stands out in space and compare it with what they think should stand out to viewers in the photographs. Knowing the property in advance is always a plus because it helps you decide what to capture. 2. Create a shot list They can create a standardized shot list for their service to help clients understand what they are providing; In doing so, they can take however many images are required for each room. It demonstrates what clients can expect from them. Additionally, knowing how many pictures are required for each room makes the photographer’s job more manageable. They can always consider unique features and take additional pictures if necessary. 3. Clear the space of clutter and highlight its best elements. When it comes to making a home appealing to potential home buyers, nobody wants to view a house with messy rooms. We all have messy rooms at home sometimes, but in the world of real estate clutter is unacceptable. You at least want to rooms to be clean enough that potential buyers can picture their own furniture in the space. A photographer’s job is not to stage a home, however, they should always check the rooms for cleanliness and adequately place the furniture before taking pictures if they see a need to do so. Additionally, they should keep an eye on each room's most delicate features and highlight them in photos. 4. Straighten shots to reduce distortion When shooting from various angles, maintaining the camera's straightness is essential to prevent photo distortion (this will save a lot of editing time in the post-processing of the images). 'Five feet is the ideal height for real estate photography; it makes the photos appear balanced and natural. Going over the standard height will capture too much ceiling and going too low will capture most of the furniture rather than the actual space in your home. 5. Post-processing after real estate photography After the photo shoot is over, real estate photography tasks are not finished. Post-processing is required to improve the photos further. Remember, clients only want the best real estate photos to draw attention to the standout features of the properties and to provide prospective buyers with a virtual tour even if they aren't on the site themselves. Photographers can choose from various pre-sets in photo editing programs like Photoshop or Lightroom to improve photos. Instead of just one pre-set, they can use a variety of pre-sets appropriate for each photo to produce a unique but cohesive collection of images. These pre-sets will take care of lighting adjustments, temperature, and white balance to make real estate photographs look professional, even if you're just starting. Buyers now have a better view of the entire property, including the roof and other difficult-to-see features, neighbors, amenities, and the property map, thanks to modern real estate photography that takes advantage of drones for aerial shots. 6. Consider partial staging of the home The market in the real estate business is competitive, so a photographer should step up their arrangements to reach the top of the real estate listings. Before starting to use the rest of these real estate photography tricks, it's also important to stage the home. The photographer should try to adjust the room to allow potential buyers to see that room's full potential, but only slightly. The actual staging should be done by a professional stager. To capture the perfect picture sometimes means rearranging the furniture and opening the blinds for natural light. 7. Adjust ISO to minimize noise Photographers know their camera best and how to take the best pictures. However, the photographer should reduce ISO (camera film’s sensitivity) to around 400 or below to avoid too much photo noise. Reducing ISO makes for higher quality pictures, and there is no need for high ISO when shooting real estate photography. Key Takeaways The proverb "a picture paints a thousand words" cannot be overstated in real estate photography. There are real estate photographers who can be your helping hand when selling your property, however, you have to look at the qualities and experience of photographers to know if they’re going to give you the images you desire. At 615 Media, you can trust that our photography is not only impressive, but our images will highlight the unique features and characteristics of your property. For the highest level of quality imaging, schedule your appointment today.
7 Things Real Estate Photographers Need to Know
Similar Reads
Browse topics →
Event Photography: Capturing Moments That Matter

5 Important Stats that Prove the Value of Real Estate Photo Editing

Ultimate Guide to Portrait Retouching in 2025: Tools, Trends & Technique…

Beyond Manali: Hidden Green Valleys of Kullu You Need to See
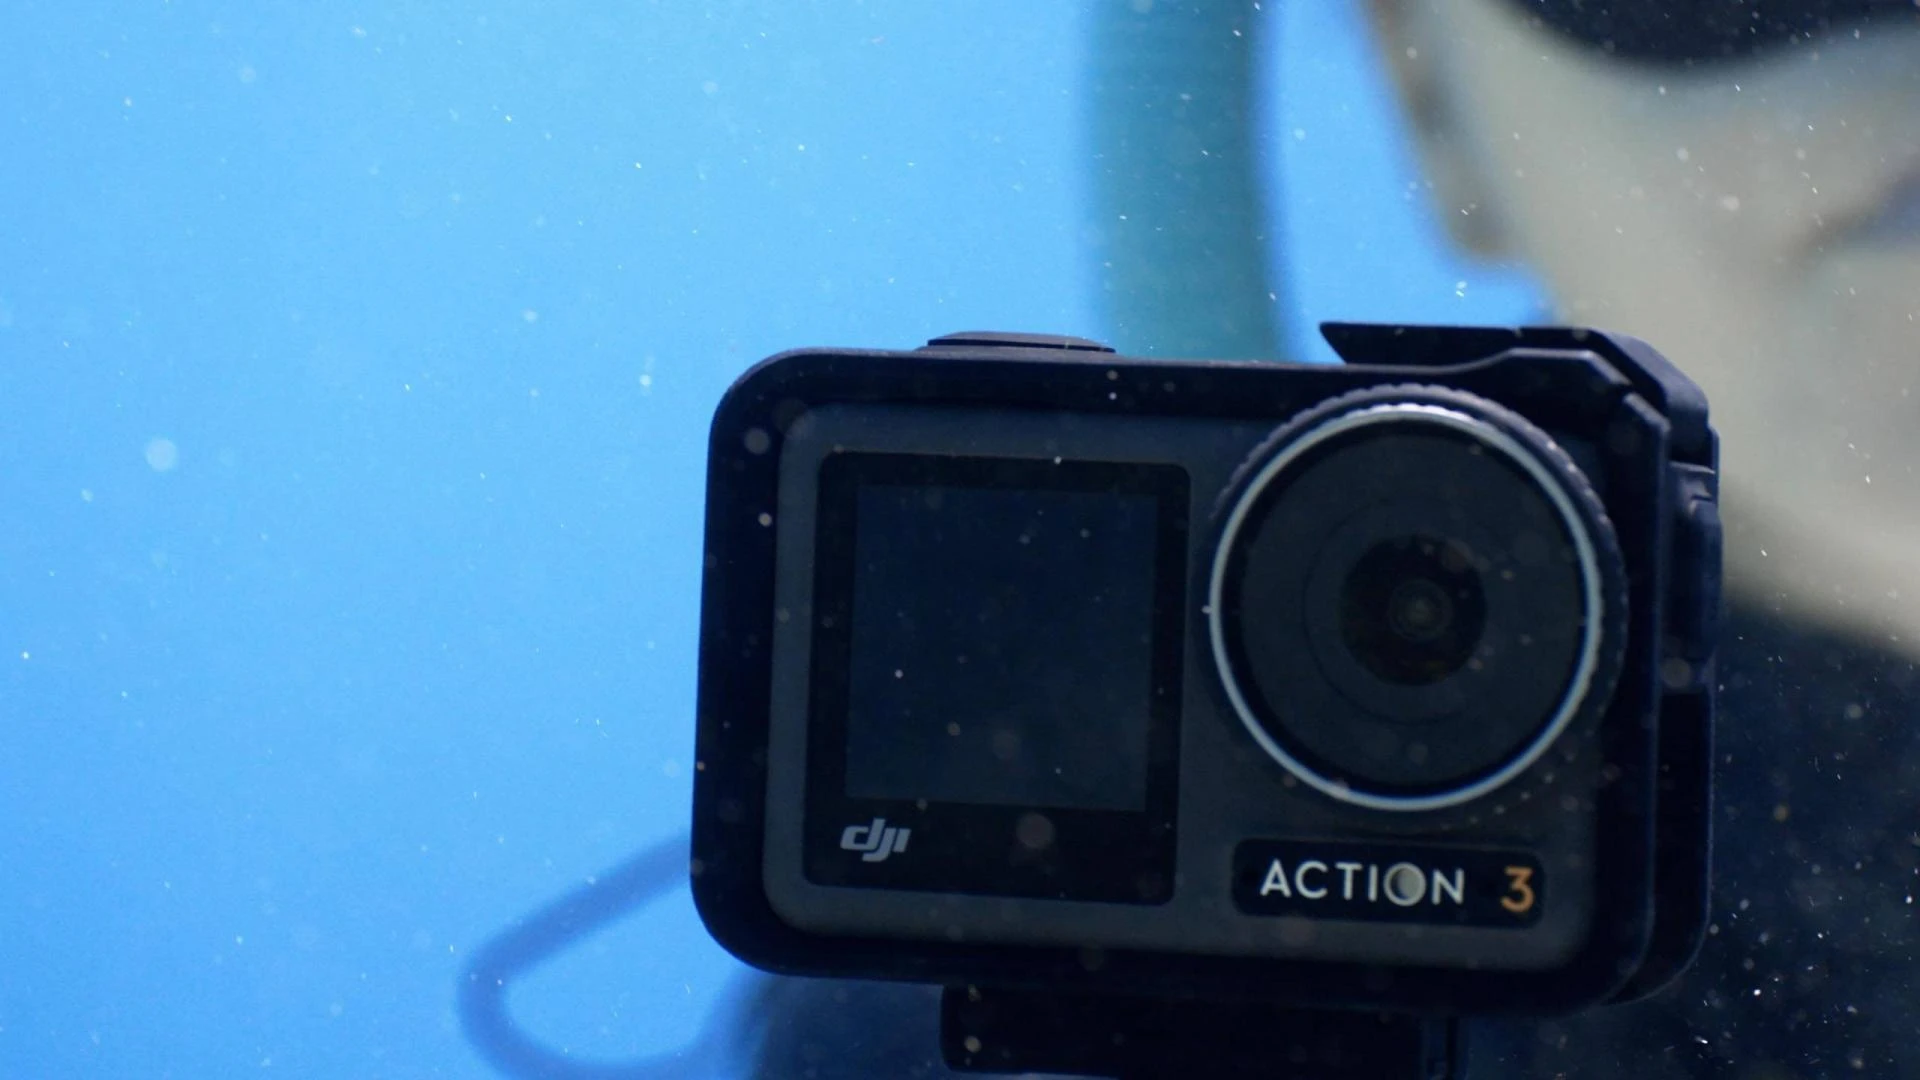
The Synergy Between Vlog Camera, Camera Stabilizer, and Wireless Microph…

How Pichwai Art Captures the Life of Lord Krishna

Blue Lagoon Malta in 2025: What’s Changed and What’s Still the Same

How Chauffeur Services Are Transforming Weekend Getaways from Geelong
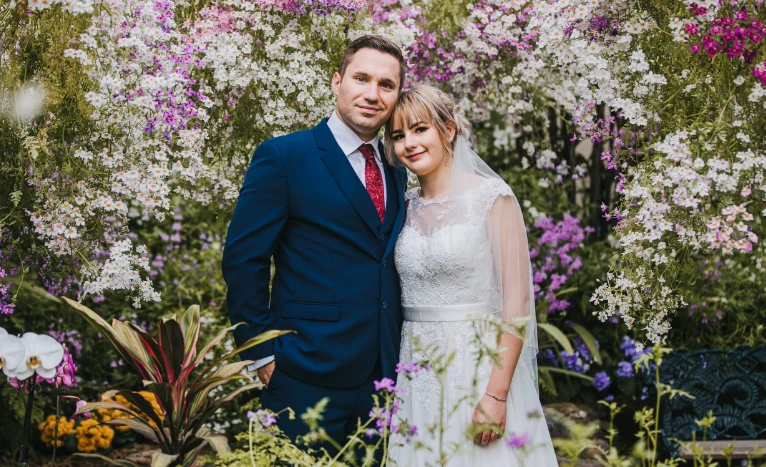
Capturing Timeless Moments With Indian Wedding Photography In Melbourne.
More in Photography
Browse all in Photography → Photography
Freeze the Tiny Toes & the Glowing Bump: A Guide to Newborn Photography …
 Photography
From Baby Bump to Tiny Hands: Creative Family Maternity Photoshoot & New…
 Photography
Choisir son premier appareil photo : un guide pour débutants
 Photography
Silver Halide Photography Explained: Why Collectors Value True Darkroom …
 Photography
Corporate Headshots vs Author Headshots: What Actually Differs
 Photography
How to Optimize Your Professional Image Using an AI Profile Photo Editor
Sign in to leave a comment.