Don't panic if you recently bought a Brother printer and are unable to locate the installation CD. Using the built-in macOS tools and Brother's web resources, install Brother printer on Mac is simple. To start your printer without a CD, simply follow these easy instructions.
Detailed Instructions:
1. Attach the printer.
- USB Connection: Use a USB connection to connect your Brother printer to your Mac.
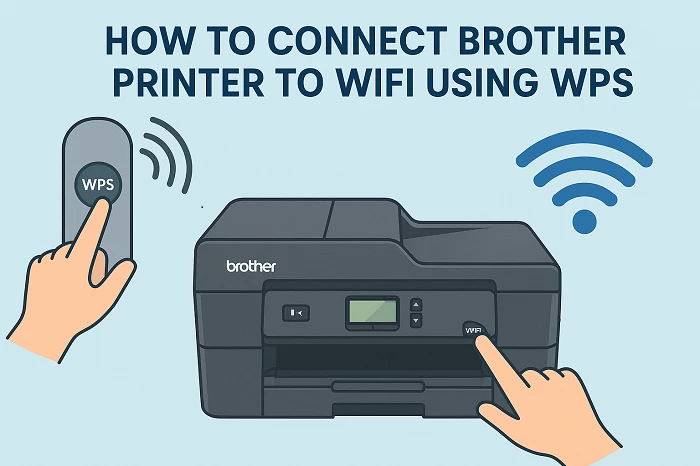
- Wireless Connection: Make sure your Mac and printer are linked to the same Wi-Fi network in order to set up a wireless Brother printer. Typically, the printer's control panel under "Network" → "WLAN → "Setup Wizard" allows you to connect it to Wi-Fi.
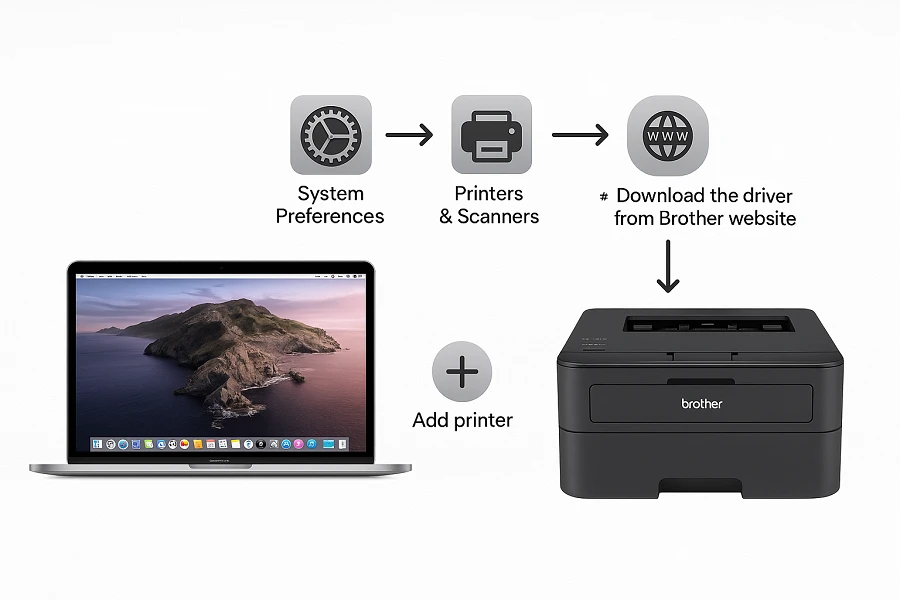
2. Get the Most Recent Drivers
- Go to the official Brother Support website.
- Choose macOS as your operating system and enter the model number of your printer.
- Get the most recent Full Driver & Software Package here.
3. Set Up the Program
- After downloading, launch the.dmg file and install the drivers and tools by following the on-screen instructions.
- After installation, restart your Mac to make sure all of the adjustments are applied appropriately.
4. Manually Add Your Printer
- Navigate to Printers & Scanners under System Settings in the Apple Menu.
- To add a printer, click the "+" button.
- If your printer is connected, it should show up under "USB" or "Nearby Printers."
- Click Add after selecting your printer and the appropriate driver.
5. Examine the printer
- To verify that the setup was successful, print a test page.
Advice:
- Always use the most recent drivers from Brother's website that are compatible with macOS.
- Keep your Wi-Fi steady and steer clear of VPNs throughout installation for a seamless brother printer wireless setup.
- Try rebooting your router and printer before adding it again if your printer doesn't appear.
By following these instructions, you can easily install a Brother printer on a Mac without a CD and take advantage of hassle-free wireless printing at any time. For more details visit our website.


Sign in to leave a comment.