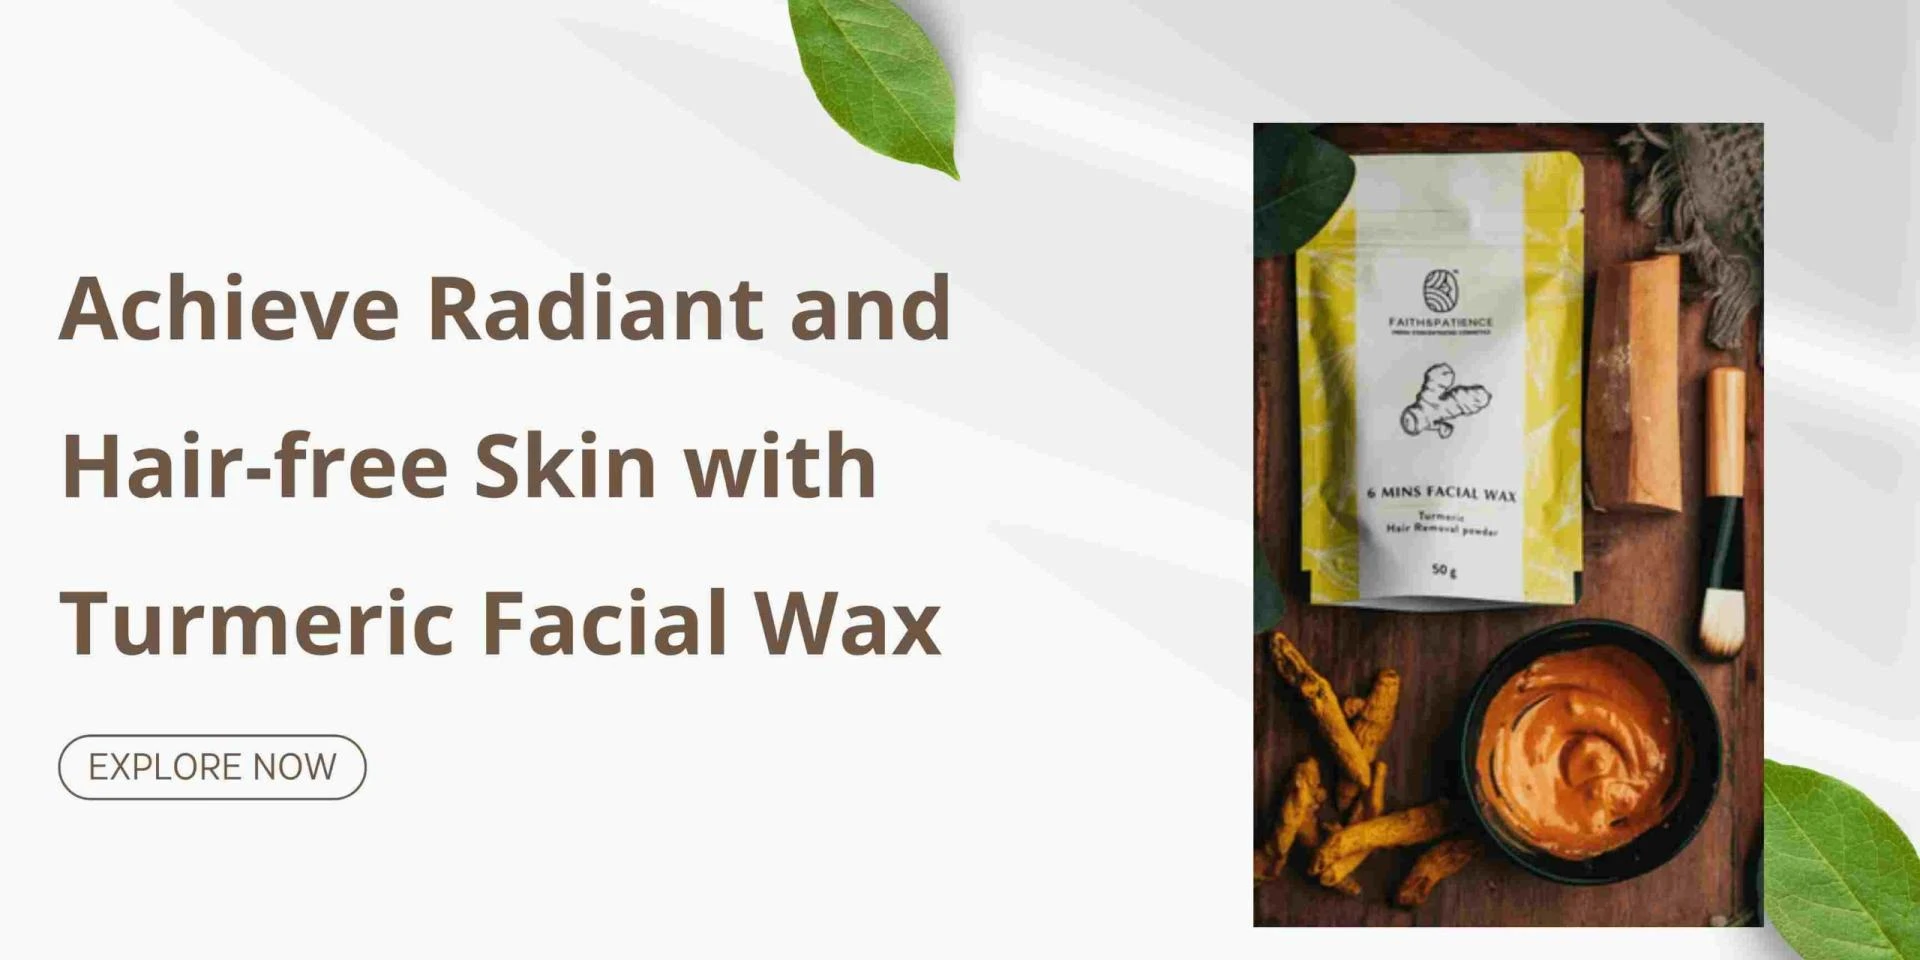
Discover the secret to attaining a luminous complexion and saying goodbye to unwanted hair with the remarkable Turmeric Facial Wax. Unlock its potential and transform your skin effortlessly!
Many people share the common aspiration of having smooth and glowing skin. If you're seeking a solution for hair-free skin, turmeric facial wax might be exactly what you need. Not only does it harness the anti-inflammatory power of turmeric, but it also brightens your complexion, leaving your skin hair-free and radiant. In this comprehensive guide, we will walk you through each step of creating and utilizing turmeric facial wax to deliver unparalleled skincare results. Learn more about this amazing technique below.
Materials You'll Need:
Here are the supplies you'll require:
- Ground turmeric
- Flour made from chickpeas (known as gram flour)
- Oil derived from coconuts
- Naturally occurring sweetener - honey
- Pot with non-stick coating
- Utensil used for stirring
-Strips for hair removal or cotton fabric
-H2O, the essential liquid
-Skin hydrating lotion
-Absorbent cloth used for drying
Step-by-Step Guide:
To prepare the mixture of turmeric wax, follow these steps:
Incorporate 1 tablespoon of turmeric powder, along with 2 tablespoons of chickpea flour, 2 tablespoons of coconut oil, and a teaspoon of honey into a non-stick saucepan. Make sure to thoroughly stir the concoction over gentle heat. Continue stirring until it reaches a creamy and uniform consistency. The key lies in achieving an adequately dense texture that can be easily spread without being excessively thin.
To cool down the mixture, here are the steps:
Once you've prepared the wax mixture, take it off the heat and let it cool. Make sure that the temperature is comfortable enough before applying it onto your skin.
Here's how you can get your skin ready:
First, make sure to cleanse your face thoroughly to eliminate dirt, oil, and any lingering makeup. Once you're done, pat your skin dry using a clean towel.
The wax should be applied as follows:
Spread a thin coat of the turmeric wax that has been cooled down onto the desired areas using either a spatula or your fingertips. Remember to apply it in the same direction as your hair growth.
Next, position the waxing strips or cloth in the following manner:
Once you've applied the wax, promptly place a strip of waxing paper or a cloth made of cotton over the treated area. Apply firm pressure to secure it in position.
To remove the wax, here's what you should do:
Hold the skin tight with one hand and swiftly pull off the strip or cloth in the opposite direction of hair growth. Doing it all at once helps reduce any discomfort you may experience.
Feel free to repeat these steps as needed:
Keep applying the wax onto various sections and eliminating it following the identical technique. If you find that the wax becomes excessively dense to glide smoothly, you might have to warm it up a bit again.
Hydrate and purify:
Once you're done waxing the areas you want, it's essential to purify your skin in order to eliminate any lingering wax residue. By following up with a gentle moisturizer, your skin will become serene and protected from any potential irritation.
Post-waxing skin care:
It's important to steer clear of direct sunlight right after getting waxed because your skin might be more sensitive. Additionally, for the next day, it's best to avoid using any harsh skincare products.
Conclusion:
In summary, harness the power of turmeric facial wax to attain silky smooth and hairless skin, all while enjoying the nourishing properties of turmeric for a luminous and vibrant complexion. This comprehensive guide will walk you through the process of achieving flawless skin in the comfort of your own home. Before applying the wax, it's essential to conduct a patch test to rule out any allergic reactions. Embrace this waxing adventure with enthusiasm!


Sign in to leave a comment.