When it comes to upgrading your kitchen or bathroom, few changes deliver as much visual impact as a well-designed backsplash. It’s not just a decorative element; it protects your walls, enhances durability, and ties your entire space together. If you're planning a backsplash installation, understanding the process and making informed decisions will help you achieve a result that’s both functional and visually appealing.
This guide walks you through everything you need to know from planning and material selection to installation and maintenance so you can approach your project with clarity and confidence.
Why a Backsplash Is More Than Just Decoration
A backsplash serves as a protective barrier against moisture, grease, and stains, especially in high-use areas like kitchens and bathrooms. But beyond practicality, it plays a major role in defining the overall aesthetic of your space.
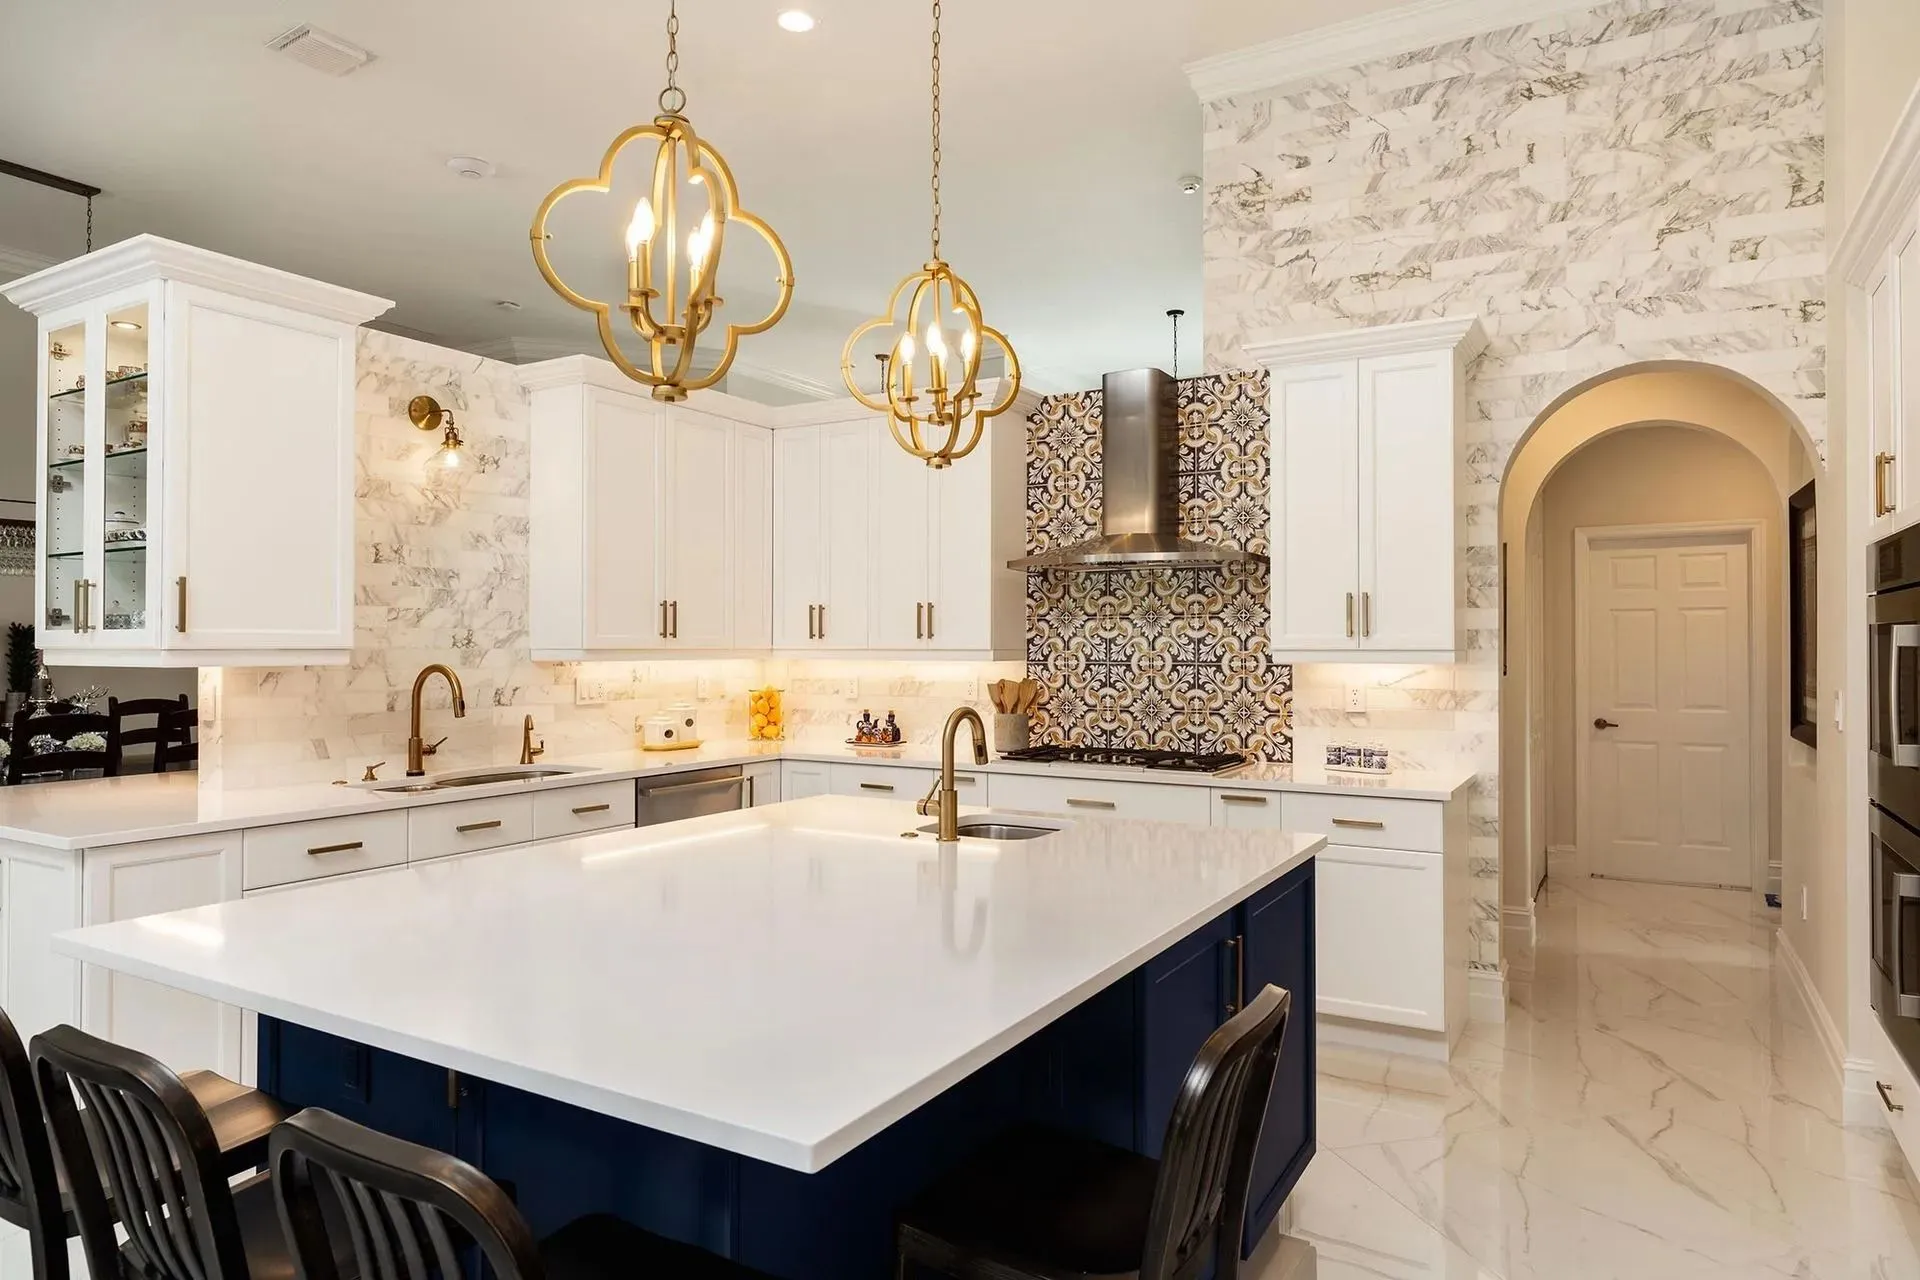
In homes across Dalton, where design preferences often blend modern functionality with classic comfort, backsplashes help create a polished and cohesive look. Whether you prefer subtle tones or bold patterns, the right backsplash can elevate your interiors instantly.
When considering backsplash installation in Dalton, GA, it’s important to balance design with durability. A beautiful backsplash should also withstand daily wear and tear.
Choosing the Right Material for Your Space
Material selection is one of the most critical steps in backsplash installation. Each option offers a unique combination of style, maintenance, and longevity.
Popular Material Options
- Ceramic and Porcelain Tiles
Affordable, versatile, and easy to maintain, these are among the most commonly used materials. - Glass Tiles
Ideal for creating a sleek, modern look with reflective qualities that enhance light. - Natural Stone (Marble, Granite, Slate)
Offers a luxurious and timeless appearance but requires sealing and regular maintenance. - Metal Tiles
Perfect for contemporary or industrial designs, adding texture and shine. - Peel-and-Stick Options
Suitable for quick updates, though less durable than traditional materials.
When planning backsplash installation, consider your lifestyle. High-traffic kitchens may benefit from low-maintenance materials, while decorative spaces can accommodate more delicate finishes.
Planning the Layout and Design
Before installation begins, it’s essential to map out your backsplash design. This step ensures that the final result aligns with your expectations.
Key Design Considerations
- Tile Pattern: Subway, herringbone, vertical stack, or mosaic
- Color Scheme: Complement or contrast with cabinets and countertops
- Coverage Area: Partial backsplash vs. full wall coverage
- Grout Selection: Matching grout for a seamless look or contrasting grout for added detail
A well-planned layout helps avoid awkward cuts and uneven spacing, ensuring a clean and professional finish.
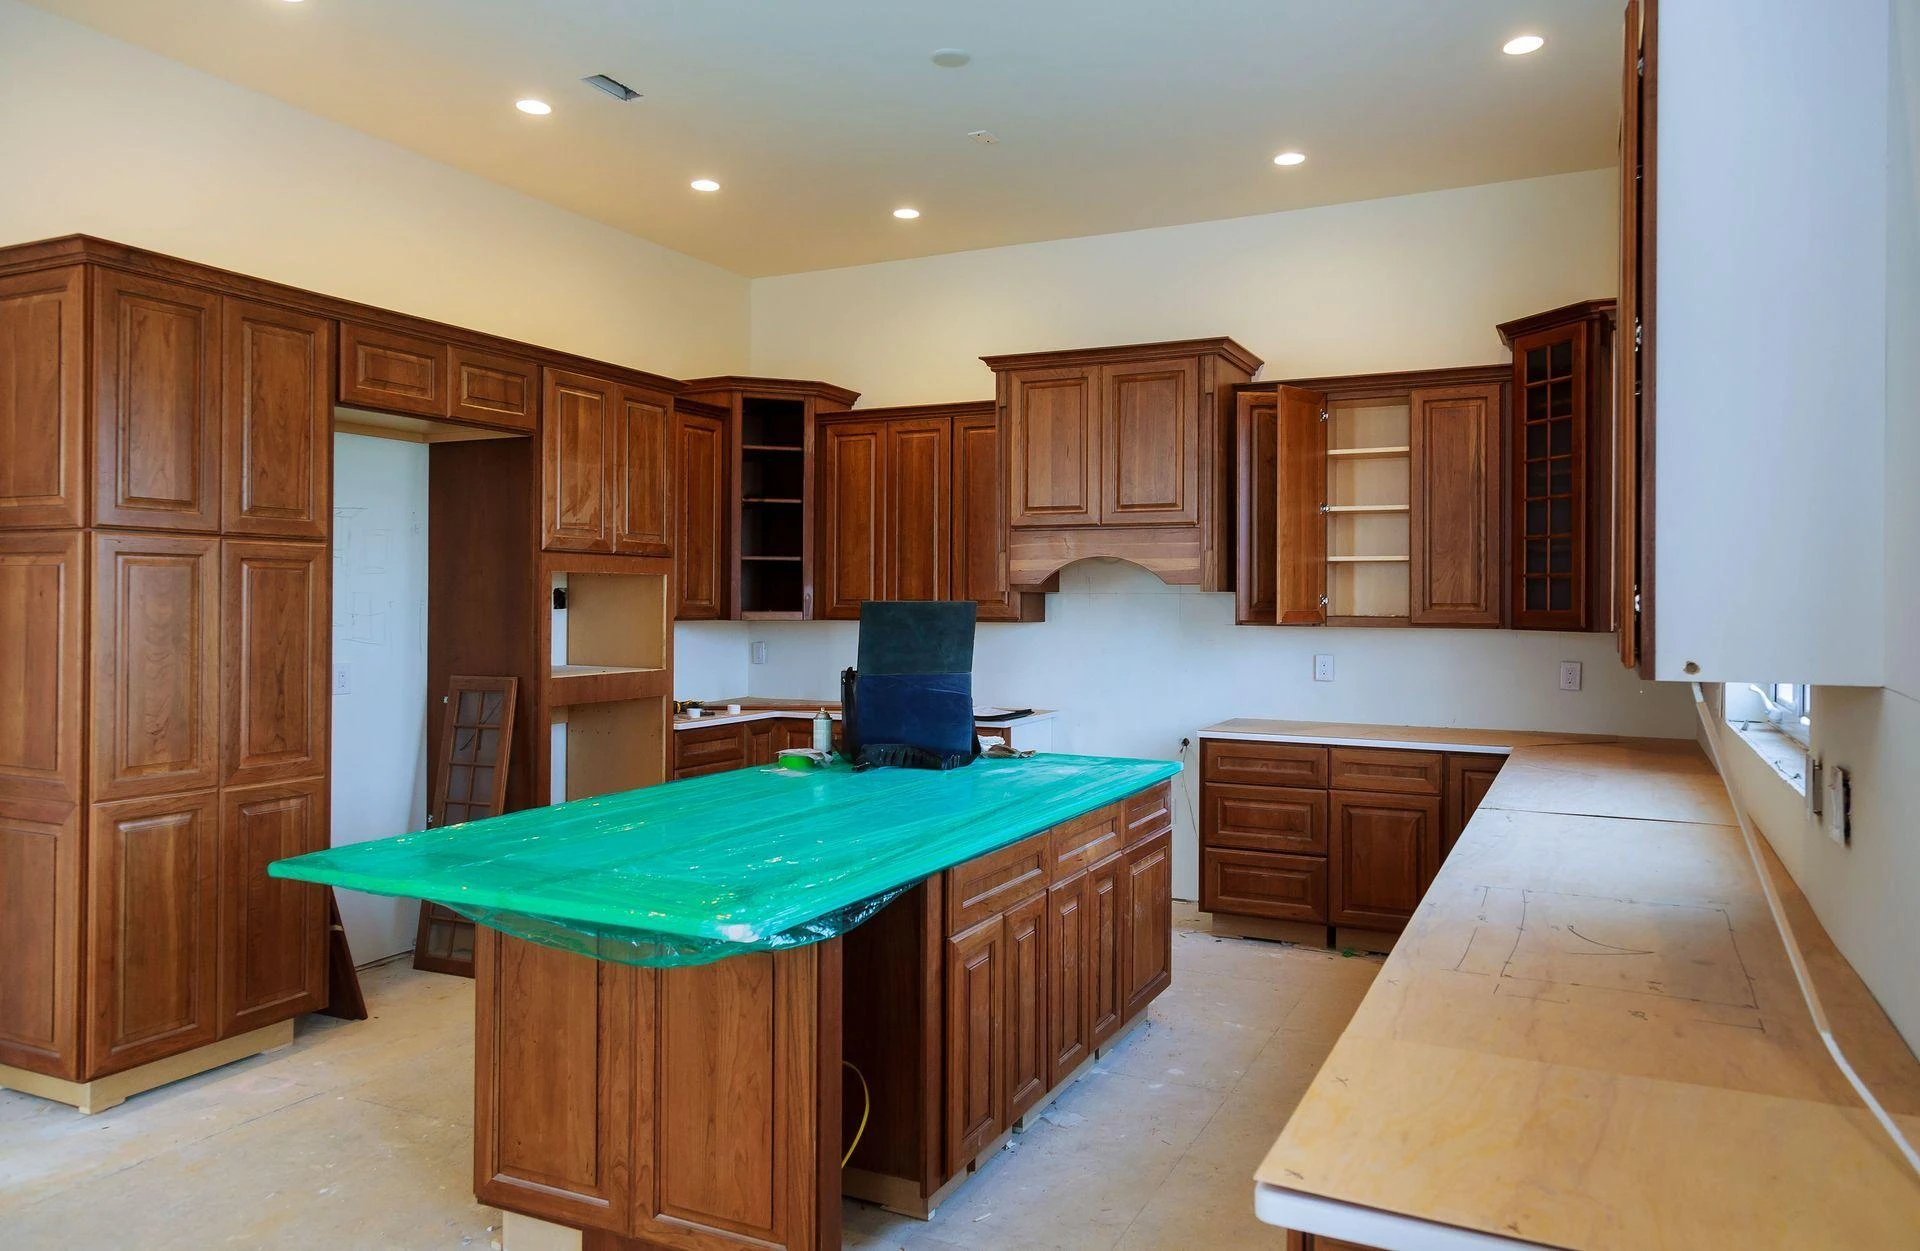
Preparing the Surface for Installation
Proper surface preparation is crucial for a successful backsplash installation. Skipping this step can lead to poor adhesion and long-term issues.
Preparation Steps
- Clean the wall thoroughly to remove grease, dust, and debris
- Repair any cracks or uneven areas
- Ensure the surface is dry and smooth
- Apply a suitable primer if necessary
Taking the time to prepare your surface correctly will make the installation process smoother and more durable.
Step-by-Step Installation Process
Understanding the installation process helps you manage expectations and ensures better results.
1. Measure and Mark
Accurate measurements are essential. Mark guidelines on the wall to maintain alignment during installation.
2. Apply Adhesive
Use tile adhesive or thin-set mortar, depending on your material. Apply evenly with a notched trowel.
3. Place the Tiles
Start from a focal point, usually the center or bottom, and work outward. Use spacers to maintain consistent gaps.
4. Cut Tiles as Needed
Edges and corners may require precise cutting. Use appropriate tools to achieve clean edges.
5. Allow Adhesive to Set
Let the tiles set according to the recommended drying time before moving to the next step.
6. Apply Grout
Fill the gaps between tiles with grout, ensuring even coverage. Wipe away excess with a damp sponge.
7. Seal (If Required)
Natural stone and some grout types require sealing to prevent moisture absorption.
Following these steps carefully ensures that your backsplash installation in Dalton, GA, is both durable and visually appealing.
Common Mistakes to Avoid
Even small errors can affect the final outcome of your backsplash. Being aware of common mistakes can help you avoid them.
- Skipping proper measurements
- Using the wrong adhesive for the material
- Ignoring spacing and alignment
- Rushing the drying process
- Choosing grout that clashes with the tile design
Attention to detail is key to achieving a professional-looking result.
Maintenance and Long-Term Care
Once your backsplash is installed, proper maintenance will keep it looking fresh and new.
Maintenance Tips
- Clean regularly with a mild, non-abrasive cleaner
- Avoid harsh chemicals that can damage tiles or grout
- Reseal natural stone surfaces periodically
- Address stains or cracks promptly
With minimal care, a well-installed backsplash can last for years while maintaining its visual appeal.
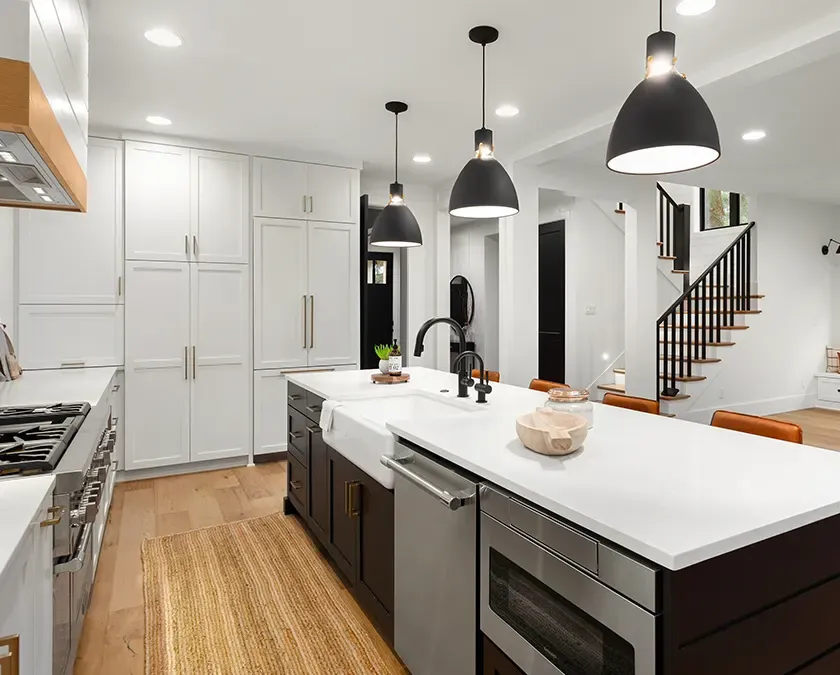
Enhancing Your Space with the Right Design Choices
A backsplash is more than just a finishing touch; it’s an opportunity to express your style. Whether you prefer a clean, minimal look or a bold, artistic statement, your design choices should reflect your personal taste.
In Dalton homes, where comfort meets functionality, backsplashes often serve as a bridge between traditional and modern design elements. Choosing the right combination of materials, colors, and patterns ensures that your space feels cohesive and inviting.
Conclusion
A successful backsplash project requires careful planning, thoughtful design, and precise execution. By understanding each step of backsplash installation in Dalton, GA, you can transform your kitchen or bathroom into a space that is both practical and visually striking.
From selecting the right materials to avoiding common mistakes, every decision plays a role in the final outcome. When done right, a backsplash not only protects your walls but also enhances the overall character of your home, proving that even small upgrades can make a big difference.


Sign in to leave a comment.