Tiling adds beauty, strength, and character to any space. But the finishing touch that makes tiles look neat and professional is the tile trim. Tile trim serves as a protective edge, preventing chipping, cracking, and uneven borders. It gives walls, floors, and countertops a clean, polished look. However, many people make minor yet costly errors when handling tile trim installation in Glenrothes.
When installed properly, tile trim provides durability and style. But when done incorrectly, it can ruin the entire finish. In this blog, we’ll uncover the most common mistakes in tile trim installation and discuss how to avoid them. You’ll also learn key steps and best practices.
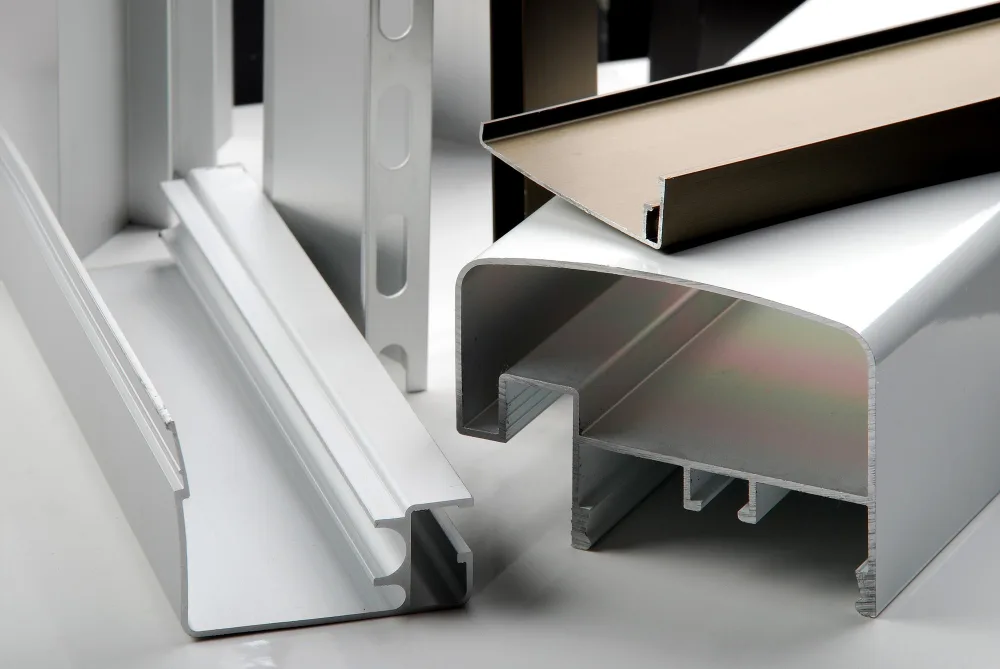
What Is Tile Trim and Why is it Important
Tile trim is a decorative edge that finishes the end of a tiled surface. It helps transition between tiles and other materials while protecting the edges from damage. Trims come in various styles, such as metal, PVC, or ceramic, and enhance the overall appearance of any tiled area.
Without tile trim, the exposed edges can chip or crack over time. It also leaves an unprofessional look. Properly installed tile trim ensures that the edges remain smooth and long-lasting. It adds structure and elegance, especially in bathrooms, kitchens, and flooring projects.
When to Use Tile Trim
Tile trims are used in various situations to enhance functionality and appearance.
Use tile trim to cover exposed tile edges on walls, in corners, or around niches. It’s also helpful around window frames, countertops, and transitions between tiled and non-tiled surfaces.
Tile trims are perfect for creating clean finishes in showers, backsplashes, and steps. They prevent injuries from sharp tile edges and give a professional, sleek look. Using tile trim also helps align tiles properly, ensuring consistent spacing and symmetry.
Key Steps for Tile Trim Installation
Installing tile trim requires patience and precision. Here are the essential steps to follow:
Plan and Measure Carefully
Measure the tiled area accurately before starting. Decide where you want the trim and how many pieces you’ll need.
Cut the Trim Properly
Use a fine-toothed saw or a tile cutter for clean cuts. Always cut the trim to match the exact edge length.
Apply Adhesive Evenly
Use the right adhesive for your tile and trim type. Apply evenly to avoid gaps or weak bonding.
Set the Trim in Place
Press the trim gently into the adhesive next to the tiles. Check alignment with a level to ensure a straight finish.
Secure and Clean
Once positioned, let the adhesive dry before grouting. Wipe away any extra adhesive immediately to prevent hard residue.
Following these steps ensures a smoother, cleaner tile trim installation.
Common Mistakes and How to Avoid Them
Even professionals sometimes make errors during installation. Let’s look at the most frequent mistakes and how to fix or avoid them.
1. Skipping Measurement
One of the biggest mistakes is failing to take proper measurements. Uneven tiles and mismatched trims can ruin the overall look.
Avoid it: Measure twice before cutting. Always mark where each trim piece will go before applying adhesive.
2. Wrong Trim Type
Using the wrong type of trim can lead to poor aesthetics or durability issues. For example, PVC trim may not be suitable for high-moisture areas.
Avoid it: Choose the right trim material based on where you’re installing—metal for durability, PVC for budget options, or ceramic for decorative edges.
3. Poor Adhesive Choice
Using an incorrect or weak adhesive can cause the trim to detach over time.
Avoid it: Always select a strong adhesive suitable for tiles and trim material. Follow the manufacturer’s instructions.
4. Uneven Alignment
Crooked trims can make even expensive tiles look unprofessional.
Avoid it: Use a level or straight edge to ensure the trim lines up ideally with the tile surface.
5. Not Cleaning Excess Adhesive
Leaving adhesive residue around trims can harden and ruin the finish.
Avoid it: Wipe away any excess before it dries using a damp sponge.
6. Skipping Corners or Joints
Some skip installing trim in corners, assuming it’s unnecessary. But these areas are most prone to damage.
Avoid it: Always use corner trims or cut pieces at 45° angles to create neat corners.
7. Ignoring Grouting Time
Grouting too early can shift tiles or trims out of place.
Avoid it: Let adhesive fully cure before applying grout—usually 24 hours.
8. Inconsistent Grout Lines
Uneven spacing between trim and tile creates a messy look.
Avoid it: Use spacers for consistency, and check alignment as you work.
Avoiding these mistakes ensures flawless tile trim installation that lasts for years.
Key Features of a Perfect Tile Trim Installation
A properly installed tile trim should have:
- Clean, straight edges without gaps.
- Smooth alignment with tiles.
- Secure bonding without movement.
- Consistent colour and finish.
- Durable material suited for the environment.
These features make the tiled area look refined and professional while protecting tile edges from wear and tear.
How to Choose the Best Tile Trim Installation in Glenrothes
Selecting the exemplary service ensures your project looks professional and lasts for years.
- Look for experience and expertise in tile work.
- Check online reviews and ratings.
- Ask for samples of past projects.
- Ensure they use quality trims and adhesives.
- Get a precise estimate before starting the job.
Choosing reliable professionals for tile trim installation in Glenrothes guarantees smooth finishes, durable results, and complete satisfaction.
Conclusion
Tile trim may seem like a small detail, but it plays a significant role in creating a professional finish. Avoiding mistakes during tile trim installation can save you time, effort, and money. By choosing the right materials, planning carefully, and hiring skilled experts, you can achieve stunning, long-lasting results. For those seeking flawless finishes and lasting quality, professional tile trim installation in Glenrothes is the perfect solution. Done right, it not only protects your tiles but also enhances the overall beauty of your space.


Sign in to leave a comment.