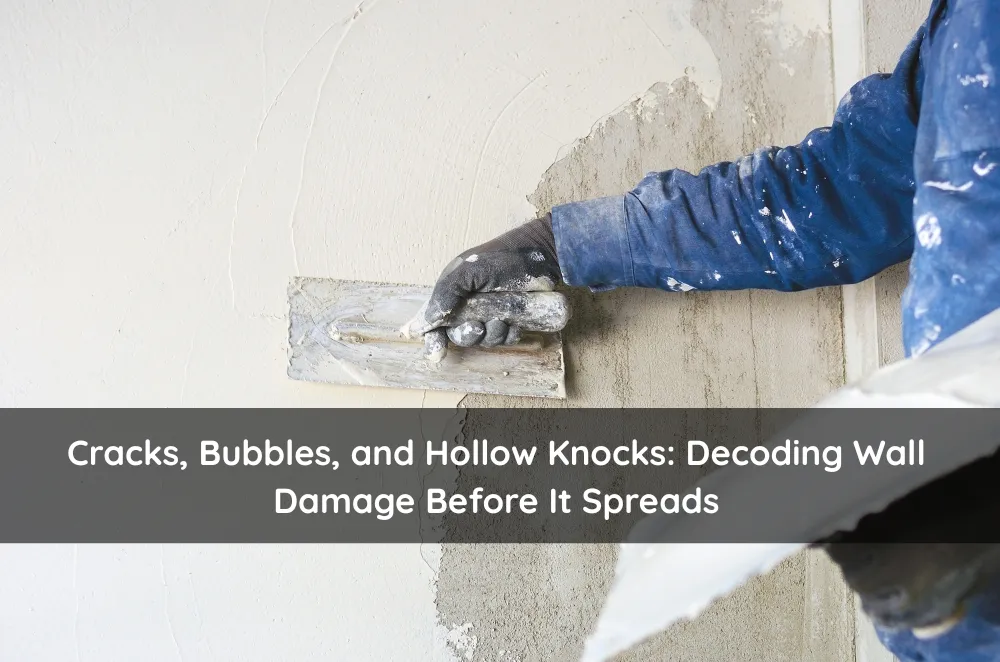

Sydney homeowners see small wall flaws every day—tiny fissures around doorframes, paint that seems to “bubble” after a humid week, or that dull hollow sound when you tap a section of plasterboard. Most brush it off until the next repaint. Trouble is, small defects are often the first alert that moisture, movement or poor workmanship has already started undermining the wall structure. Acting early can save a full strip-out later—and money.
Why the First Crack Deserves a Second Look
A single hairline split can tell you plenty. Sudden diagonal cracks near window heads may hint at building movement, while vertical seams that widen each winter often point to thermal expansion in older brick veneer homes. If ignored, these fissures grow, paint peels, and dust seeps through gaps. Fixing them properly now is cheaper than re-sheathing whole sheets in a year’s time. For owners short on weekends or confidence, a quality plaster renovation team already has the gear and know-how to nip problems in the bud.
Sydney Conditions That Turn Minor Wall Issues Major
Humidity That Lingers Long After Rain
Coastal storms push moisture deep into plasterboard joints. When daytime heat returns, trapped vapour tries to escape, forcing paint to blister. A simple skim coat will re-fail unless the source of moisture and inadequate ventilation are fixed first.
Vacuum-Cleaned Gyprock Dust (Yes, Really)
DIYers love orbital sanders, but fine gypsum dust inside cavities acts like a sponge for damp and encourages mould. That chalky residue you see on skirting boards months later isn’t “just dust”; it signals the joint compound was never sealed.
Sydney’s Expansive Clay Pockets
Western suburbs built on reactive clay feel soil shrink and swell between dry spells and downpours. Wall separation around cornices often mirrors that ground movement. A flexible compound rated for movement is essential; standard filler will crack again by spring.
Quick Checks You Can Do Without Cutting the Wall
| Wall Sign | Likely Cause | Safe Next Step |
| Fine, straight hairline less than 0.3 mm | Paint shrinkage | Monitor for three months; repaint if unchanged |
| Diagonal crack from window corner | Frame settlement | Measure monthly; consider professional assessment if widening |
| “Drummy” hollow sound on tap | Debonded render or moisture | Identify moisture source; may need sheet replacement |
| Bubbling paint in bathroom corners | Humidity & poor exhaust | Improve ventilation before any cosmetic fix |
If more than one column in the table rings true, you’re likely past the “dab of filler” stage.
Common Mistakes That Guarantee Repeat Repairs
Builders and renovators see the same shortcuts again and again: cutting away only the visibly cracked section (leaving damaged backing paper behind), using standard patching compound on flexible joints, or painting straight over damp substrate. For a deeper dive into what goes wrong when haste beats process, this practical repair walk-through breaks down real-world examples and the tell-tale signs a repair was rushed.
Why “Just Add More Screws” Rarely Works
Fastening loose boards tighter into a timber stud feels logical, yet if the original fixing popped because the stud has warped, more screws only mask the issue. A reputable plasterer re-levels the frame or uses resilient clips that absorb movement.
The Myth of One-Coat Skim Solutions
“Magic” one-coat products promise time savings but can’t replicate a true three-coat system—base to fill, second to level, final to feather. Thin single coats shrink and telegraph joints within months, especially under Sydney’s summer heat.
Knowing When a Surface Is Beyond DIY
Patch kits suit a dent from moving furniture. They do little for:
- Long cracks wider than a credit-card edge
- Recurrent staining that keeps bleeding through new paint
- Flaking plaster when you scrape with a screwdriver
- Sagging ceilings around old skylights
Here, cutting out sections and installing fresh plasterboard is safer—and often faster—than constant patching. Pros use moisture meters, thermal cameras and back-blocking techniques most homeowners don’t own or have time to learn.
What a Proper Professional Repair Looks Like
Good plasterers follow a predictable, meticulous path:
- Diagnose the root cause—movement, moisture, or both.
- Cut back to firm, dry substrate, not just the visible crack.
- Treat any mould or efflorescence so it won’t resurface.
- Apply staggered joint tape, flexible where movement is likely.
- Build up in layered coats, sanding only when fully cured.
- Prime with sealer before paint.
Ask the tradie to walk you through each step. If they can’t, they may skip one.
Licensing and Compliance Aren’t Red Tape—They’re Insurance
Unlicensed work voids many home policies. NSW Fair Trading requires a specific licence class for internal and external plastering above $5,000 labour and materials combined. Homeowners who skip licence checks risk non-compliant finishes or, worse, discovering damp “repairs” were hiding mould behind the wall just when they list the property for sale. Cross-check your contractor’s number against NSW Fair Trading’s plastering licence register before the first bag of compound is opened.
Final Word
Walls talk. A slight crack or gentle blister is the building’s way of tapping you on the shoulder long before structural headaches set in. By spotting patterns—direction of cracks, recurring bubbles, hollow knocks—and understanding how Sydney’s climate magnifies them, you’ll know whether a weekend patch will hold or whether now is the moment to bring in seasoned hands. Small attention today saves ripping down sheets tomorrow.






























Sign in to leave a comment.