A Wavlink extender is a useful device designed to boost Wi-Fi coverage in areas with weak or no internet connectivity. It receives the existing signal from your router and retransmits it to expand coverage throughout your home or office. However, if you’re experiencing slow internet speeds or connectivity drops in certain areas, it may prompt the question: Is my Wavlink extender functioning correctly?
This comprehensive guide outlines various methods to verify if your Wavlink extender is operating effectively. It also highlights key elements of Wavlink setup and login, allowing you to manage and troubleshoot the device with ease.
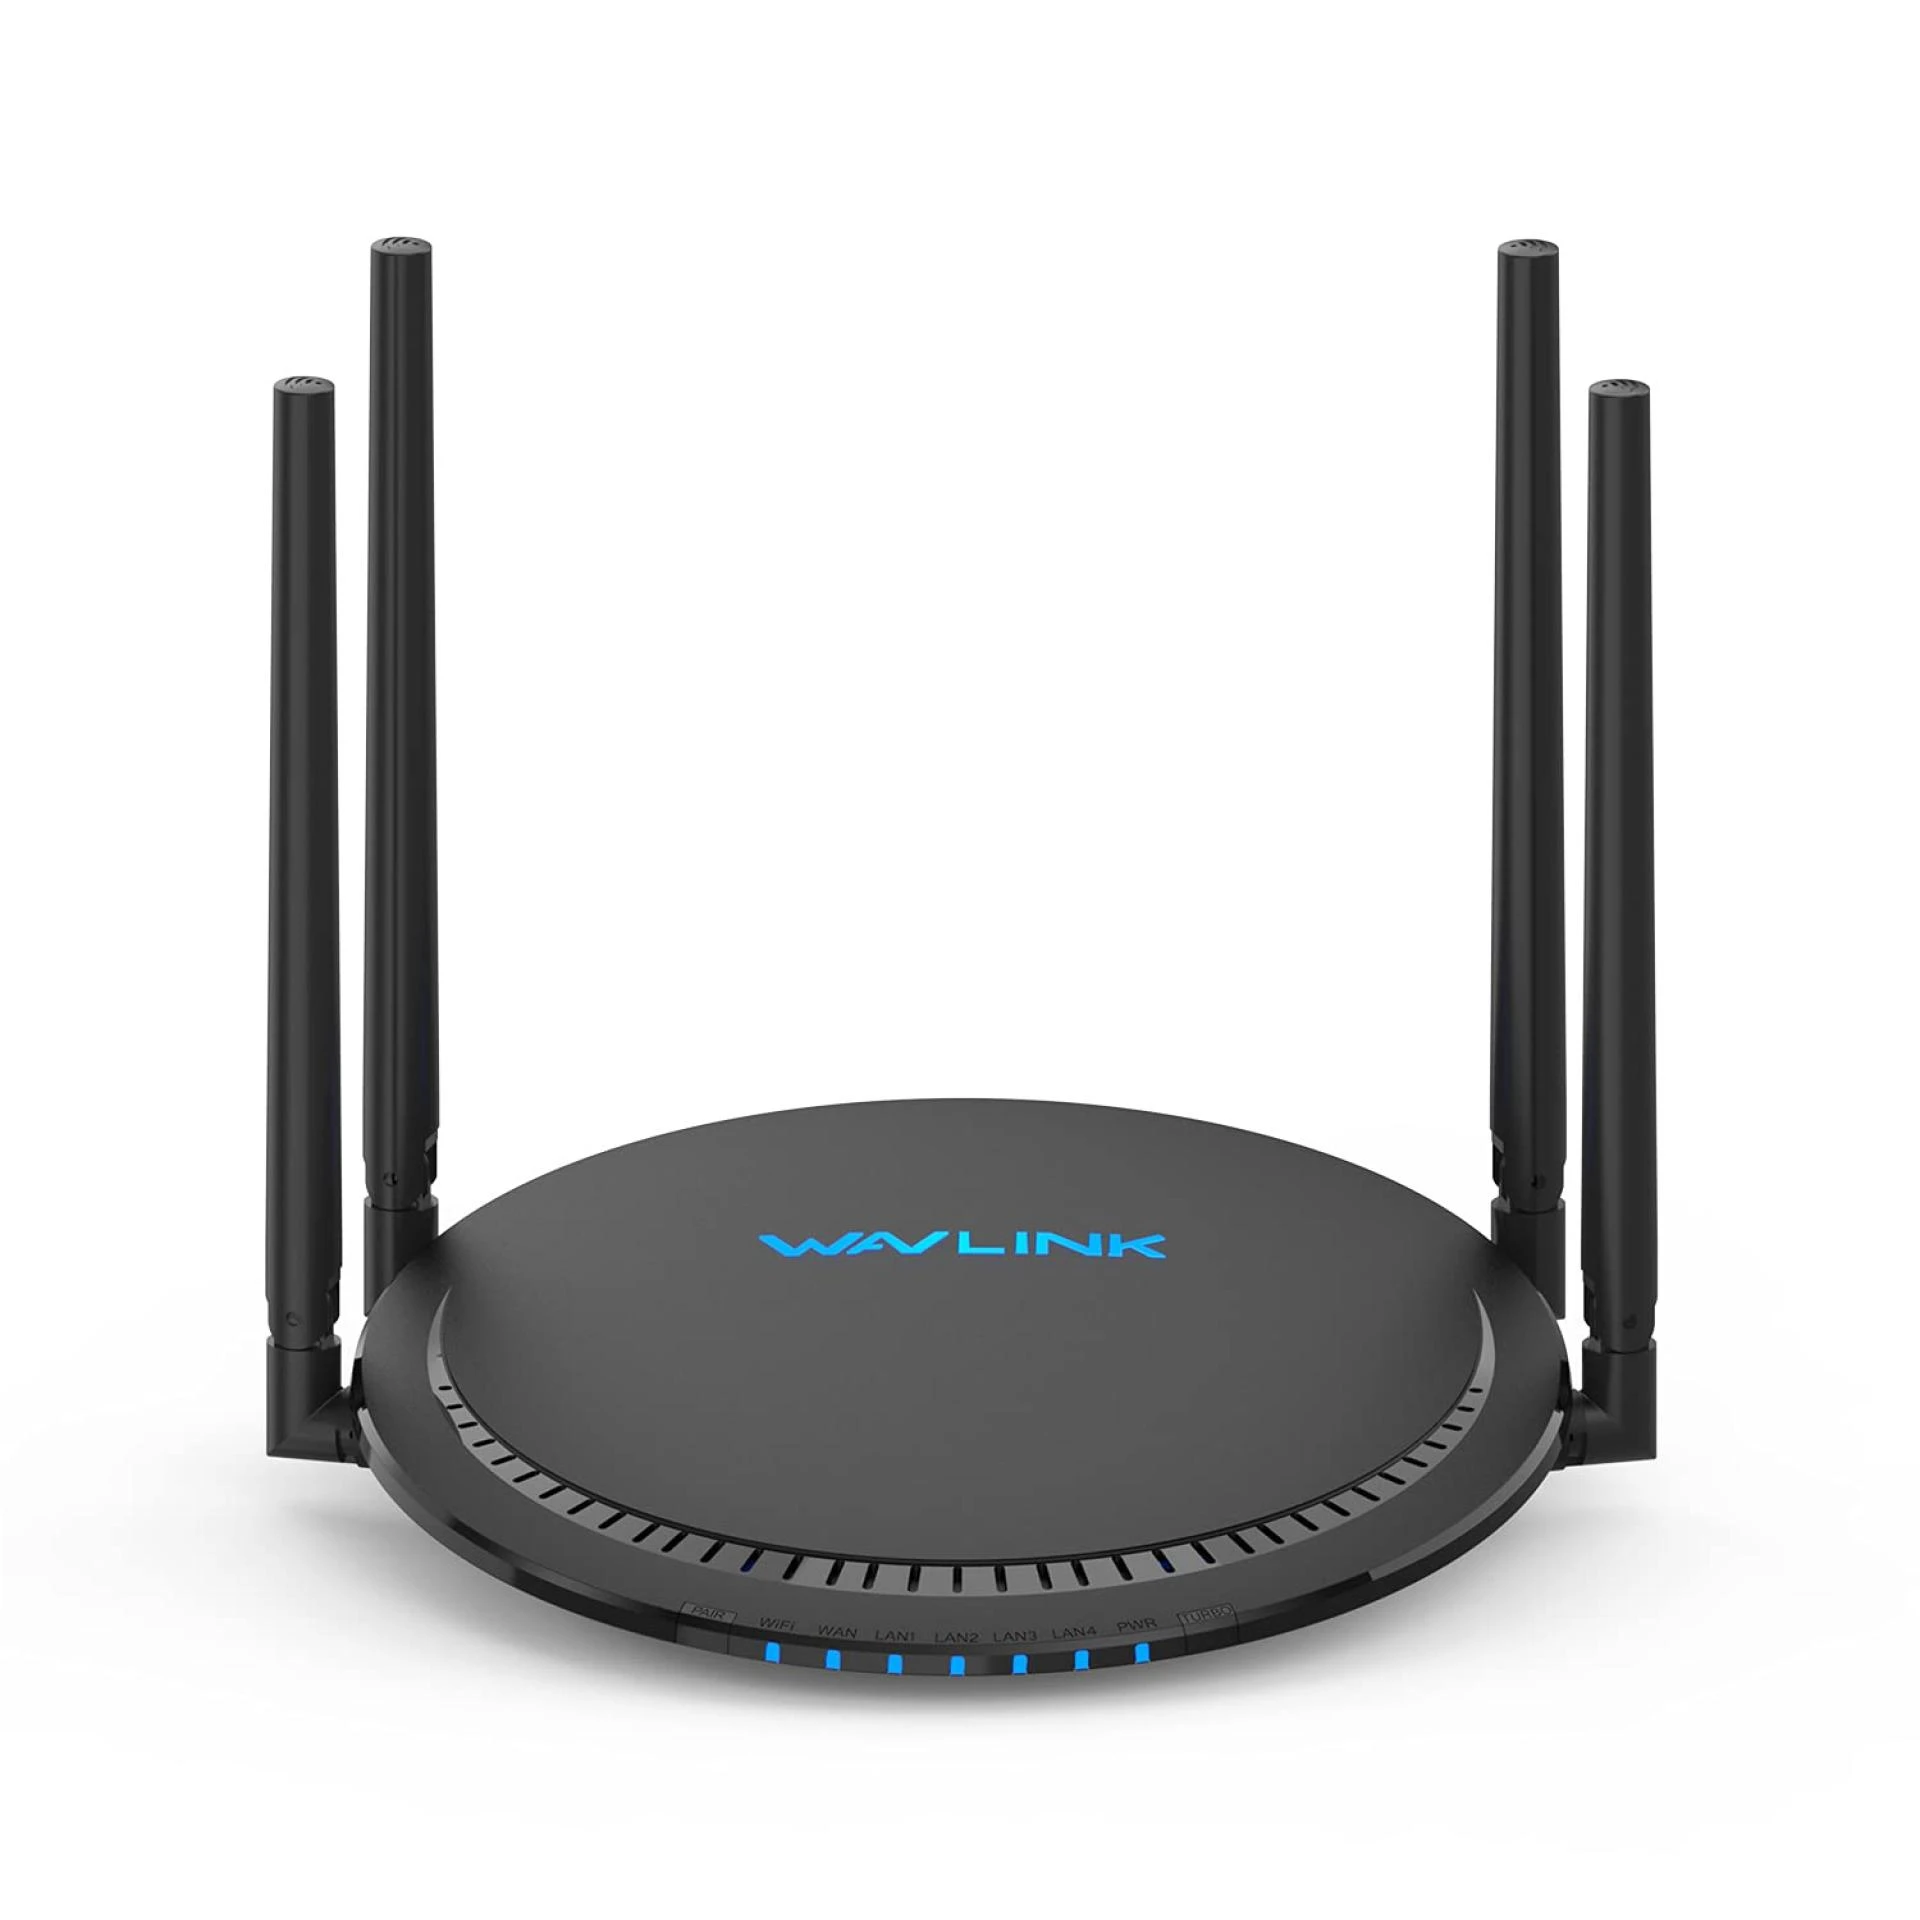
1. Check the LED Indicators on the Extender
One of the easiest ways to assess the functionality of your Wavlink extender is by examining the LED lights:
- Power LED: A green or blue light indicates that the extender is powered on. If it’s off, the device is not receiving power.
- Wi-Fi/Signal LED: A green or blue signal light indicates a strong connection to the router. Orange or red suggests a weak or unstable signal.
- LAN LED: This light blinks when a device is connected to the extender via an Ethernet cable.
2. Access the Wavlink Login Portal
The web interface gives you a detailed view of your extender’s status and settings:
- Connect your computer or smartphone to the extender's Wi-Fi network.
- Open a web browser and enter http://wifi.wavlink.com or
192.168.10.1. - Log in using the default credentials (usually admin for both username and password), unless changed during initial configuration.
- The dashboard will show whether the extender is connected to your router and the strength of that connection.
This step is also crucial during the Wavlink setup process.
3. Test Internet Speed Near the Extender
Conducting a speed test can help determine whether the extender is providing adequate bandwidth:
- Move near the extender and connect to its network.
- Use a speed testing tool such as Speedtest.net or a mobile app.
- Compare the results with the speed received from your main router.
A properly functioning Wavlink extender should offer stable speeds. If you notice frequent disconnections or very low speeds, the device may not be performing optimally, or it may be placed in an inefficient location.
4. Verify Wavlink Setup Configuration
Sometimes, performance issues stem from an incorrect setup. Follow these steps to confirm your Wavlink setup:
- Access the Wavlink login interface as described above.
- Navigate to the setup menu or select “Repeater Mode.”
- Check whether the extender is connected to the correct router.
- Ensure that the network name (SSID) and password match those of your main router.
If configuration settings are incorrect, resetting the device and repeating the Wavlink setup process may resolve the issue.
5. Perform a Range Test
With your device connected to the extender’s Wi-Fi:
- Walk through various areas of your home or office and test connectivity by browsing or streaming.
- If areas previously experiencing weak signal now show strong connectivity, the extender is working well.
- To confirm further, temporarily power off the extender and observe if the signal strength in those areas drops significantly.
This method is especially useful in validating the effectiveness of your extender placement and overall Wavlink setup.
6. Reboot or Reset the Extender
If issues persist, consider restarting or resetting the device:
- Reboot: Unplug the extender, wait 10 seconds, and plug it back in. Wait for the lights to stabilize.
- Factory Reset:
- Use a paperclip to press and hold the reset button (usually located on the back or bottom) for about 10 seconds.
- Wait for the lights to blink, indicating the reset process has started.
- Once reset, complete the Wavlink setup again from scratch.
This often resolves software glitches and incorrect configuration issues.
7. Update the Firmware
Outdated firmware can result in bugs and degraded performance. To check for updates:
- Log into the Wavlink interface.
- Navigate to System Settings or Firmware Update.
- Look for available updates and follow the on-screen instructions to install.
- Avoid turning off the device during the update.
Regular updates are essential to ensure optimal performance and security.
Conclusion
Ensuring your Wavlink extender is working correctly involves a few straightforward steps—monitoring LED indicators, running speed tests, and checking the device’s configuration. If issues persist, a reset or updated Wavlink setup may be necessary. Don’t forget to regularly update the firmware to maintain peak performance. With these steps, you can make the most out of your Wavlink extender and enjoy seamless connectivity throughout your space.


Sign in to leave a comment.