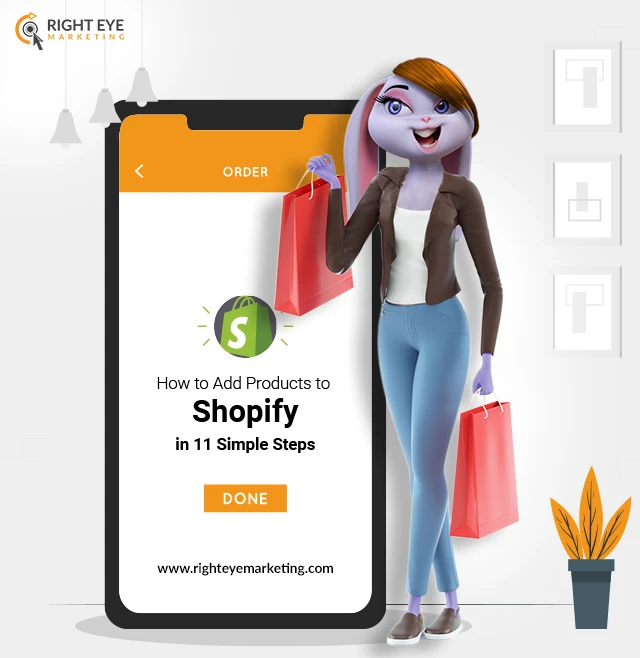
Adding products to Shopify has never been easier, as we have gone through several Shopify store product listings to assist our readers better. Here are the 11 simple steps that can help you add your new products to Shopify and will aid you to update your existing products as well.
r1. Product section in admin panel:
rFind the side menu and go to the product section. Click here to add a product (the purple button in the top left). You will find a lot more information once you get to this page. To add a product, you don't have to complete every detail. You will see the following information as you look at the page.
r2. Add Unique Title:
rTo improve your SEO, you can add keywords to the title of your product. SEO (Search Engine Optimization), is a method to improve the visibility of a page in search engines. This Moz article is a great place to start if you're interested in learning more. Potential customers will be more likely to find your product on Google if you include keywords in the title of your product. Your store will display the title as well.
r3. Product Description:
rThe best way to sell your product to your target audience is through its description. Click here to see the top nine ways to write product descriptions. Shopify offers a rich text editor that allows you to customize your description.
r4. Product Images Are Important:
rThe best way to sell your product to your target audience is through its description. Click here to see the top nine ways to write product descriptions. Shopify offers a rich text editor that allows you to customize your description.
r5. Pricing:
rThis field allows you to grab the attention of your customers by telling them that your product has a sale. You will see a price for sale and an original price. This could lead your customers to believe that your product is only available for a short time.
rThey should therefore purchase your product now before it is gone. Cost per Item: This shows how much it costs to produce and ship the product. This is an internal way to track the cost of your product.
r6. Enter your Inventory:
rThis is the place where inventory can be tracked. Make sure to enter the correct amount of product at the beginning. 7.Add shipping details. Shopify can automatically calculate shipping costs for customers by using this section. You can choose to uncheck the box if the product is not shipping required or digital. The product's weight. You can set the weight in pounds (lb).), ounces (1.oz. ), kilograms (2kg), or grams (g). The location where the product was made or created.
rIf you ship a product internationally, international shipping costs could include duties. If you wish to sell your product internationally, you will need to enter a system code. This will enable you to set the right tariffs for each customer. Even if you do not use a fulfillment provider,
rShopify can still be chosen. You can access Settings (from your Shopify admin) Shipping if you have a fulfillment company. Scroll down until the end to see.
r8. Enter Product Variants:
rThere are up to 100 variants you can create that allows you to offer different combinations to customers. You can also create as many as three versions of the same product. You can have the product in different sizes, colors, and weights.
rYou can then create up to 100 combinations of the different sizes, colors, and weights. Third-party apps are required to allow you to have more than 100 variants. Our app, Infinite Options is the most used product options app on Shopify. You can expand your options endlessly.
r9. Build a Search Engine Listing:
rWe have spoken about SEO many times throughout this guide. Here's a useful tool that will allow you to personalize the preview of your product from search engine results. Modify your website SEO View your options: Page Title (your product description), Meta Description (your product URL), and Page Title.
r10. Product Availability Details:
rFor those who sell on multiple channels, product availability is important. It is up to you to decide whether or not you wish to sell a product through specific channels. Click on the calendar icon to publish the product at an earlier date and time. This is most often used to publish the product at a specific time, such as an anticipated or big release.
r11. Organize Your Product:
rThe Product Type allows you to classify your product. Simply enter the text into the box and click on Save to create a product type. You can also create product types from existing products by simply entering the text in the textbox and clicking on Save.
rVendor refers to the wholesaler or manufacturer of your product. Collections can be described as groups of products. A manual or automated collection can be added to your product. An automated collection will only accept products that comply with the collection's conditions. For more information on automated collections.
rHow to remove powered by Shopify
rGo to Online Store > Themes from your Shopify admin. Click Actions > Edit languages to find the theme you wish to edit. Type powered in the Search translations box Use the space bar to enter a single space in the Powered by Shopify text box.
rThese steps can be repeated for the Powered by Shopify HTML box, which appears on your store’s Opening soon page if it is password-protected. Click Save If you are not sure about these type of changes, web development company Omaha can help you with that in just few minutes.

Sign in to leave a comment.