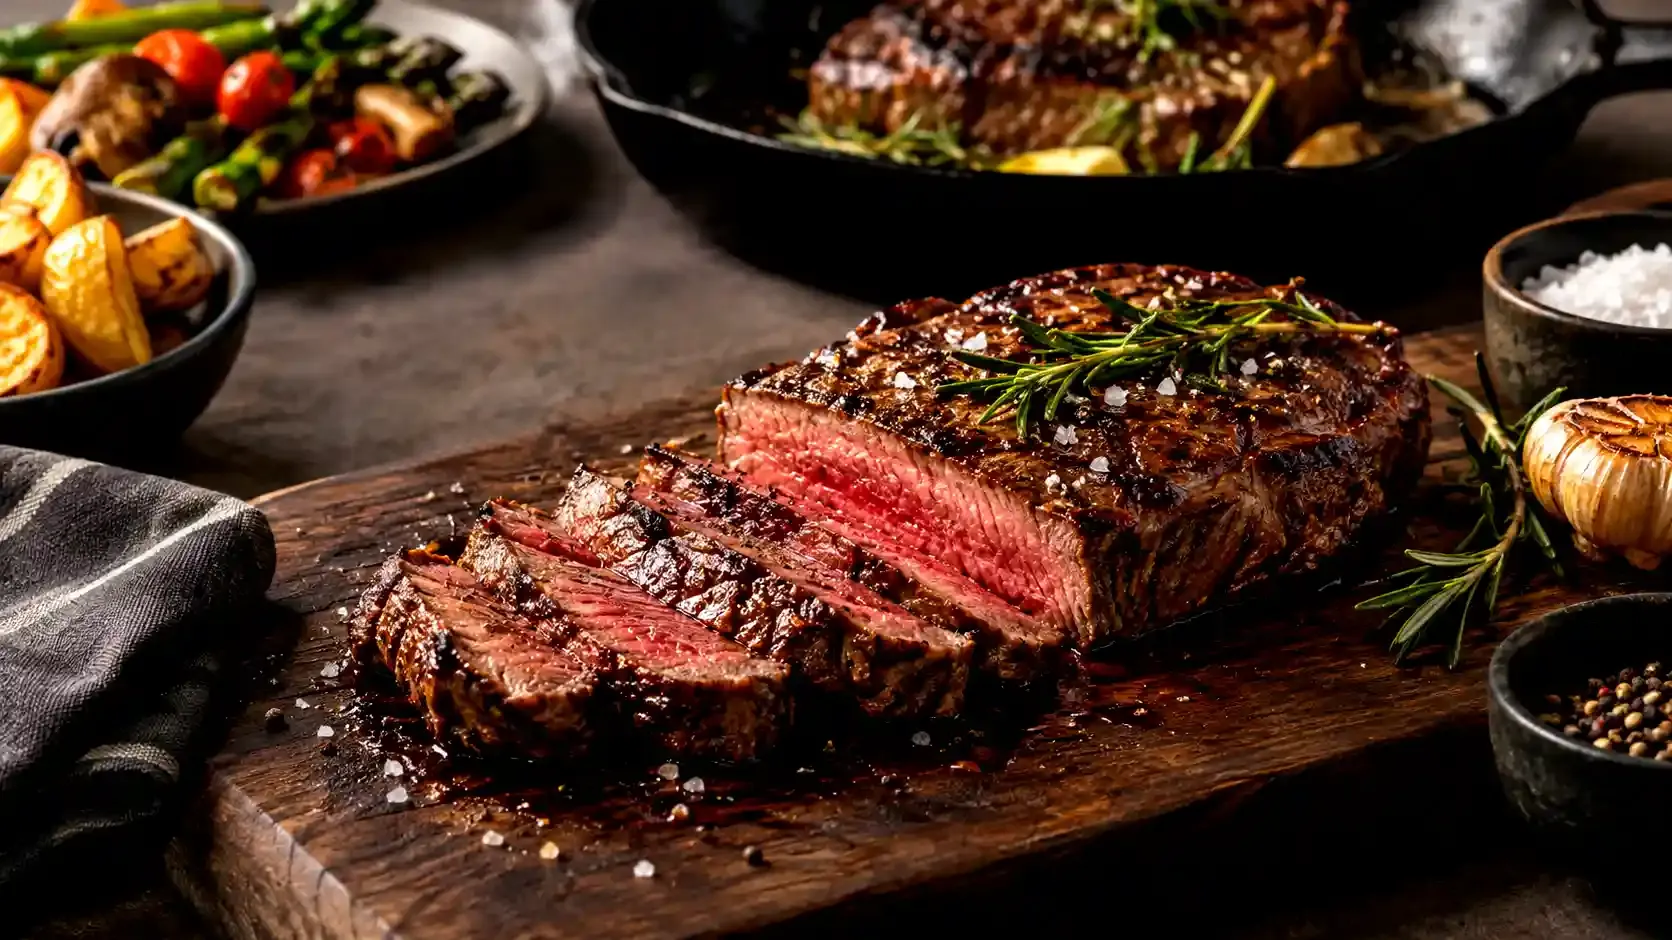

There's a particular kind of disappointment that comes from spending good money on a decent piece of beef, only to serve it up grey, chewy, and about as exciting as cardboard. The good news is that cooking a properly satisfying steak at home isn't about luck or expensive equipment. It comes down to understanding a handful of principles: choosing the right cut, preparing it properly, applying the right heat at the right time, and knowing when to stop. Once those pieces click into place, a restaurant-quality steak becomes something you can produce on a Tuesday evening without much fuss.
This guide walks through everything from picking a cut at the butcher's counter to resting the meat once it comes off the heat, covering pan-searing, oven finishing,g and grilling along the way.
Best Cuts of Steak for Cooking at Home
Not every cut behaves the same way in a hot pan, so it helps to know what you're working with.
Ribeye is the cut most forgiving of a slightly heavy hand. Its generous marbling bastes the meat as it cooks, which means even a minor timing error rarely ruins it. It's a good starting point for anyone still building confidence.
Sirloin (New York strip) is leaner than ribeye but still has enough fat running through it to stay juicy, provided it isn't overcooked. It has a firmer bite and a slightly more pronounced beefy flavour. If you're choosing between these two popular cuts, a ribeye vs sirloin steak comparison can help explain the key differences.
Fillet (filet mignon) is the most tender cut on the animal, though it carries less fat and therefore less natural flavour. It rewards a shorter cooking time and benefits from a sauce or compound butter to round it out.
T-bone and porterhouse give you two cuts in one, a strip on one side of the bone and a portion of fillet on the other, which makes for an interesting contrast on the plate but requires a bit more care since the two sides cook at slightly different rates.
Flank and skirt steak are thinner, more affordable cuts that work best cooked quickly over high heat and sliced thinly against the grain afterwards. They're a smart choice for stretching a budget without giving up on flavour.
Choosing a Good Piece of Steak
A few visual cues make the difference between an average steak and a genuinely good one. Look for fine, even flecks of white fat running through the muscle, known as marbling, as this fat melts during cooking and keeps the meat moist. The steak's colour should be a deep, healthy red rather than dull or greyish.
Thickness matters more than people often realise. A steak that's at least 2.5cm (roughly an inch) thick gives you enough room to build a proper crust on the outside while keeping the centre at the doneness you want. Thinner steaks tend to overcook before that crust has a chance to develop.
Grass-fed beef tends to be leaner with a slightly more mineral, earthy flavour, while grain-fed beef is generally fattier and milder. Neither is objectively better; it's a matter of personal taste and what you're planning to do with the meat.
Preparing Steak Before Cooking
Preparation is where a lot of home cooks lose the battle before they've even switched the hob on.
Room temperature. Taking the steak out of the fridge 30 to 45 minutes before cooking allows it to come closer to room temperature, which promotes more even cooking. A steak straight from the fridge tends to cook unevenly, with an overdone exterior by the time the centre reaches the right temperature.
Seasoning timing. There's some debate on this, but the most reliable approach is to season generously with salt at least 30 minutes before cooking, or right before it hits the pan. Salting too early without enough time for the salt to reabsorb, or salting a damp steak, can draw out moisture and leave the surface wet, which works against a good sear.
Pat it dry. Before it goes anywhere near heat, blot the steak with kitchen paper. A dry surface browns; a wet one steams. This single step has more influence on that deep, caramelised crust than most people expect.
How to Cook Steak on the Stove (Pan-Seared Method)
A heavy-based pan, ideally cast iron, holds and distributes heat far better than a thin one, which matters enormously for a good sear.
- Heat the pan over medium-high to high heat until it's genuinely hot. The steak should sizzle audibly the moment it touches the surface.
- Add a small amount of high-smoke-point oil, such as vegetable or rapeseed oil, and swirl it around the pan.
- Lay the steak down carefully and leave it alone. Resist the urge to move or check it constantly, as this interrupts the crust forming underneath.
- Sear for roughly 2 to 3 minutes per side for a steak around 2.5cm thick, adjusting for thickness and your preferred doneness.
- In the final minute, add a knob of butter, some crushed garlic and a sprig of thyme or rosemary, then tilt the pan and spoon the melted butter over the meat repeatedly. This bastes the steak with flavour while it finishes cooking.
How to Cook Steak in the Oven (Reverse Sear Method)
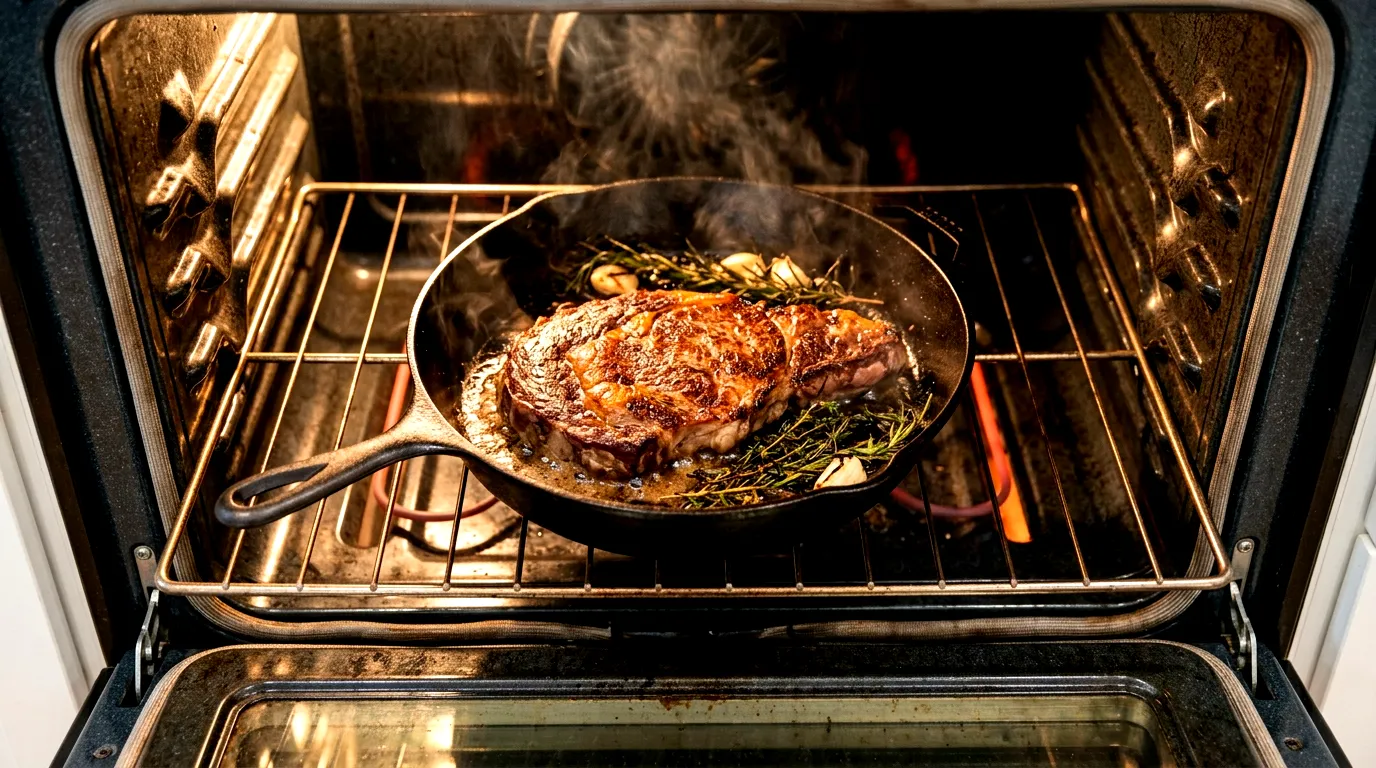
For thicker cuts, particularly anything above 4cm, the reverse sear gives more control. This method cooks the steak gently in the oven first, then finishes it with a quick, hot sear.
Preheat the oven to around 120°C. Place the seasoned steak on a wire rack over a tray and cook slowly until it's roughly 10 to 15°C below your target final temperature, checking with a meat thermometer. Then transfer it to a screaming hot pan for a minute or two per side, just long enough to build a deep crust. The result is a steak that's evenly pink from edge to edge, with none of the grey overcooked band that a purely pan-cooked thick steak can develop near the surface.
How to Grill Steak
Grilling introduces smoky flavour that neither the pan nor the oven can replicate. Get the grill properly hot before the meat goes anywhere near it, whether that's glowing charcoal or a preheated gas burner. Set up two zones if possible, one for direct high heat and one cooler area to move the steak to if it's cooking faster than expected.
Place the steak on the hottest part of the grill and leave it in place long enough to develop clear grill marks before turning, usually around 3 to 4 minutes depending on thickness. Turn once, repeat on the other side, and use a thermometer near the end to judge doneness accurately rather than guessing by eye.
Steak Doneness Guide
A meat thermometer removes almost all the guesswork. These are the internal temperatures worth aiming for once the steak comes off the heat, remembering that it will rise a few more degrees during resting. For a closer look at the different steak cooking levels, including how they compare, see our detailed guide.
| Doneness | Internal Temperature | Appearance |
| Rare | 49–52°C | Deep red centre, cool |
| Medium rare | 54–57°C | Warm red centre |
| Medium | 60–63°C | Pink throughout |
| Medium well | 65–68°C | Slightly pink centre |
| Well done | 71°C+ | Little to no pink |
Checking Doneness Without a Thermometer
The finger test is a useful backup. Touch the tip of your thumb to your index finger and press the fleshy pad below your thumb; that softness roughly matches rare. Touching your thumb to your middle finger approximates medium rare, and your thumb to your ring finger gets closer to medium. It's not perfectly precise, but with practice it becomes a genuinely reliable guide.
Why Resting Steak Matters
Cutting into a steak the moment it leaves the pan sends most of its juices straight onto the chopping board rather than staying in the meat. During cooking, the muscle fibres tighten and push moisture towards the centre; resting gives that moisture time to redistribute evenly through the steak. Five minutes is enough for a standard steak, while a thicker cut benefits from closer to ten. Tent it loosely with foil while it rests to keep it warm without trapping steam and softening the crust you've just worked to build.
Common Steak Cooking Mistakes to Avoid
A few habits tend to cause more disappointment than anything else. Overcrowding the pan with more than one steak at a time drops the temperature too quickly and produces steamed rather than seared meat. Flipping constantly instead of leaving the steak alone prevents a proper crust from forming. Slicing into it straight away undoes the resting process before it's had a chance to work, and cooking straight from the fridge leads to an unevenly cooked result no matter how good the technique is otherwise.
What to Serve with Steak
A great steak doesn't need much competition on the plate. Classic pairings include garlic butter mushrooms, a simple green salad with a sharp dressing, triple-cooked chips or a creamy mash, and something acidic like a tomato salad to cut through the richness of the meat. Roasted seasonal vegetables also work well without overshadowing the main event.
How to Reheat Leftover Steak Without Drying It Out
The oven is far gentler than the microwave for this. Place the steak on a rack over a tray, cover loosely with foil, and warm it in a low oven, around 120°C, until it reaches roughly 50°C internally. Finish with a very quick sear in a hot pan for 30 seconds a side to bring back some of the original crust. This two-step approach keeps the meat far moister than a quick blast in the microwave, which tends to squeeze out moisture and leave the texture rubbery.
Final Thoughts
Cooking a great steak isn't about following a rigid formula so much as understanding what's happening in the pan at each stage: why a dry surface sears better than a wet one, why resting matters, and why leaving the meat alone is often more useful than fussing over it. Once those fundamentals are familiar, adapting to different cuts, thicknessess,s and cooking methods becomes second nature, and a steak dinner at home starts to feel less like a gamble and more like a sure thing.

























Sign in to leave a comment.