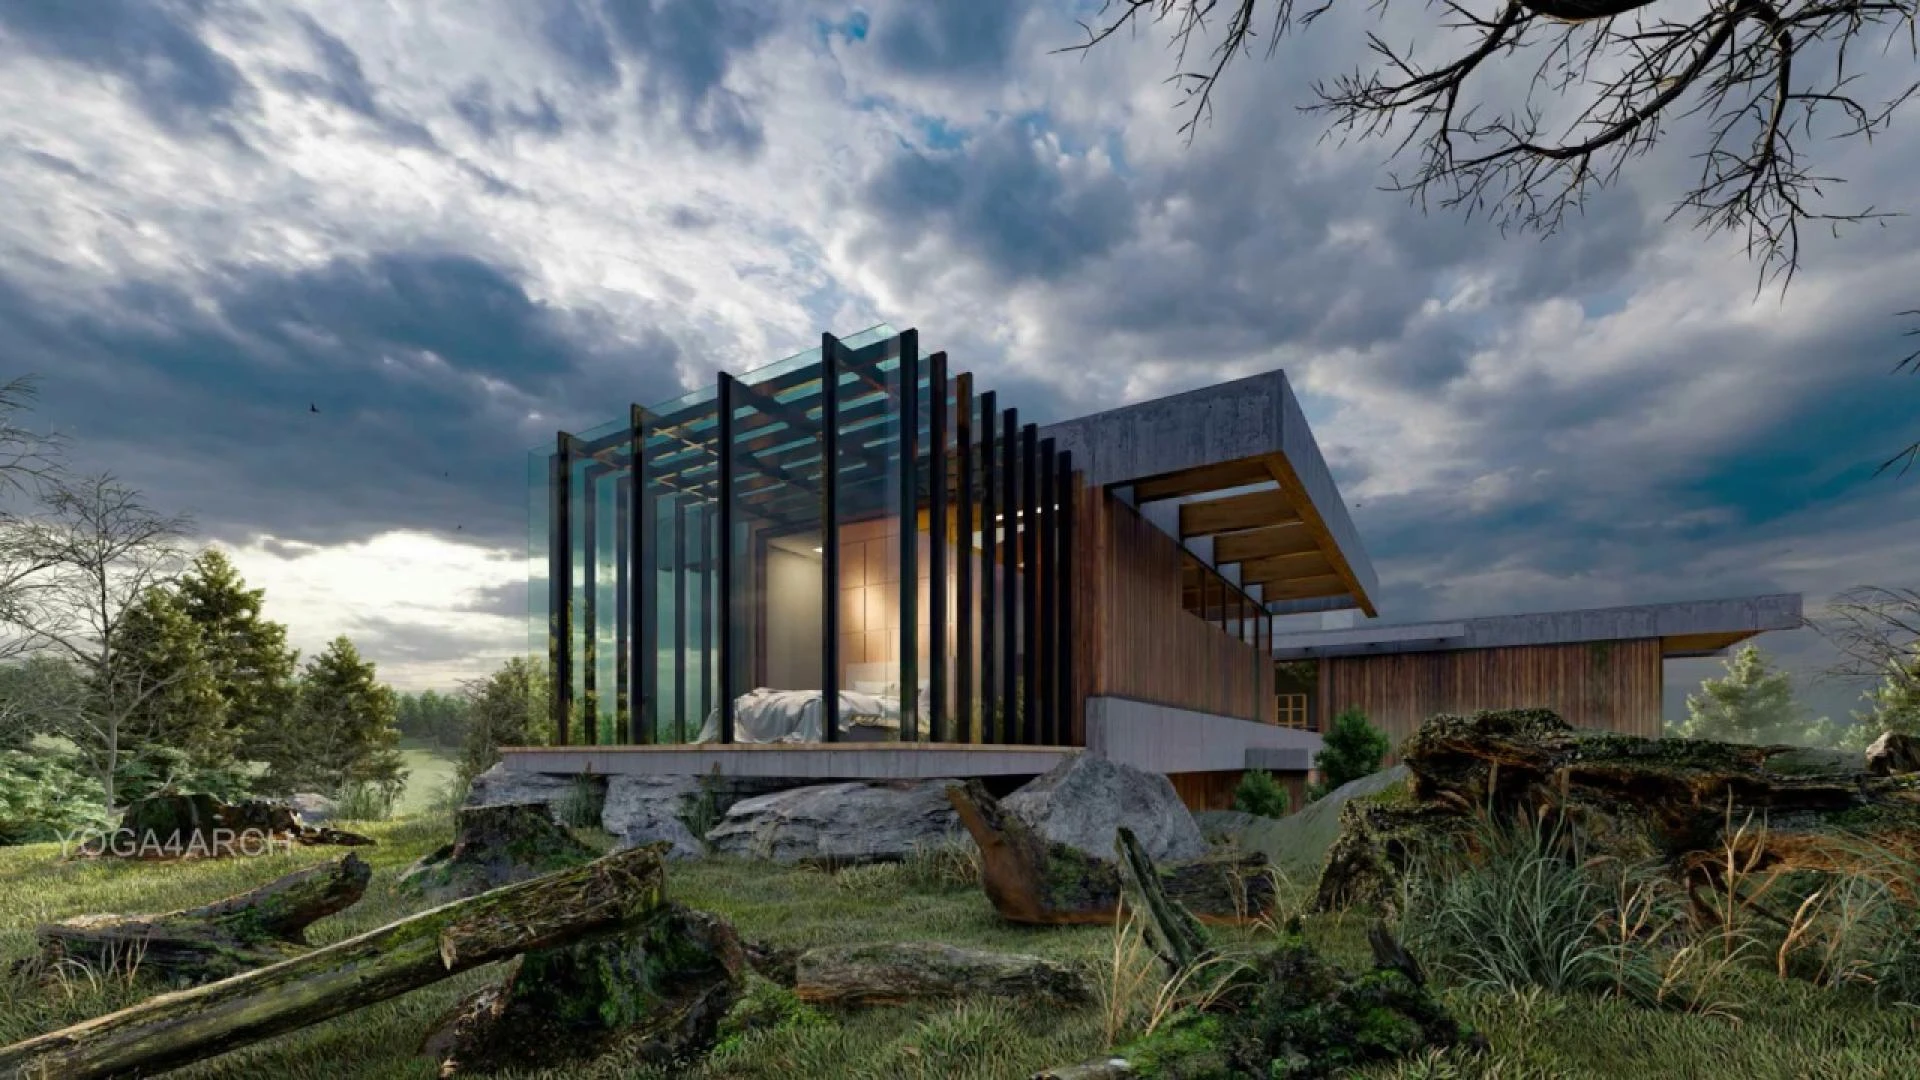
3D rendering tools are changing the way professionals visualize architecture and design. Your project outcome depends on how well you visualize your plan. This is equally useful for home remodels and large commercial construction. Only high-quality immersive renders should be used to express your design idea.
These tools help designers communicate ideas. Clients do not have to imagine what something will look like. They can see it before it is even built. This technology saves time, reduces errors, and impresses everyone involved in the project. Mastering these tools is necessary to build trust, land clients, and push creative limits.
Steps to Master Layered Designs for Total Control
Start with the Right Software
Not all 3D rendering tools are created equal. Some are made for beginners. Others cater to professionals. Pick the best platforms according to your aim, experience, and project type. For instance, V-Ray, Blender, and Lumion are the top-tier software. Each one has a unique edge. Some offer real-time rendering. Others specialize in photorealism. You need to explore what fits your workflow best.
If you are serious about building impressive visuals, go for tools that offer more than just basic rendering. Select platforms that permit light control, camera path animation, and material customization. These features will take your work from good to remarkable.
Design in Layers for Greater Control
One of the best ways to get professional results from 3D rendering tools is by working in layers. Treat each element, e.g., lights, outdoor space, walls, and furniture, as distinct objects. This approach allows for easy editing later. If you need to swap a material or change the background, you do not have to redo the entire render. You can just twist that specific layer.
It also keeps your file organized since complex projects can get overwhelming. Layers help you manage details without confusion. This gives you freedom that is more creative and reduces the risk of making errors.
Lighting Can Make or Break Your Visuals
Lighting is everything when using 3D rendering tools. It defines the mood and tone of your image. A design with perfect geometry but poor light will still fall flat. Try both artificial and natural light. Try adding sun positions, light sources, and shades. Guide the viewer’s eye to focal points. A good render tells a story, and light is the tool you use to lead that narrative. This is where 3D architectural visualization services often outshine. SMA Archviz knows exactly how to place lighting to add depth and emotion to a space.
Choose Realistic Textures and Materials
Your choice of materials matters a lot. Using quality textures can vividly increase the quality of your project. Many 3D rendering tools come with a built-in material library. However, those are just the start. You should modify textures when possible and add imperfections like scratches or grain. Natural flaws give your visuals more depth and imitate real-life materials more closely.
Think about how materials interact with light. For example, wood reflects light differently from marble. A matte surface behaves differently from a glossy one. These small details make your visuals feel grounded and authentic.
Mind Your Composition and Perspective
Frame your scenes and pick angles that highlight space and proportion. Use focal range effects to create focus, and set your camera at eye level for interior spaces. A slightly higher viewpoint works well for large exteriors. Always consider what your audience needs to see.
Balance is key; do not crowd your image with too many elements. Instead, focus on strong, clean design. This helps your viewer understand the layout and appreciate the details.
Test Renders Save Time and Effort
You do not need to go for the final render every time. That takes hours and slows you down. Use test renders to preview how your design is shaping up. Many 3D rendering tools have quick-preview modes. This method helps you catch problems early. You will know if something looks off before committing to a full render. It saves time, improves efficiency, and helps you move with confidence. Once your draft looks right, you can then go all in for the final high-resolution output. The polished result will be worth the wait.
Use Post-Production to Polish Your Work
Rendering is not the end of the process; in fact, it is just a start. After you export your image, use post-production tools to improve it. Photoshop is the most common platform for this purpose. You can tweak brightness, add filters, or clean up any pieces. You might also want to improve skies, water reflections, or foliage colors.
Post-production gives you the power to refine. It lets you perfect your tone, your contrast, and your mood. Many top-rated 3D architectural rendering services consider this step as part of their standard workflow.
Optimize for Performance and Speed
If your software is lagging or crashing, your outcomes will suffer. Always adjust your file size to clean unused assets, reduce polygon counts, and compress large textures. You do not want to wait forever for each render. Speeding things up lets you test more and try more creative options. It also helps you meet deadlines with less stress.
This is a vital step for firms or freelancers offering 3D Rendering Services in Massachusetts. It lets them handle many files, clients, and changes at once, without reducing quality.
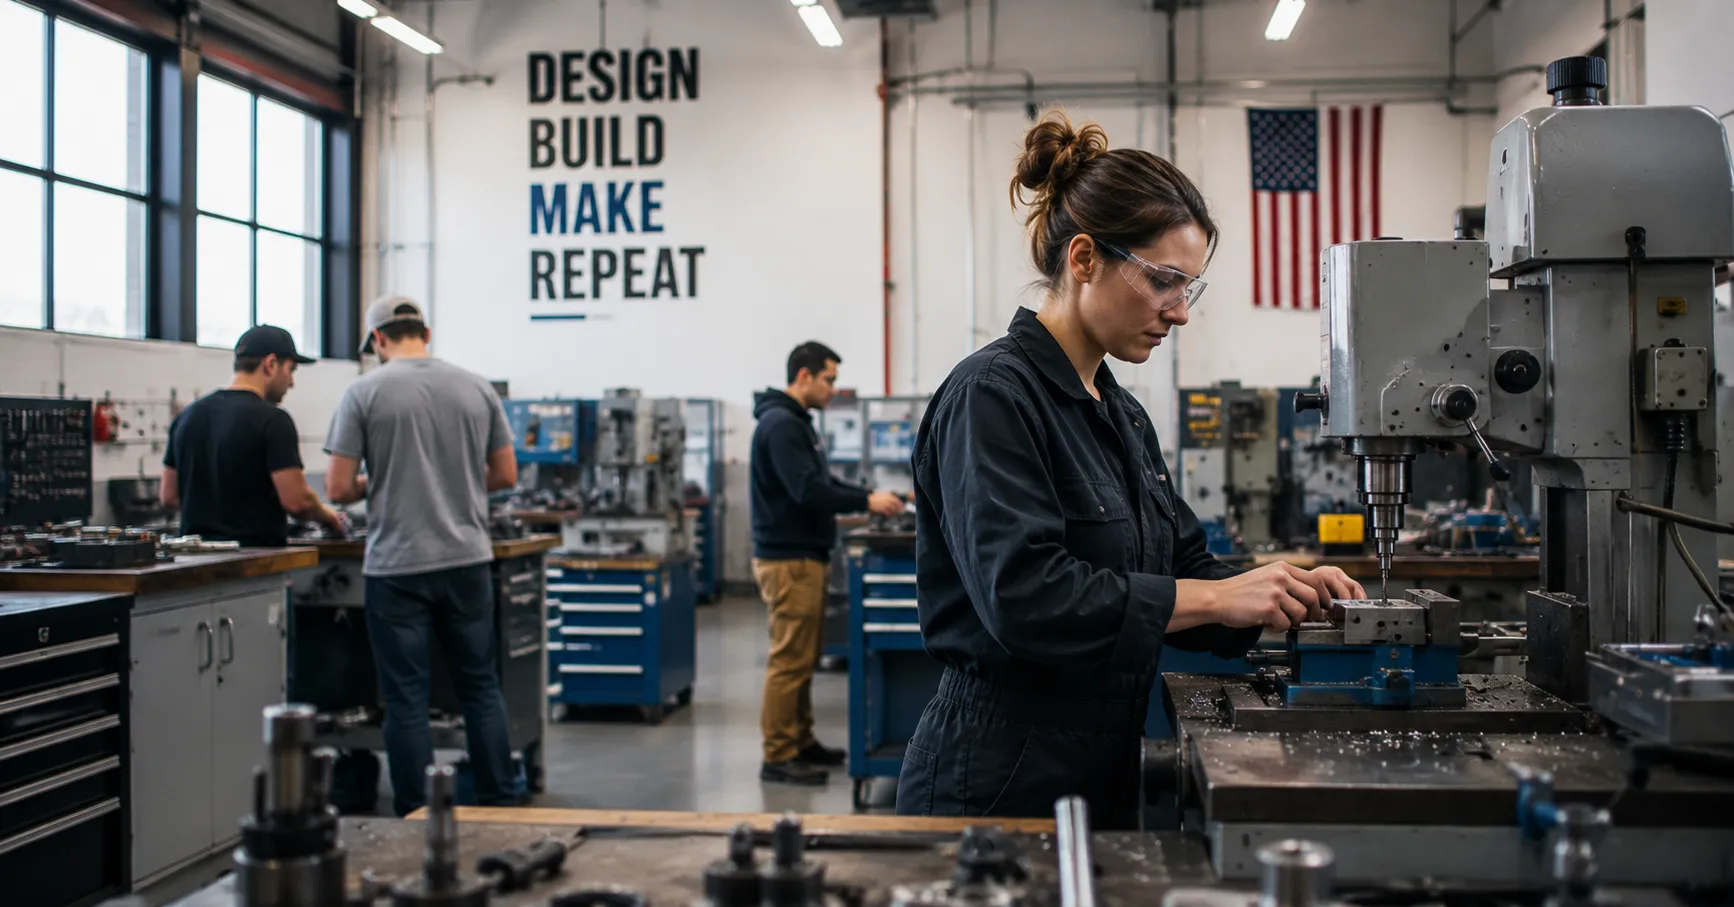
Learn From the Experts
If you are serious about creating high-level visuals, do not go it alone. Learn from those with experience. Attend webinars, follow tutorials, analyze top renderings, and ask yourself what makes them stand out. Also, collaborate with specialists. A company like SMA Archviz offers precise cost and material estimations, which can be a huge asset in your rendering process. When you know exact quantities and materials, your renders become more realistic and on budget. These insights give your work an edge and help you deliver better results to your clients.
Practice Leads to Perfection
You will not master 3D rendering tools overnight. However, with regular use, your skills will grow. Start with simple spaces. Move on to more complex designs. Challenge yourself to replicate real-world photos with digital tools. Every new render teaches you something. Moreover, over time, you will begin to develop a signature style. Clients notice this. They will come to you not just for accuracy, but also for artistry.
Final Thoughts: Bring Your Ideas to Life
Stunning visuals do not happen by accident. They are the result of practice, attention to detail, and the right 3D rendering tools. These tools give you the power to communicate clearly and beautifully. Good visuals build confidence among clients about the vision you are presenting. A deep knowledge of light, texture, and perspective allows you to produce images that surpass the need for words. Your designs should start now because creative innovation will bring out their full potential. Your next creation will capture global attention as people await its development.


Sign in to leave a comment.