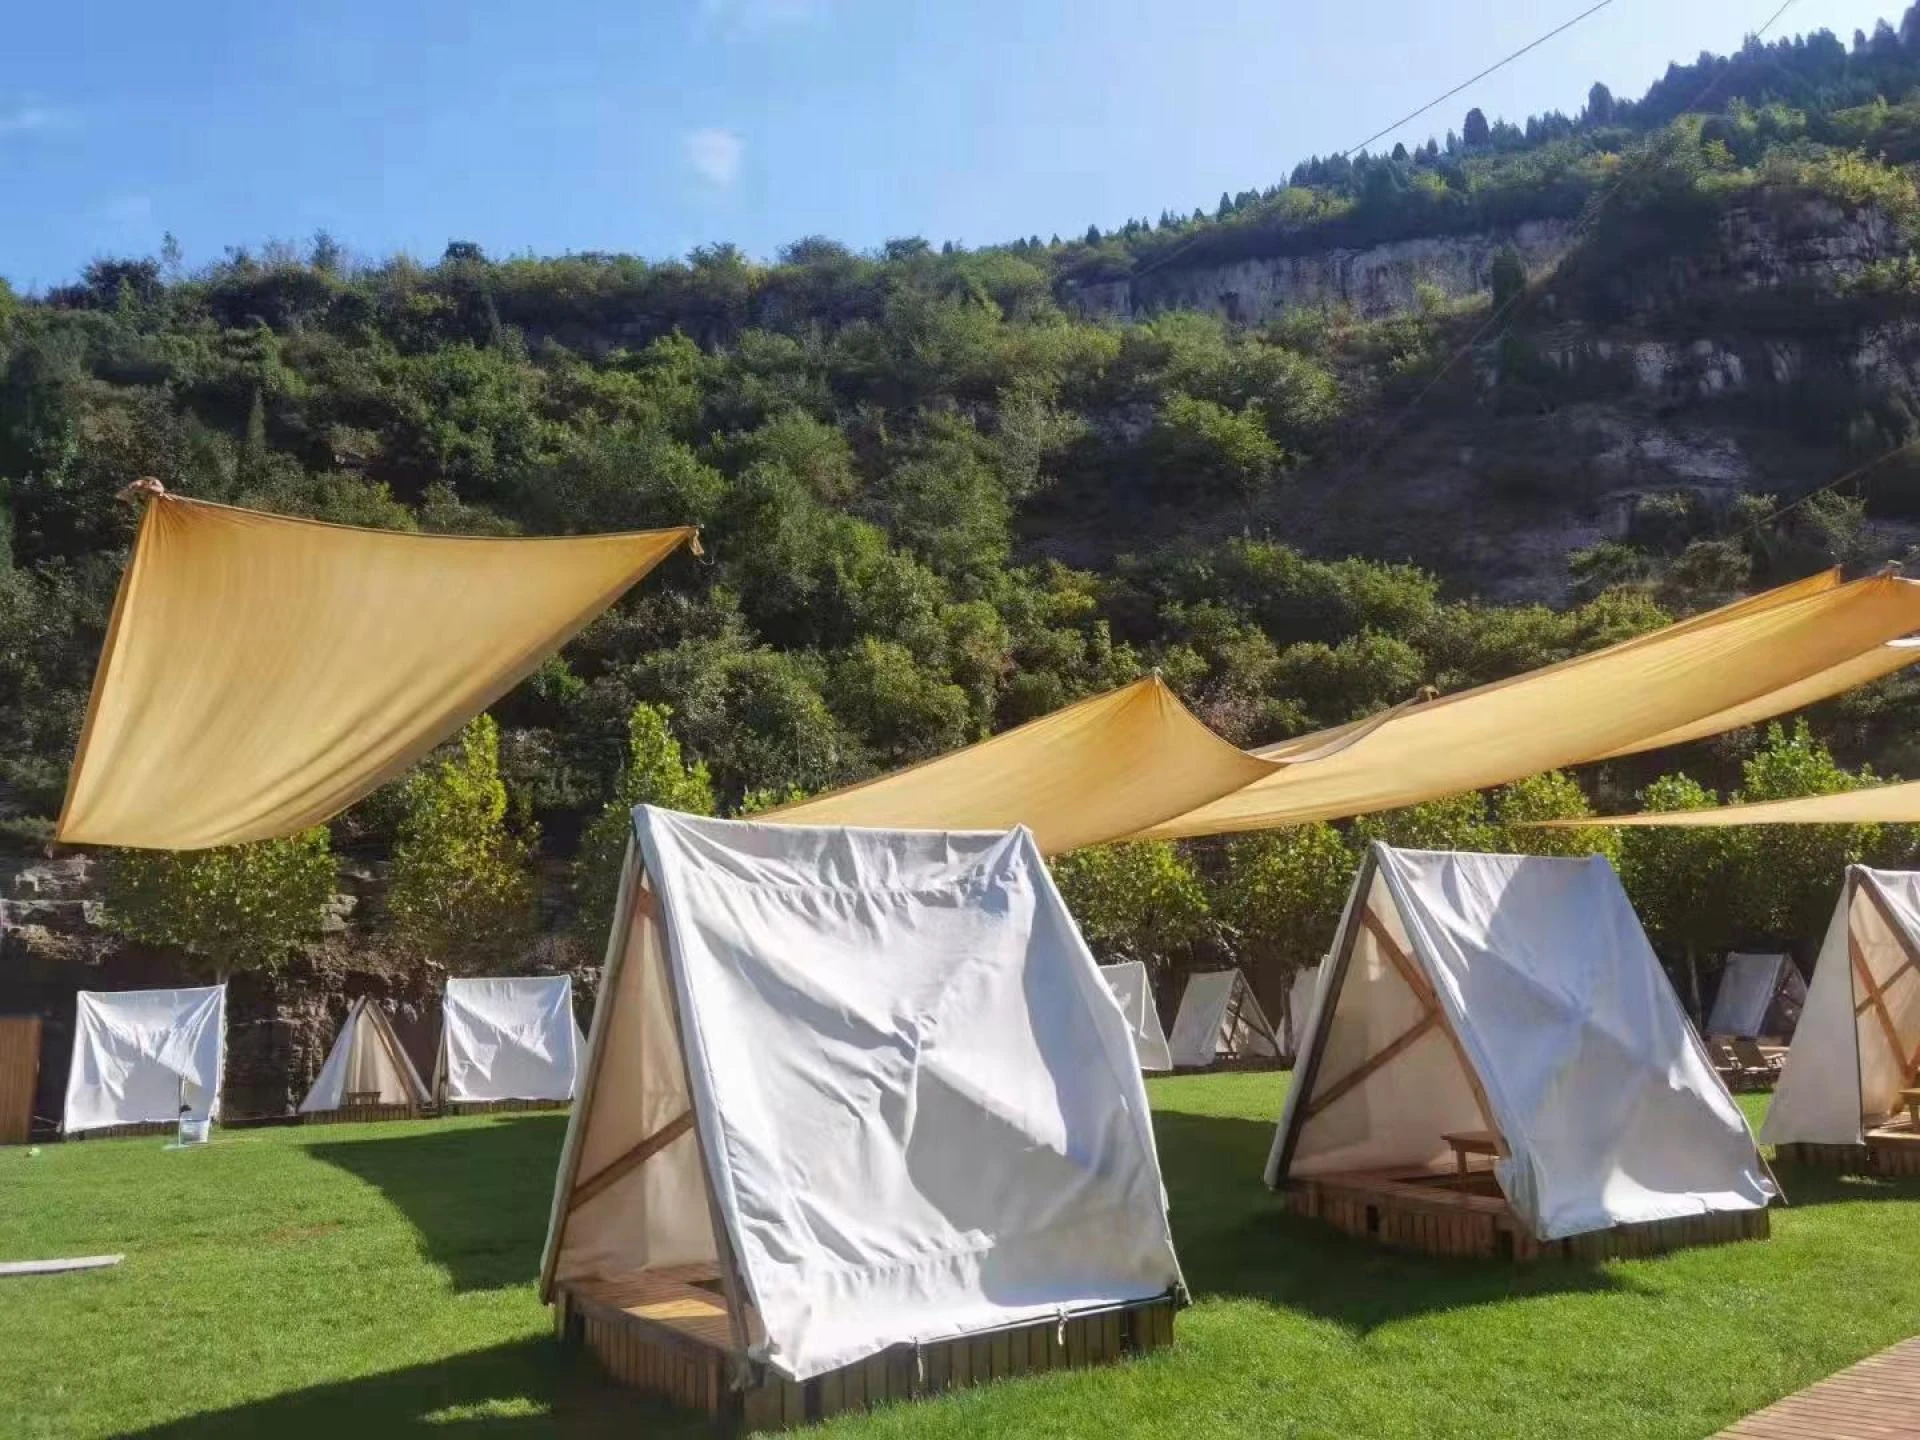
Installing a Custom Rectangle Sun Shade Sail is an effective way to create a stylish, functional shaded area for patios, gardens, pools, and outdoor seating spaces. When installed correctly, a shade sail provides excellent UV protection, improved comfort, and long-lasting durability. Follow this step-by-step guide to ensure a secure and professional installation.
Step 1: Choose the Installation Area
Start by selecting the area where the Custom Rectangle Sun Shade Sail will be installed. Measure the space carefully and identify strong mounting points such as walls, posts, beams, or trees. Ensure there is enough clearance for proper tensioning and that the sail will not interfere with doors, walkways, or nearby structures.
Step 2: Select Durable Mounting Hardware
Using high-quality hardware is essential for a safe installation. Stainless steel turnbuckles, eye bolts, pad eyes, and shackles are commonly used for installing a Custom Rectangle Sun Shade Sail. The mounting points must be strong enough to handle constant tension and wind load.
Step 3: Plan the Angle and Height
For optimal performance, install the Custom Rectangle Sun Shade Sail at a slight angle rather than completely flat. This allows rainwater to run off easily and prevents sagging or water pooling. Varying the height of the corners also improves airflow and enhances the overall appearance of the sail.
Step 4: Install the Mounting Points
Secure the mounting hardware firmly to walls or posts. If using posts, ensure they are anchored deep into the ground with concrete for maximum stability. Each corner of the Custom Rectangle Sun Shade Sail should be attached to a solid support to maintain proper tension.
Step 5: Attach and Tension the Shade Sail
Attach each corner of the Custom Rectangle Sun Shade Sail to the mounting points using shackles or carabiners. Use turnbuckles to gradually apply tension, pulling the sail tight and smooth. Proper tensioning is crucial to prevent flapping, sagging, and premature wear.
Step 6: Final Adjustments and Inspection
Once installed, inspect the sail to ensure even tension across all sides. Check that all hardware is secure and that the sail has adequate clearance from sharp edges. Periodic inspections help maintain safety and extend the lifespan of your Custom Rectangle Sun Shade Sail.
Conclusion
Installing a Custom Rectangle Sun Shade Sail is a straightforward process when planned carefully. With proper positioning, durable hardware, and correct tensioning, your shade sail will provide long-lasting UV protection, improved comfort, and a modern outdoor aesthetic. To explore high-quality, made-to-measure options, visit: https://tinyurl.com/4fkbfrxp and email now at [email protected] or give me a call at +86 15621052282 today!


Sign in to leave a comment.