Keeping your floors clean is essential for a healthy, hygienic, and fresh home. Floors are constantly exposed to dirt, dust, pet hair, spilled food, and bacteria, which can lead to unpleasant doors, allergies, and even illnesses if neglected. Many homeowners rely on commercial floor cleaners to tackle these issues. However, these products are often expensive and contain harsh chemicals like ammonia, bleach, or phosphates. Prolonged exposure can irritate the skin, damage sensitive flooring, or pose risks to children and pets.
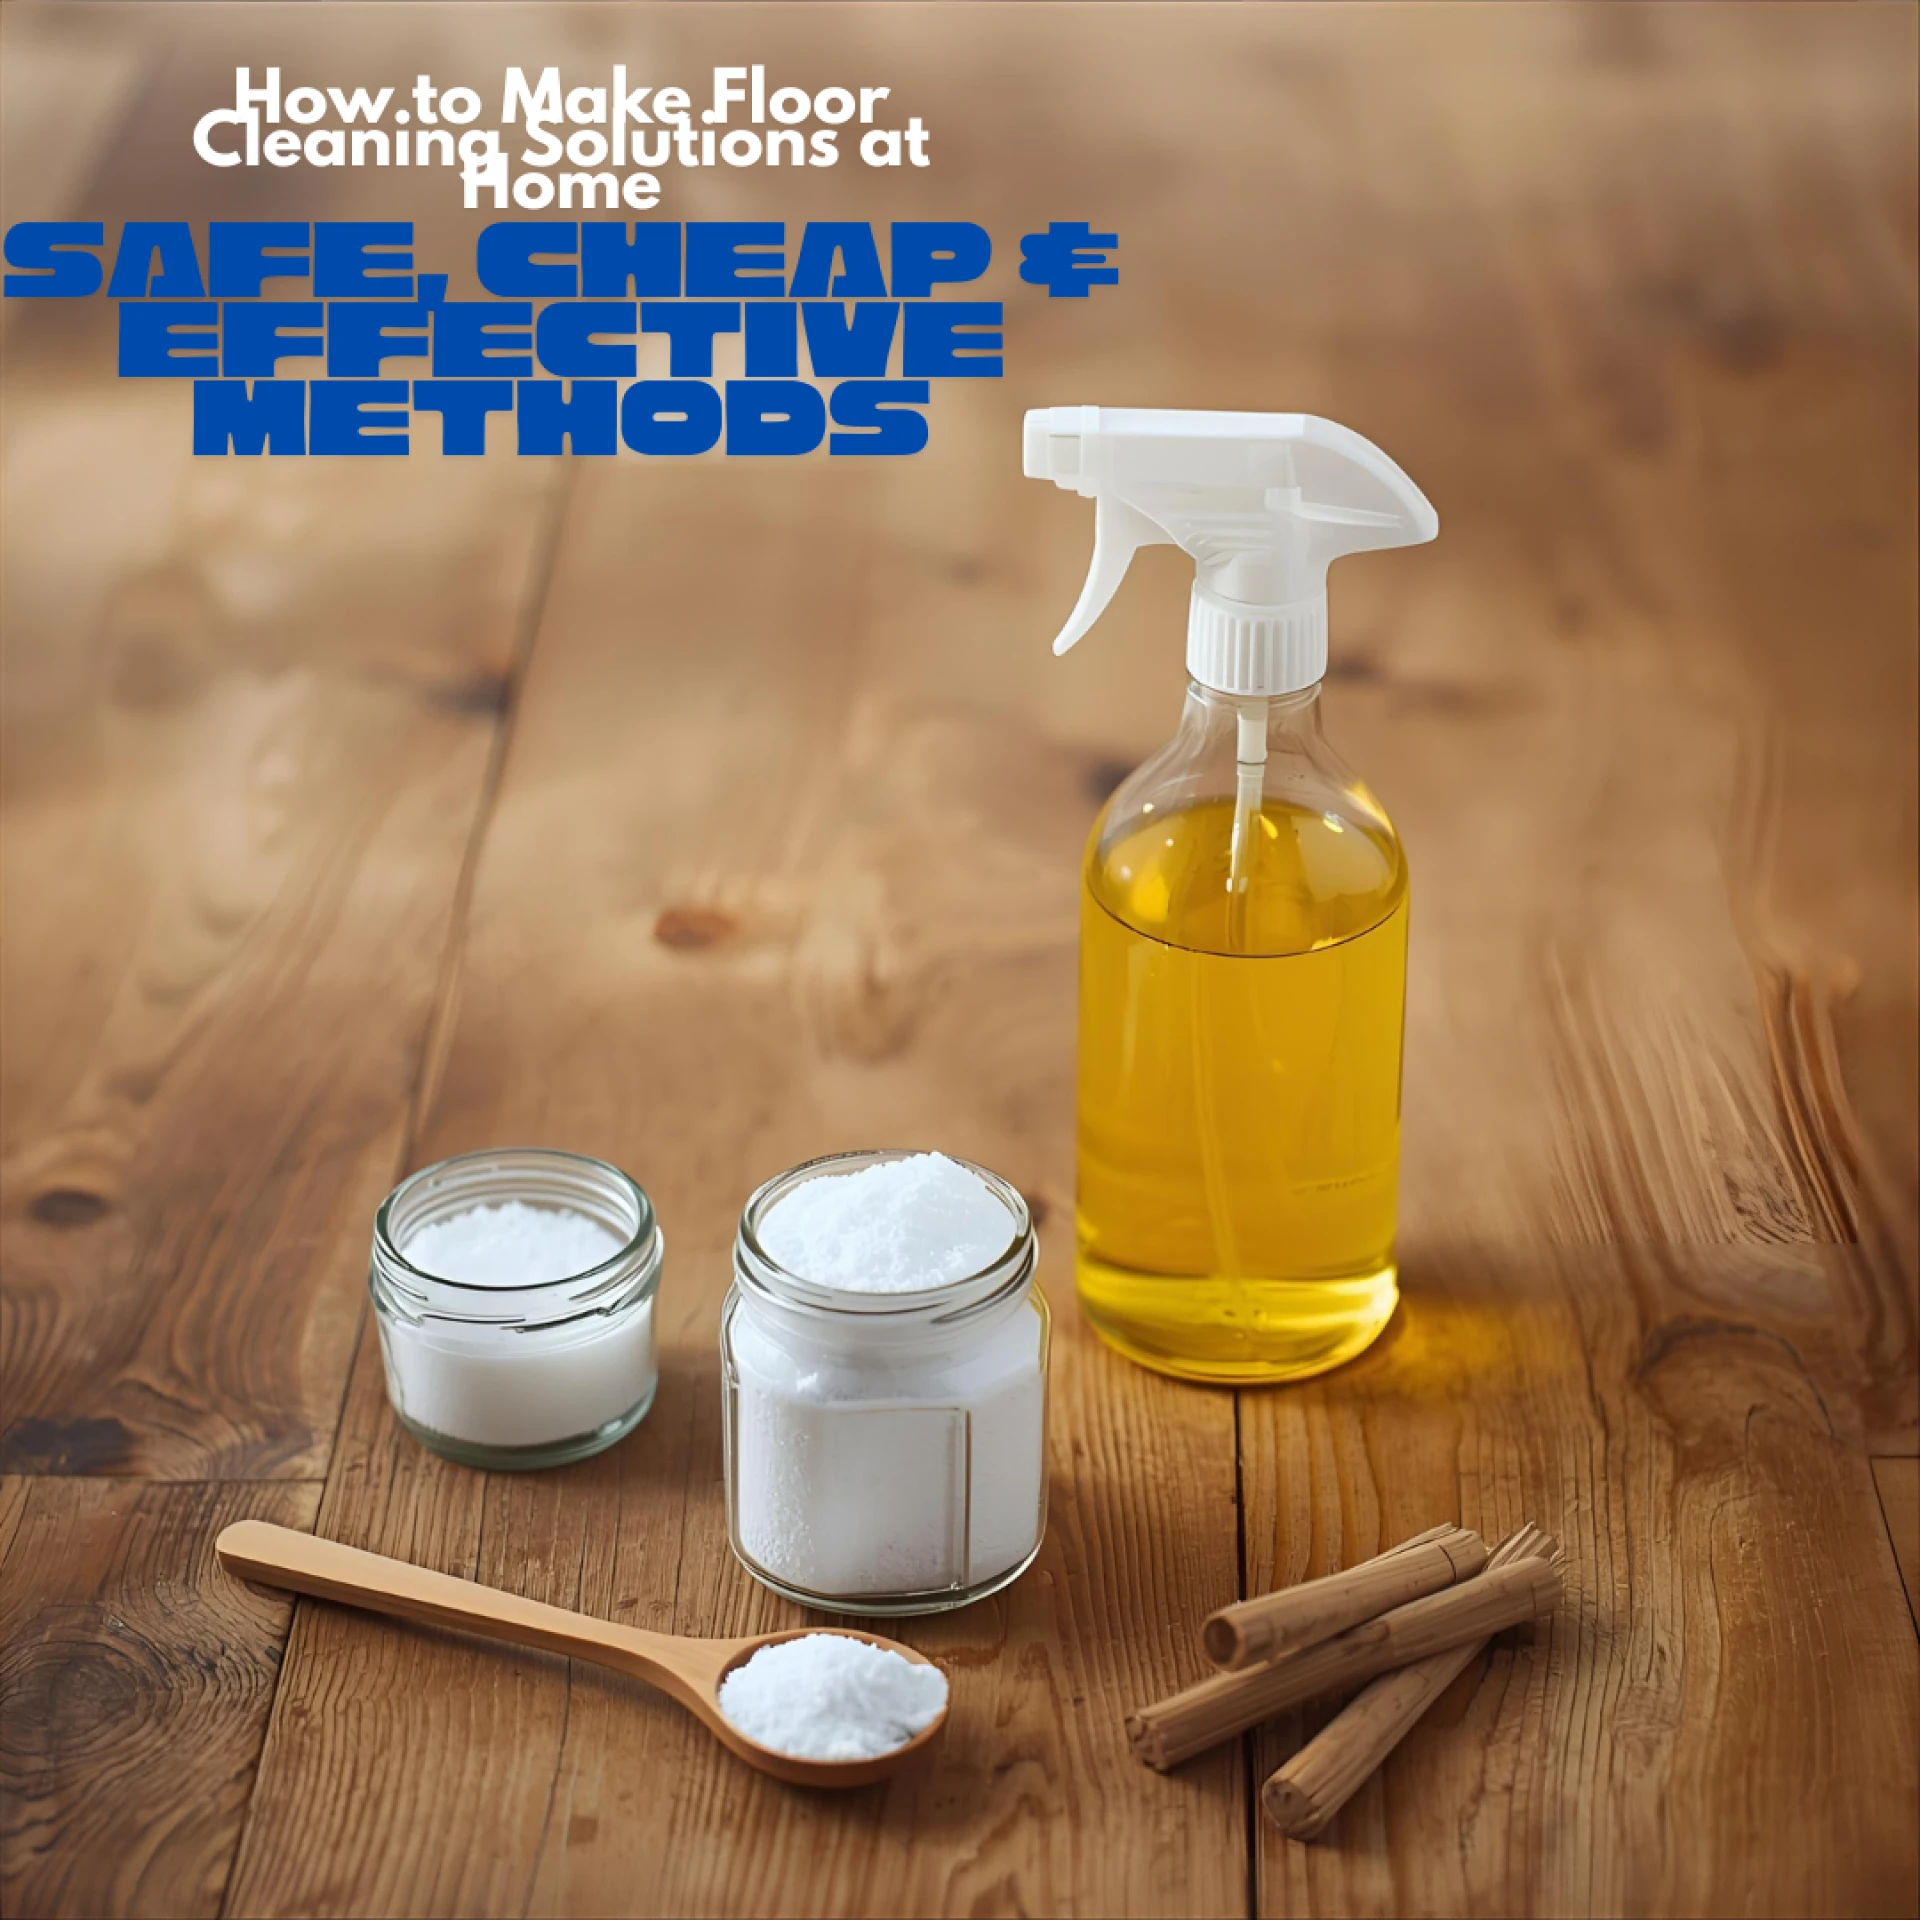
A homemade floor cleaning solution provides a cost-effective, safe, and eco-friendly alternative. By using common household ingredients such as white vinegar, baking soda, mild dish soap, and essential oils, you can clean effectively without exposing your family to harsh chemicals. These natural ingredients work together to remove dirt, stains, grease, and odors from most floor types.
Beyond safety, DIY cleaning solutions also have a positive environmental impact. Commercial cleaners often contain chemical residues that enter water systems, affecting aquatic life and ecosystems. A simple vinegar-based solution biodegrades easily and reduces pollution.
This guide from West link Cleaning Services walks you through making your own floor cleaning solution step by step, including tips for different floor types, common mistakes to avoid, troubleshooting issues, and additional cleaning hacks. By following these steps, you can maintain sparkling clean floors without compromising your health or the environment.
Ingredients You’ll Need
Essential Ingredients
White Vinegar (1 cup)
White vinegar is a natural disinfectant that removes grease, cuts through grime, and kills bacteria. Its mild acidity helps break down dirt, leaving your floors cleaner and fresher. Studies confirm vinegar’s effectiveness against household bacteria and fungi (Harrison et al., 2023; Cortesia et al., 2014).
Baking Soda (1 tablespoon)
Baking soda acts as a gentle abrasive and deodorizer. It can remove tough stains, neutralize odors, and prevent bacteria growth on surfaces (Drake, 1997).
Mild Dish Soap (a few drops)
Mild soap cuts through grease, dirt, and sticky residues. Avoid using too much soap, as excess can leave a residue on floors.
Essential Oils (10–15 drops, optional)
Essential oils add fragrance and boost antibacterial properties. Lemon, lavender, or tea tree oils are excellent choices for both scent and natural cleaning benefits.
Warm Water (1 gallon)
Warm water helps dissolve ingredients and improves cleaning efficiency.
Tools You’ll Need
Using the right tools ensures your homemade floor cleaning solution is mixed and applied safely and effectively. Here’s what you need:
Mixing Bucket or Large Bowl
Use a clean, non-metal bucket or bowl to combine ingredients safely. This prevents any reactions with vinegar and gives you enough space to stir thoroughly.
Measuring Cup & Spoon
Accurate measurements ensure your solution works effectively and prevents issues like sticky residue or streaks.
Stirring Spoon or Stick
A sturdy spoon or stick helps mix all ingredients evenly, ensuring the solution is consistent.
Spray Bottle (Optional)
Useful for spot cleaning or applying the solution to small, targeted areas.
Mop or Microfiber Cloth
Essential for evenly applying the solution across floors, removing dirt, and leaving a clean shine.
Gloves (Optional)
Protect your hands from vinegar or soap, especially if you have sensitive skin.
Pro Tip: Avoid using metal containers, as vinegar can react and cause discoloration or corrosion.
Extra Tip: Keep a separate bucket for mixing to avoid contaminating leftover solution. This also makes cleaning up easier and ensures you always have fresh solutions ready.
How to Mix the Solution
Mixing your homemade floor cleaning solution properly ensures it works effectively and prevents damage to your floors:
Pour Warm Water
Start with 1 gallon of warm water in a clean bucket. Warm water helps dissolve ingredients faster, making the solution ready for use.
Add Vinegar Slowly
Pour 1 cup of white vinegar into the water. Vinegar’s natural acidity disinfects, removes grease, and breaks down dirt (Harrison et al., 2023).
Add Baking Soda
Add 1 tablespoon of baking soda. Fizzing is normal—it indicates the ingredients are reacting. Baking soda gently scrubs surfaces and neutralizes odors (Drake, 1997).
Add Dish Soap
Only add a few drops to avoid sticky residue. Soap helps emulsify grease and grime.
Add Essential Oils (Optional)
Add 10–15 drops for fragrance and antibacterial effects. Lemon or lavender oils are excellent choices.
Stir Well
Mix thoroughly until all ingredients are fully combined.
Tip: Prepare a fresh batch for best results, and store leftovers in a sealed bottle for up to 1 week.
Common Mixing Mistakes
- Using too much vinegar on marble or stone can damage the surface.
- Adding excess soap leaves streaks and sticky residue.
- Mixing in metal containers may cause chemical reactions with vinegar.
Extra Explanation
The combination works because:
- Vinegar neutralizes alkaline dirt and kills bacteria.
- Baking soda scrubs gently and removes odors.
- Soap emulsifies oils and grime.
Understanding these reactions ensures your DIY floor cleaner is both safe and effective for daily use.
Adjustments for Different Floor Types
Different floor types require slight modifications to ensure effective cleaning without causing damage:
Wooden Floors
Use only mild dish soap and water, or reduce vinegar to half. Excess vinegar can strip the wood finish or dull its shine. For antique or delicate wood, clean once a week to prevent wear.
Tile, Vinyl, and Laminate Floors
The full DIY floor cleaning recipe works well on these surfaces. Vinegar, baking soda, and mild soap effectively remove dirt, grease, and odors.
Marble or Stone Floors
Avoid vinegar completely, as its acidity can etch natural stone. Use a combination of baking soda + mild soap + water for safe and effective cleaning.
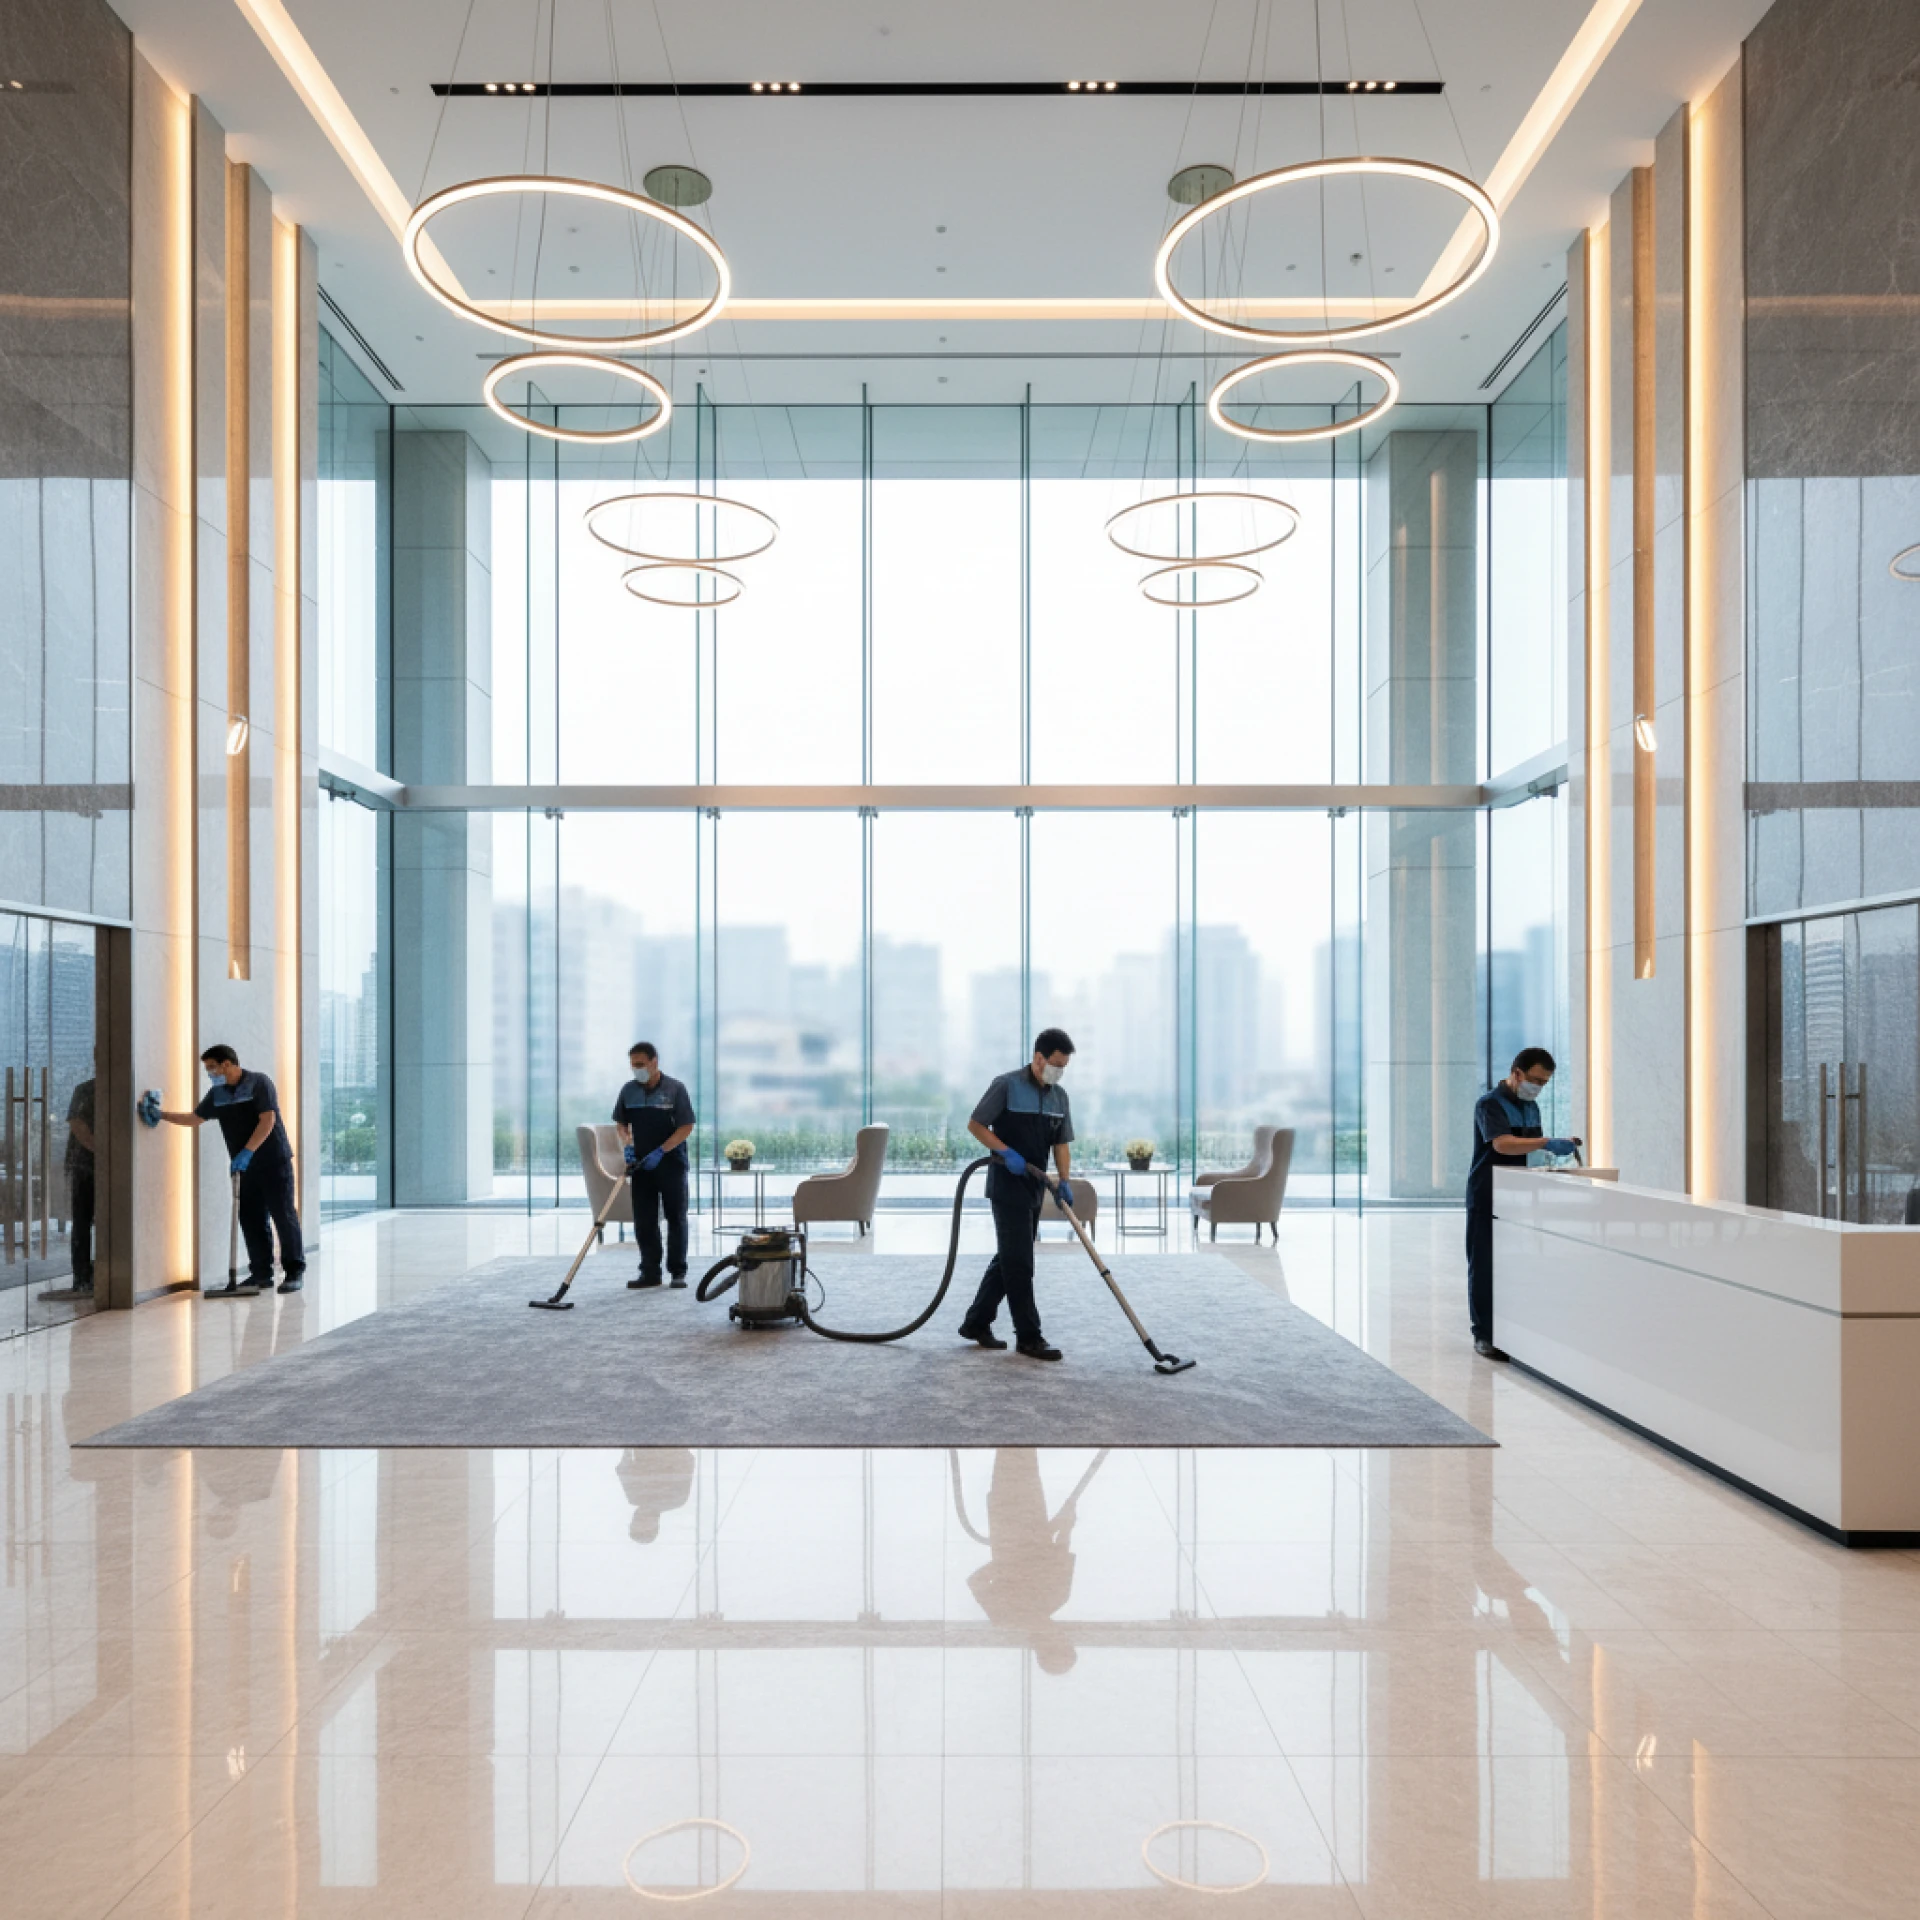
Pro Tip: For delicate or high-value floors, consider professional cleaning services. Check out our tile and floor cleaning services for expert care.
Extra Tips
- Always test a small, hidden area before applying the solution to the entire floor.
- For antique wood or sensitive finishes, apply the solution sparingly and avoid frequent cleaning with vinegar-based mixtures.
Pro Tip: Understanding your floor type helps prevent accidental damage and ensures long-lasting shine.
How to Apply the Solution
Applying your homemade floor cleaning solution correctly ensures efficient cleaning and streak-free results. Here’s how to do it effectively:
Mopping
Dip the mop into the solution, wring out excess water, and clean the floor section by section. This prevents over-wetting, which can damage sensitive floors or leave streaks.
Spraying (Spot Cleaning)
For small or heavily soiled areas, spray the solution directly onto the spot and wipe with a microfiber cloth. This method saves solutions and targets problem areas efficiently.
Scrubbing
For tough stains, apply the solution directly and gently scrub using a microfiber cloth or soft brush. Avoid aggressive scrubbing on delicate floors like wood or marble.
Tip: Always mop along the floor grain or tile lines to reduce streaking and maintain a polished finish.
Time-Saving Hacks
- Use an old sock over a mop head as a makeshift microfiber cleaner for small areas.
- Pre-spray heavily soiled areas before mopping to loosen dirt and reduce scrubbing time.
- For high-traffic areas, clean twice a week to prevent dirt buildup and maintain a fresh look.
Pro Tip: Keep the solution in a spray bottle for quick touch-ups, especially in kitchens or hallways.
Rinsing & Drying
After mopping with your homemade floor cleaning solution, proper rinsing and drying ensure streak-free, shiny floors:
Rinsing
Usually, rinsing is not required because the solution uses natural ingredients that don’t leave harmful residues. However, for streak-prone floors like laminate or glossy tiles, wipe lightly with clean water to remove any leftover solution.
Drying
Allow floors to air dry naturally or use a dry microfiber cloth to speed up drying. This prevents water spots and helps maintain the floor’s natural shine.
Extra Tip: For wooden floors, buff in circular motions with a microfiber cloth to restore the natural luster and remove any minor streaks.
Pro Tip: Avoid walking on floors immediately after cleaning to prevent smudges or slipping.
Storage & Shelf Life
Proper storage of your homemade floor cleaning solution ensures it remains effective and safe for use.
Store in a Sealed Bottle
Keep the solution in a tightly sealed bottle to prevent contamination and evaporation. A dark-colored or opaque bottle is ideal to protect ingredients from sunlight, which can reduce their effectiveness over time.
Cool, Dark Place
Store the bottle in a cool, dark location, away from direct heat or sunlight. High temperatures can degrade the solution and reduce its cleaning power.
Use Within 1 Week
For maximum effectiveness, use the solution within one week of preparation. After this period, the natural ingredients may lose potency.
Pro Tip: Clearly label each bottle with the date of preparation and the ingredients used. This helps avoid confusion and ensures you don’t accidentally use an expired solution.
Extra Tip: If the solution has separated slightly (for example, oil floating on water), shake gently before use to mix ingredients evenly.
Troubleshooting Common Problems
Cleaning floors with a homemade solution is simple, but sometimes issues like residue, streaks, or weak cleaning can occur. Here’s how to solve them effectively:
Sticky Residue
If your floors feel sticky after cleaning, it’s usually due to too much dish soap. Reduce the amount of soap next time or rinse lightly with clean water to remove leftover suds.
Streaks
Streaks often appear when too much solution is used or floors are mopped improperly. Mop along the floor lines or grain, and use only a minimal amount of solution for best results.
Weak Cleaning Power
If dirt isn’t coming off effectively, you can slightly increase vinegar (if safe for your floor type) or scrub stubborn stains gently with a microfiber cloth.
Odor
Lingering odors can happen with spills or pet accidents. Add extra drops of lemon or tea tree essential oil to naturally neutralize smells.
Slippery Floors
Too much soap can make floors slippery. Use less soap and rinse lightly if needed to prevent slipping hazards.
Scientific Explanation
- Baking Soda: Neutralizes odors and gently scrubs surfaces without scratching.
- Vinegar: Its acidity disrupts bacterial membranes, killing germs and breaking down grease.
- Soap: Emulsifies oils and dirt, making it easier to remove from surfaces.
Understanding these chemical reactions helps you troubleshoot effectively and ensures your floors stay clean, fresh, and safe.
Safety Precautions
Keep Away from Children and Pets
Always make sure floors are completely dry before allowing children or pets to walk on them. Wet floors can be slippery, and some ingredients, though natural, may cause mild irritation if contacted directly.
Avoid Vinegar on Sensitive Surfaces
Do not use vinegar on marble, natural stone, or waxed wood floors, as its acidity can etch or damage the surface. For these floors, stick to baking soda and mild soap solutions.
Wear Gloves if Skin is Sensitive
Even natural ingredients like vinegar or essential oils can irritate sensitive skin. Wearing gloves protects your hands during mixing and cleaning.
Label Stored Solution Clearly
Always label bottles with the ingredients and date. This prevents accidental misuse and ensures you know when the solution expires.
Optional Boosts
Hydrogen Peroxide (1–2 tbsp)
Hydrogen peroxide adds extra disinfecting power, especially useful for tile, vinyl, or bathroom floors. It helps kill bacteria and germs that vinegar alone might miss, making your floors even cleaner and safer.
Extra Essential Oils
Adding more essential oils like lemon, lavender, or tea tree gives a stronger fragrance and boosts natural antibacterial effects. These oils not only make your home smell fresh but also help reduce bacteria and odors naturally (Cortesia et al., 2014; Berg, 2018).
Lemon Juice
Lemon juice is acidic and works as a natural stain remover. It also leaves a fresh, clean scent, helping your floors feel bright and fresh after cleaning.
Conclusion
Making your own floor cleaning solution is not only safe and eco-friendly, but also cost-effective and surprisingly simple. By following this step-by-step guide, you can clean wood, tile, vinyl, and laminate floors effectively without relying on harsh commercial chemicals.
DIY cleaning helps you:
- Save money by using common household ingredients instead of expensive cleaners.
- Protect your family and pets from exposure to toxic chemicals.
- Reduce environmental impact, as natural ingredients like vinegar and baking soda are biodegradable.
- Maintain sparkling, fresh floors that look and feel clean.
FAQs
Q1: Can I use this solution on hardwood floors?
Ans: Yes, but reduce vinegar to half or skip it. Stick to mild dish soap and water.
Q2: Is it safe for pets and children?
Ans: Yes, all ingredients are natural and safe. Ensure floors are dry before letting pets or children walk.
Q3: How long can I store leftover solutions?
Ans: Up to 1 week in a sealed bottle, in a cool, dark place.
Q4: Do I need to rinse after cleaning?
Ans: Usually no. For streak-prone floors, a light wipe with clean water works.
Q5: Can I use this on carpets or rugs?
Ans: No, this solution is only for hard floors.
Q6: Can I mix with bleach?
Ans: No, vinegar + bleach produces toxic chlorine gas.
Q7: Can it remove tough stains like wine or coffee?
Ans: Yes, pre-treat stains and gently scrub before mopping.
Q8: Can I use this daily?
Ans: Yes, daily use is safe for most floor types; adjust vinegar for sensitive floors.
Q9: Is it environmentally friendly?
Ans: Absolutely, all ingredients biodegrade naturally and reduce chemical runoff.
References
- Harrison, H. F. et al. (2023). Exploring the antibacterial and antibiofilm activity of acetic acid, vinegar and oxymel against human pathogenic bacteria and fungi. PMC Open Access
- Drake, D. (1997). Antibacterial activity of baking soda (sodium bicarbonate). PubMed
- Cortesia, C. et al. (2014). Acetic acid, the active component of vinegar, is an effective mycobactericidal disinfectant. PMC Open Access
- Zinn, M.K. et al. (2020). Evaluating the antibacterial, antifungal and antiviral activity of vinegar and acetic acid for household cleaning. BMC Microbiology
- Berg, E.G. (2018). Why baking soda could help boost the killing power of some antibiotics. ACS
- Newbrun, E., Hoover, C.I., Ryder, M.I. (1984). Bactericidal action of bicarbonate ion on selected periodontal pathogens. PubMed


Sign in to leave a comment.