Making your probiotic yogurt at home can be a rewarding and nourishing endeavor. Not only does it allow you to control the ingredients, but it also enables you to customize flavors and textures to suit your preferences. Homemade yogurt is a powerhouse of probiotics and essential nutrients and can be a delightful addition to your diet. This guide will walk you through the process, from selecting ingredients to enjoying your delicious creation.
Understanding Probiotics and Their Benefits
Before diving into the yogurt-making process, it's essential to grasp the significance of probiotics and their health benefits. Probiotics are live microorganisms, primarily bacteria, that confer health benefits when consumed adequately. They are crucial in maintaining gut health, aiding digestion, and boosting the immune system. Yogurt made from probiotic cultures introduces beneficial bacteria into your gastrointestinal tract, which can help restore the natural balance of flora.
In addition to gut health, probiotic yogurt starter can enhance nutrient absorption, reduce inflammation, and improve overall digestive function. Research has shown regular probiotic consumption can alleviate lactose intolerance symptoms, improve mental health, and support weight management. With these benefits in mind, making your yogurt becomes a culinary adventure and a pathway to better health.
Gathering Your Ingredients and Equipment
You'll need key ingredients and essential equipment to embark on your yogurt-making journey. The primary ingredients are milk and a yogurt starter culture containing live probiotic bacteria. You can choose any type of milk—whole, low-fat, or even non-dairy alternatives like almond or coconut milk. However, whole milk typically yields the creamiest yogurt.
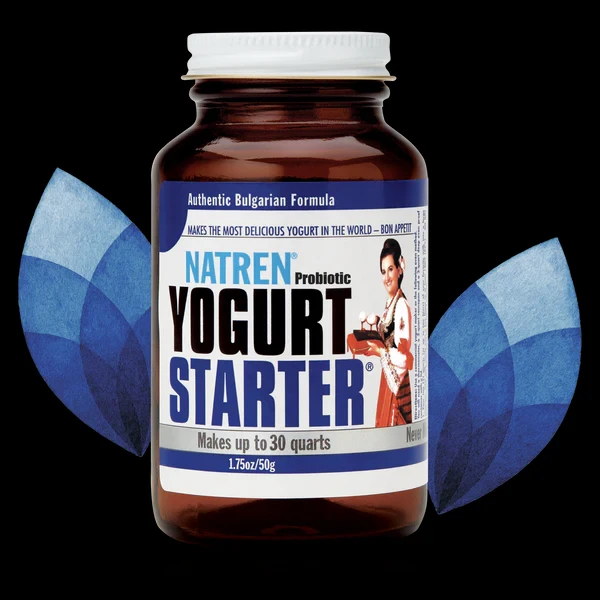
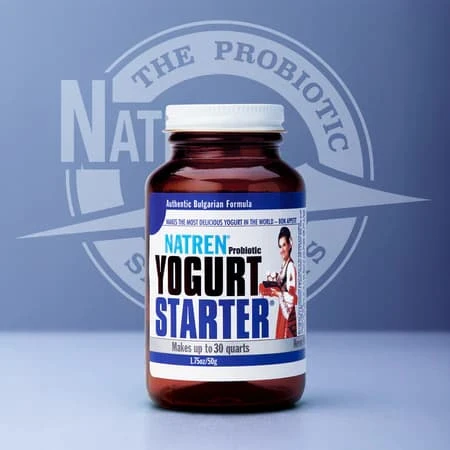
For the yogurt starter, you can use a small amount of store-bought yogurt containing live cultures or purchase a specific yogurt starter culture from a health store or online. If you're using store-bought yogurt, ensure the label lists "live and active cultures," as not all yogurts contain sufficient probiotics.
Equipment: You will need a clean glass or plastic container for fermenting the yogurt, a whisk or spoon for mixing, and a thermometer to monitor the milk temperature. A yogurt maker is unnecessary, but it can be helpful if you prefer to maintain a consistent temperature. Alternatively, you can use a warm spot in your kitchen or an oven with the light on to create a suitable environment for fermentation.
The Yogurt-Making Process
Step 1: Heating the Milk
Begin by pouring your chosen milk into a saucepan and heating it over medium heat. The goal is to bring the milk to a gentle simmer, around 180°F (82°C), which helps destroy any unwanted bacteria and denatures the proteins, improving the texture of the yogurt. Stir the milk frequently to prevent it from scorching on the bottom. Once it reaches the desired temperature, remove it from the heat and let it cool.
Step 2: Cooling the Milk
After heating, allow the milk to cool to about 110°F (43°C). This temperature is ideal for adding the yogurt starter culture, as it provides a warm environment for the probiotics to thrive without killing them. Place the saucepan in a cold water bath to speed up the cooling process, or let it sit at room temperature.
Step 3: Adding the Starter Culture
Once the milk has cooled, take a small bowl and add a few tablespoons of your yogurt starter. Gradually mix in a cup of the warm milk until smooth. This step helps distribute the probiotics evenly throughout the milk. Then, gently whisk this mixture into the saucepan with the rest of the milk, ensuring it’s well combined.
Step 4: Fermentation
Transfer the mixture to a clean container and cover it with a lid or cheesecloth. Now, it’s time for fermentation. Place the container in a warm spot, ideally maintaining a temperature between 100°F and 110°F (37°C and 43°C). Depending on how tangy you want your yogurt, this process can take 4 to 12 hours. The longer it ferments, the thicker and tangier it will become. Check the yogurt periodically; it’s ready when it has thickened to your liking and has a pleasant aroma.
Flavoring Your Yogurt
Once the fermentation process is complete, you can enjoy plain yogurt or enhance its natural taste with flavors. Fresh fruits, honey, maple syrup, or vanilla extract can improve the flavor of yogurt. If you prefer a fruit-flavored yogurt, consider blending fresh or frozen fruits with a bit of sweetener and folding them into the yogurt. For a unique twist, you can also experiment with spices like cinnamon or nutmeg.
Straining the yogurt can create a creamy Greek-style yogurt for those who enjoy a thicker consistency. Simply place a fine-mesh strainer or cheesecloth over a bowl and pour the yogurt into it. Allow it to sit in the refrigerator for a few hours to drain excess whey, resulting in a thicker, creamier texture.
Storing and Enjoying Your Yogurt
Once you've flavored your yogurt to your liking, it’s time to store it. Transfer it to airtight containers and refrigerate. Homemade yogurt can last about 1 to 3 weeks in the fridge, but it’s best consumed within the first week for optimal taste and probiotic potency.
To keep the yogurt-making cycle going, save a few tablespoons of your homemade yogurt to use as a starter for your next batch. This ensures a continuous supply of delicious yogurt and allows you to experiment with different flavors and textures over time.
Embracing the Yogurt-Making Journey
Making your probiotic yogurt is not just a culinary skill; it's a journey of discovery and nourishment. Understanding probiotic processes and benefits can enhance your dietary habits. The satisfaction of creating something delicious and healthy from scratch is unparalleled, and the potential to tailor your yogurt to your taste preferences is a bonus.
As you embark on this journey, remember that each batch of yogurt you create reflects your taste and creativity. With practice, you'll refine your technique, discover new flavors, and appreciate the art of yogurt-making. So gather your ingredients, embrace the process, and enjoy the wholesome goodness of homemade probiotic yogurt.


Sign in to leave a comment.