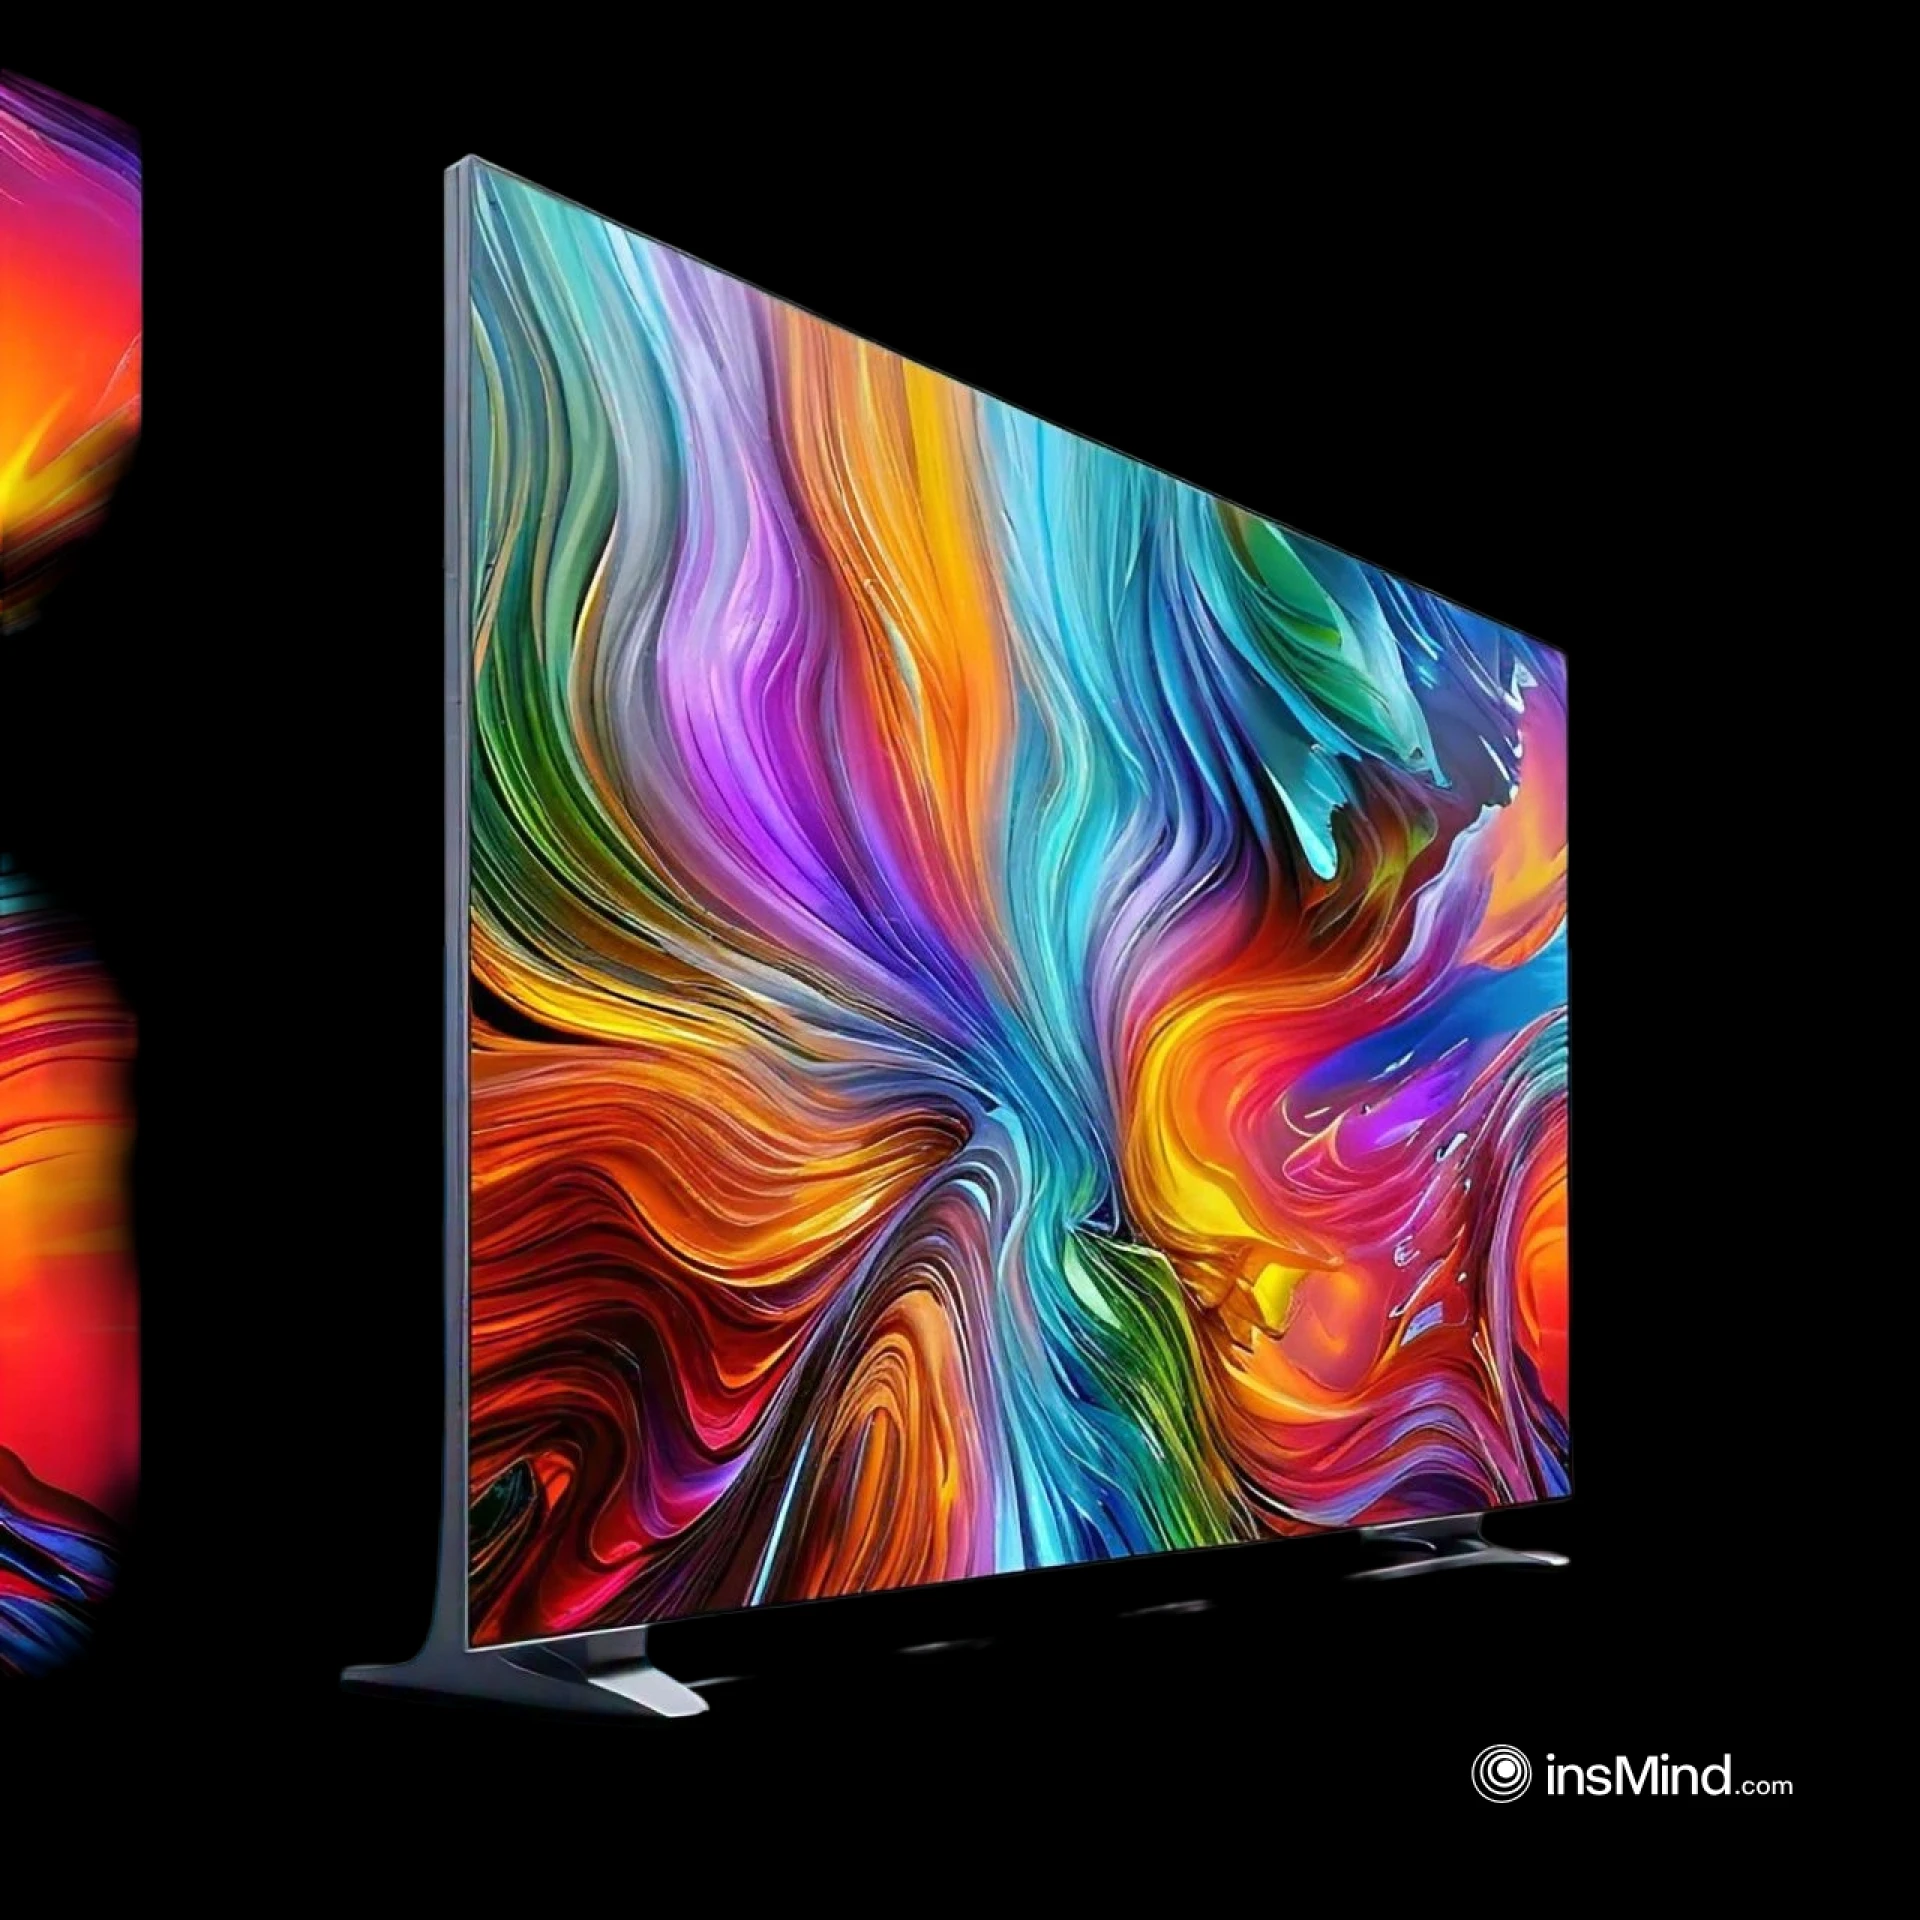
Installing a Samsung 85-inch display can transform your living or working space into a state-of-the-art entertainment hub. However, such a large display requires careful planning and precise execution to ensure safety and optimal viewing experience. This guide walks you through the essential steps to mount and install your Samsung 85-inch display safely.
Step 1: Choose the Right Location
Consider Viewing Angles
Select a spot where the screen is at eye level when seated. Avoid locations with direct sunlight to minimize glare and maintain picture quality.
Ensure Structural Integrity
The wall should be sturdy enough to support the weight of the display. For drywall, locate the studs using a stud finder, as they provide the necessary support.
Step 2: Gather Necessary Tools and Equipment
You’ll need the following items:
- A compatible wall mount for Samsung 85-inch displays
- Stud finder
- Power drill and appropriate drill bits
- Level
- Screwdriver
- Measuring tape
- Safety goggles
- Cable management system (optional)
Step 3: Select the Right Wall Mount
Choose a wall mount designed for large screens. Ensure it supports the weight and dimensions of your Samsung 85-inch display. Wall mounts typically come in three types:
- Fixed Mounts: Best for a clean, stationary setup.
- Tilting Mounts: Allow for minor adjustments to reduce glare.
- Full-Motion Mounts: Provide maximum flexibility for swiveling and tilting.
Step 4: Prepare the Wall
- Mark the Studs
- Use a stud finder to locate and mark the studs on the wall. Spacing the screws into studs ensures maximum stability.
- Measure and Mark the Placement
- Use the mount template (usually included with the wall mount) to mark drill holes. Ensure the marks are level to avoid a tilted display.
- Drill Pilot Holes
- Drill small pilot holes at the marked locations to make it easier to insert screws later.
Step 5: Attach the Wall Mount
- Secure the Bracket to the Wall
- Align the wall mount with the pilot holes and use heavy-duty screws to secure it. A level will help ensure that the mount is perfectly horizontal.
- Attach the Bracket to the TV
- Affix the other part of the mount to the back of your Samsung 85-inch display. Follow the manufacturer's instructions for proper alignment.
Step 6: Mount the Display
- Lift with Assistance
- Due to the size and weight of the Samsung 85-inch display, you’ll need at least two people to lift it safely. Avoid lifting from the edges to prevent damage.
- Secure the Display
- Carefully align the TV-mounted bracket with the wall mount and lock it in place as per the mount’s mechanism.
Step 7: Connect Cables and Manage Wires
- Connect Necessary Cables
- Attach HDMI, power, and any other cables before securing the display fully to the mount.
- Organize Wires
- Use a cable management system to keep wires neat and avoid tripping hazards. Conceal cables using raceways or in-wall cable kits for a clean look.
Step 8: Test the Setup
- Check Stability
- Gently test the mounted display to ensure it is firmly attached and doesn’t wobble.
- Verify Picture Quality
- Turn on the Samsung 85-inch display to confirm the connections and adjust settings for the best picture quality.
Safety Tips
- Always wear safety goggles while drilling.
- Do not attempt to mount the TV alone.
- Use a stud finder to avoid drilling into electrical wiring.
- Follow the manufacturer's weight and size guidelines for the wall mount.
Conclusion
Mounting your Samsung 85-inch display can seem daunting, but with the right tools and careful preparation, it’s entirely achievable. Following these steps ensures a safe and professional-looking installation, allowing you to enjoy an enhanced viewing experience for years to come.


Sign in to leave a comment.