

Packing up a house is one of those jobs that looks simple until you actually start. You open the first kitchen cupboard, pull out a mug, and realise you own roughly four times as many possessions as you thought. Multiply that by every room in the house, and it's easy to see why packing causes more stress than almost any other part of moving.
The good news is that packing doesn't have to be chaos. With a bit of planning, the right supplies, and a system that actually makes sense, you can get through it without losing your mind or your favourite coffee cups. Here's how to do it properly, from the first box to the last.
When Should You Start Packing for a House Move?
Timing matters more than most people expect. Start too early, and you'll be living out of boxes for weeks. Start too late,e and you'll be shoving things into bin bags at midnight before the van arrives.
A rough guide works well for most households. About eight weeks before the move, begin with the things you genuinely don't touch day to day: seasonal decorations, spare bedding, books you've already read, and anything sitting untouched in the loft or garage. There's no rush here, so take your time sorting through it properly.
By four weeks out, you can move on to items you use occasionally but not daily. Hobby equipment, extra kitchenware, out-of-season clothing, and ornaments that aren't part of your everyday life all fall into this category. This is also a sensible point to start collecting boxes if you haven't already, since good ones tend to disappear quickly once neighbours and local shops know you're moving.
The final week is for everything else. Kitchen basics, toiletries, and the clothes you're currently wearing should be among the very last things packed, ideally the night before or the morning of the move itself.
Essential Packing Supplies You'll Need
Before any boxes get filled, it helps to gather everything in one place. Running out of tape halfway through a room is a small thing, but it slows you down at exactly the wrong moment.
You'll need a good mix of box sizes. Small boxes are best for heavy items like books and tinned food, since a large box full of hardbacks becomes nearly impossible to lift. Medium and large boxes suit lighter, bulkier items such as bedding, towels, and lampshades. Strong packing tape, several rolls of bubble wrap, plain packing paper, and a set of thick permanent markers round out the basics. A stack of ziplock bags is worth having too, mainly for keeping screws and small fittings together when furniture gets dismantled.
If your budget allows, wardrobe boxes are genuinely useful. They let you transfer hanging clothes straight from the rail without folding a single item, which saves a surprising amount of time on moving day.
Step 1: Declutter Before You Pack
There's little point in paying to move things you no longer want. Before a single box gets taped shut, go through each room and sort items into four groups: keep, donate, sell, and bin.
This step does more than lighten the load. It also means you're only unpacking things you actually use in your new home, rather than carrying old clutter from one house to the next. Charity shops, local selling groups, and household waste sites can take most of what doesn't make the cut, so there's rarely a good reason to keep something purely out of guilt.
Step 2: Create a Packing Plan, Room by Room
Trying to pack a bit of everything at once tends to create more mess than progress. A more manageable approach is to work through the house one room at a time, starting with whichever rooms you use least.
A spare bedroom, a home office you rarely sit in, or a garage full of odds and ends are good places to begin. Finish that room completely before starting the next, rather than leaving half-packed boxes scattered across the house. Not only does this keep things tidy, but it also makes it far easier to see how much progress you've actually made.
How to Pack Each Room
Different rooms come with different packing challenges, so it helps to treat each one on its own terms.
Kitchen. This is usually the most time-consuming room, largely because of breakables. Wrap plates individually and stack them on their edge inside the box, much like records in a crate, rather than laying them flat where the weight of the stack can crack them. Nest bowls two or three at a time with paper between each one. Glasses and mugs need a double layer of paper or bubble wrap, with extra padding at the top and bottom of the box.
Bedroom. Strip beds close to moving day and pack bedding into large, light boxes. Wardrobe boxes make clothes packing almost effortless, but if you're using standard boxes instead, fold items neatly and avoid overpacking, since crushed clothes are far harder to sort out at the other end.
Living room. Take photographs of any cable setups before disconnecting electronics, then bag and label the cables so you're not guessing later. Wrap picture frames and mirrors in bubble wrap with cardboard corners for extra protection, and pack them upright rather than flat.
Bathroom. Decant liquids into smaller, sealed containers where possible, and pack toiletries in a waterproof bag inside the box in case anything leaks in transit.
Garage and storage areas. Tools, paint tins, and garden equipment often get left until last, but they're usually straightforward to box once you've decided what's actually worth keeping.
How to Pack Fragile Items Safely
Fragile items deserve their own approach rather than being tucked in wherever there's space. Line the bottom of each box with a layer of scrunched paper or a folded towel before adding anything breakable. Wrap each item individually, fill any gaps with more paper so nothing shifts during transport, and avoid leaving empty space at the top of the box. A loosely packed box of glassware is far more likely to arrive damaged than a tightly packed one.
A Smart Box Labelling System
Labelling seems like a minor detail until you're stood in a new kitchen surrounded by forty identical brown boxes. Write both the destination room and a brief description of the contents on at least two sides of each box, not just the top, so labels stay visible even when boxes are stacked.
Numbering boxes and keeping a simple written or digital inventory is worth the extra ten minutes it takes. If something goes missing between houses, you'll know exactly what was in which box rather than guessing. Colour-coded stickers or coloured tape per room can also speed up unloading, particularly if you've got people helping who don't know the house layout.
Packing Heavy Versus Light Items
One rule solves more packing problems than almost any other: heavy items go in small boxes, light items go in large ones. A small box of books is manageable to carry, while the same books in a large box quickly becomesomething nobody wants to lift twice. Pillows, bedding, and lampshades, on the other hand, can safely fill a bigger box without adding much weight.
Pack an Essentials Box
Set aside one box, or a couple of bags, containing everything you'll need for the first 24 to 48 hours in your new home. Toiletries, a change of clothes, phone chargers, basic medication, important documents, and a few kitchen items like a kettle and mugs all belong here. This box should travel with you rather than on the removal van, so there's no chance of it going astray.
What Not to Pack
Removal companies won't transport certain items, and for good reason. Flammable liquids, gas canisters, and perishable food are typically excluded from moving vans. Valuables such as jewellery, passports, and important paperwork are also best kept with you personally rather than boxed up with everything else.
DIY Packing Versus Hiring Professional Packers
Packing everything yourself saves money but takes considerably more time and effort. Professional packers work quickly a,nd their work is usually covered by insurance, which matters if something gets damaged in transit. If you're short on time or dealing with particularly valuable or awkward items, paying for at least partial packing help is often worth the cost.
Moving Day Packing Checklist
On the day itself, keep a small last-minute box for cleaning supplies, toilet roll, and basic tools, since these get used right up until you leave and are needed again as soon as you arrive. Double-check drawers, cupboards, and the loft before the van pulls away, and keep your essentials box, keys, and important documents with you at all times rather than loading them onto the lorry.
Final Thoughts
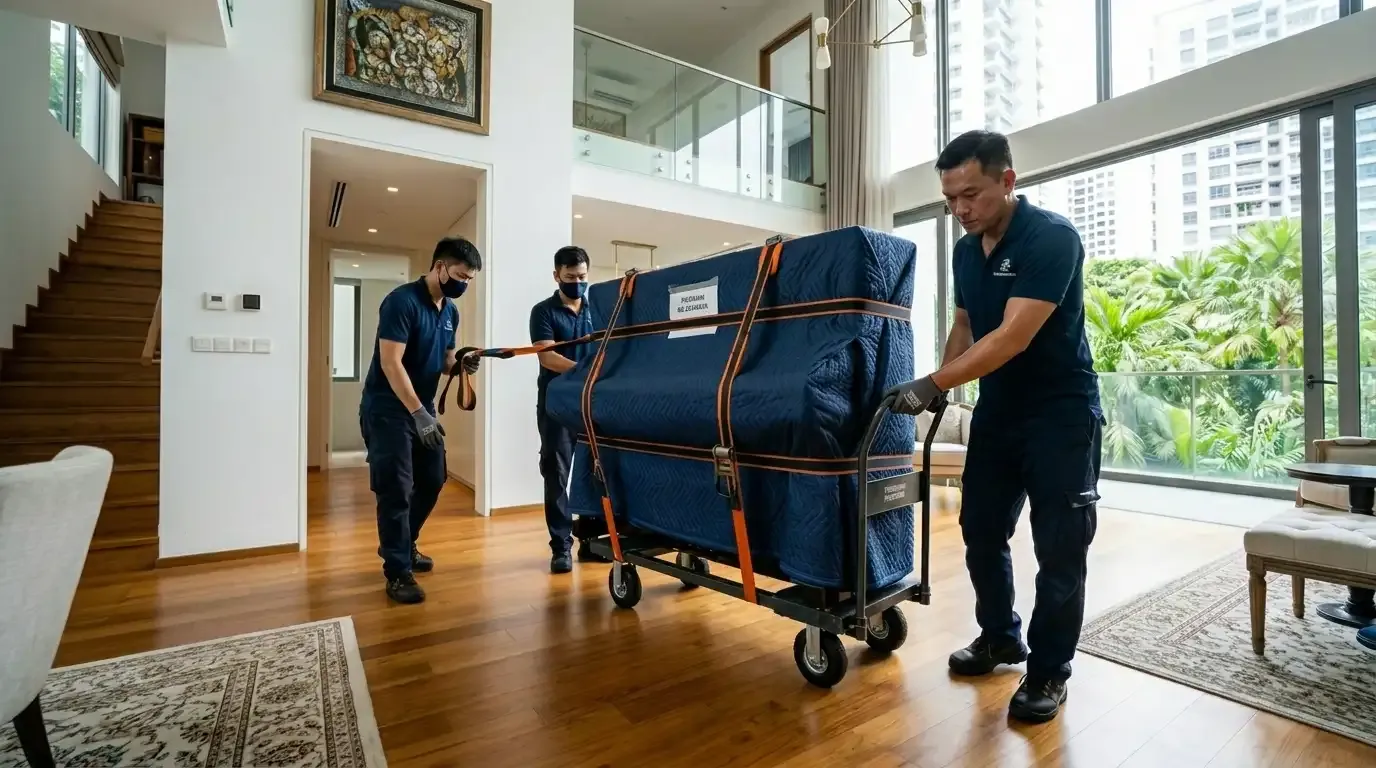
Packing a house is never going to be effortless, but it doesn't need to be a last-minute scramble either. Start early, work through one room at a time, and keep your labelling consistent, and the whole process becomes far more manageable. If the workload feels too much, Movers Singapore can also help with packing, handling, and transporting your belongings safely. Having experienced movers around can make the heavier parts of the move much easier to manage. By the time moving day arrives, you'll know exactly where everything is, which is worth more than any amount of extra bubble wrap.



























Sign in to leave a comment.