
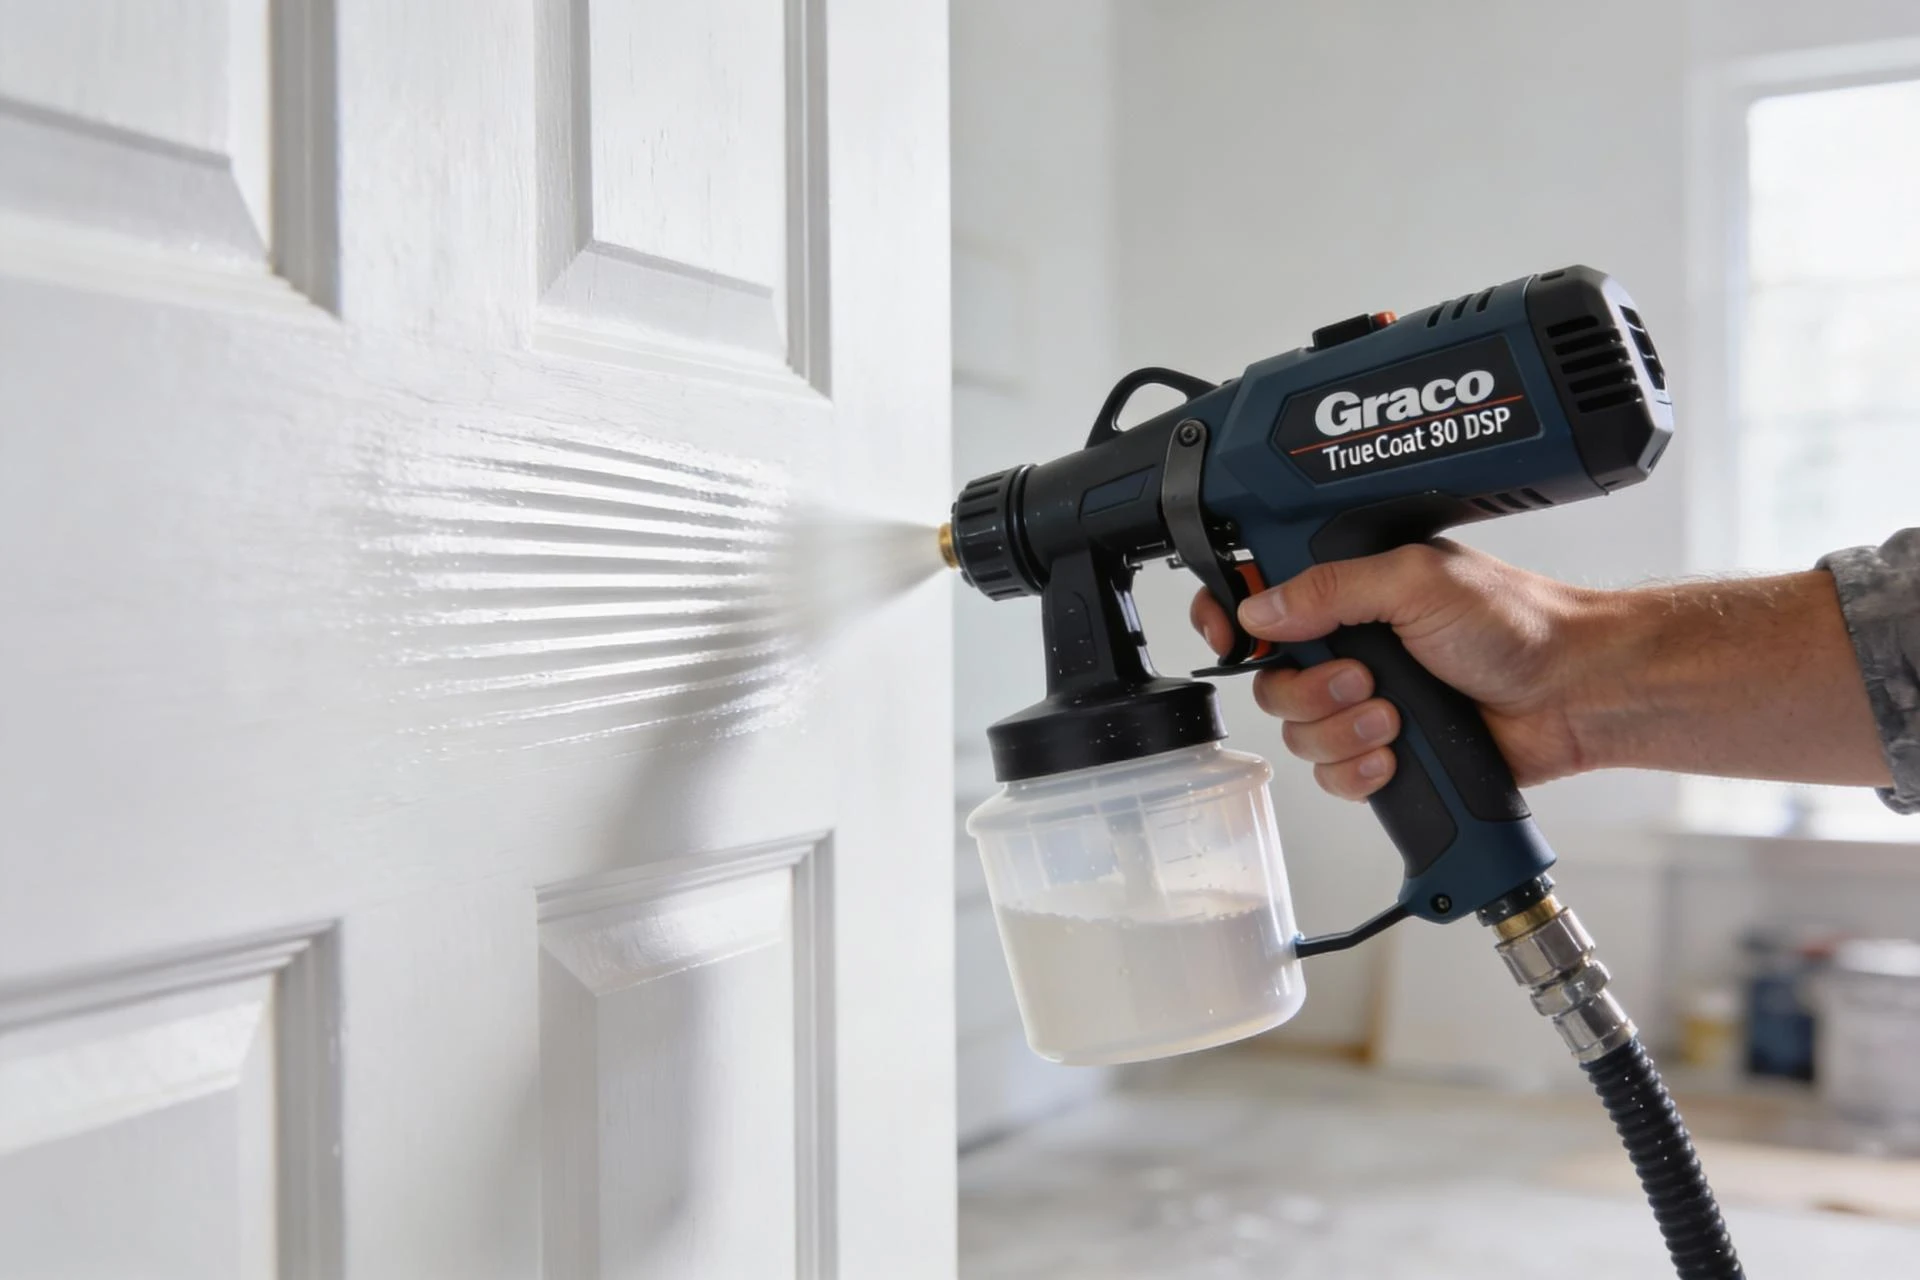
When your Graco paint sprayer stops performing at its best, it’s often due to wear in the pump assembly — the heart of the system. Learning how to perform a Graco pump repair can save you both time and money while extending the life of your sprayer. This guide covers the essential steps, tools, and kits needed for a proper repair, plus some expert tips to make the process smooth and successful.
Understanding Why Graco Pump Repair Is Important
The pump is responsible for creating the pressure that pushes paint through your sprayer. Over time, seals, packings, and rods experience friction, leading to leaks, pressure loss, or inconsistent spray patterns. Performing a timely Graco pump repair prevents these issues and ensures consistent, high-quality spraying performance.
If you notice your sprayer sputtering, leaking paint, or losing pressure, it’s time to inspect the pump for possible replacement parts.
Tools You’ll Need for Graco Pump Repair
Before you start, prepare the following tools to make the job efficient:
- Adjustable wrench or spanner
- Pliers and Allen keys
- Clean rags and solvent (for flushing paint)
- Grease or Graco throat seal liquid
- A Graco pump repair kit (specific to your model)
- Soft brush for cleaning components
- Gloves and protective eyewear
Having the right tools ensures you can dismantle and reassemble parts without damaging sensitive components.
Step-by-Step Guide to Graco Pump Repair
1. Prepare the Sprayer
Unplug your sprayer and release any built-up pressure. Flush out remaining paint using water or solvent until the fluid runs clear. This ensures a clean workspace and prevents contamination of new parts.
2. Disassemble the Pump
Remove the sprayer’s suction tube, outlet hose, and filter housing. Using the wrench, unscrew the pump assembly carefully. Take note of how parts are aligned — taking a few photos helps during reassembly.
3. Inspect and Clean
Check all internal parts for wear, scoring, or corrosion. Clean the pump body, piston rod, and cylinder thoroughly using a soft brush and solvent.
4. Replace Worn Components
Install the new seals, packings, and O-rings from your Graco pump repair kit. Lightly lubricate them with Graco throat seal liquid or compatible grease before fitting. Ensure the piston rod moves smoothly without friction.
5. Reassemble the Pump
Reattach the pump housing, suction tube, and other connections in the same order you disassembled them. Tighten fittings securely, but avoid over-tightening.
6. Test the Sprayer
Fill the sprayer with water (or compatible thinner) and perform a quick test spray. Check for leaks, pressure consistency, and smooth operation. If everything runs fine — congratulations, your Graco pump repair is complete!
Pro Tips for Maintaining Your Pump
- Always flush your sprayer after every use to prevent buildup.
- Use only genuine Graco repair kits for guaranteed performance.
- Store the sprayer in a clean, dry environment.
- Apply a few drops of throat seal liquid after each job to prevent packing wear.
- Keep a spare pump repair kit handy for quick maintenance.
Regular care ensures your sprayer performs like new for years.
Frequently Asked Questions (FAQs)
1. How often should I perform a Graco pump repair?
Typically, a Graco pump repair is needed after 300–500 gallons of paint, depending on the coating type and cleaning habits.
2. Can I use third-party repair kits instead of genuine Graco kits?
It’s not recommended. Genuine Graco repair kits are precision-engineered and ensure longer life and better performance.
3. How do I know which repair kit fits my sprayer?
Check your sprayer’s nameplate or manual for the model number. You can also search your model on SprayersandParts.com to find compatible kits.
4. What causes premature pump failure in Graco sprayers?
Common causes include paint residue buildup, lack of lubrication, and using incorrect tip sizes that overwork the pump.
5. Is it difficult to perform a Graco pump repair myself?
Not at all. With the right Graco pump repair kit and basic tools, most users can complete the process in under an hour.


Sign in to leave a comment.