Tying a bow tie may seem tricky, yet it doesn't have to be that way. A good number of people feel nervous about trying it for the first time, which is completely understandable. Once you get the basic actions down, it gets much easier, much like finishing the knots in your shoelaces.
When preparing for a wedding, an elegant dinner, a special occasion, or simply aiming for a polished appearance, mastering self-tying a Bow Tie is a valuable talent. It brings individuality, grace, and a mark of timeless flair to any ensemble.
This guide is written very straightforwardly, allowing beginners to move forward confidently.
Why Learn to Tie a Bow Tie?
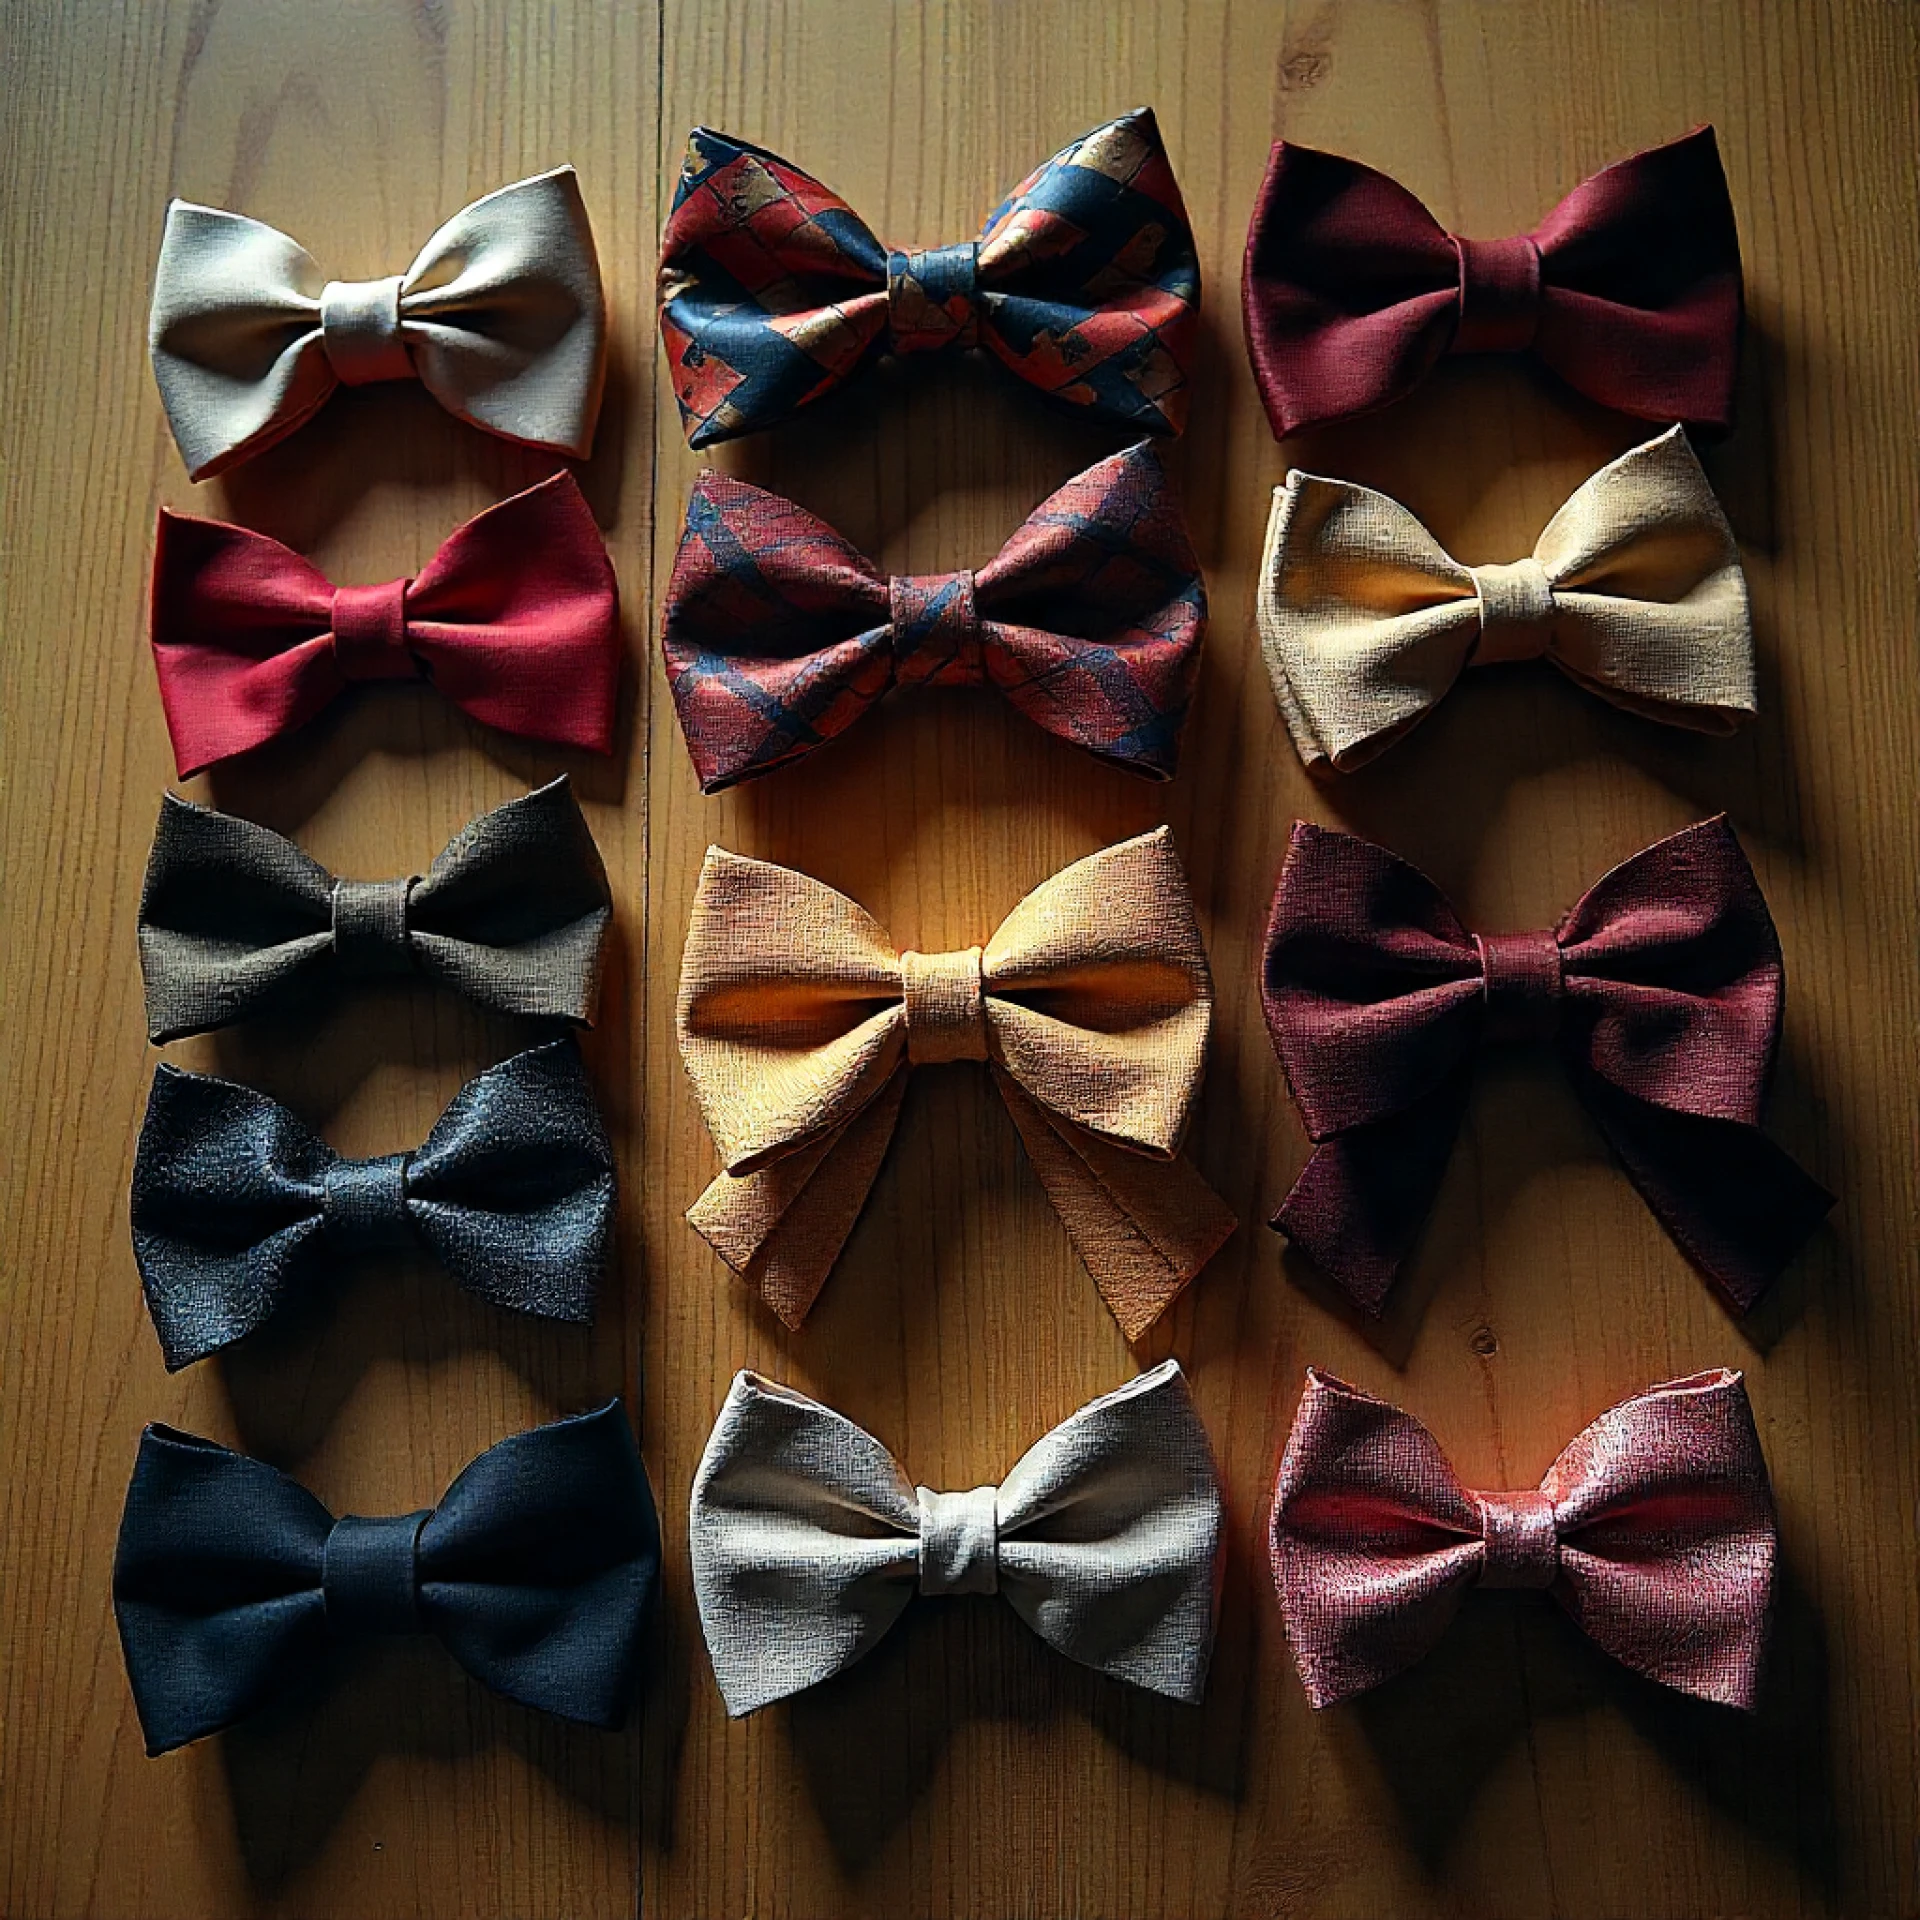
While a pre-attached Bow Tie can be bought, one that is knotted manually holds a distinct allure. It presents a more organic and slightly uneven appearance, which in fact enhances its appeal. A self-tied Bow Tie signals dedication, a focus on finer points, and individual flair. And once you master the technique, Bow Ties are suitable for:
- Marriages
- Formal work meals
- Gala occasions
- Festivities
- Picture sessions
- Daily polished-casual ensembles
It's a minor ability, but a significant enhancement to your overall look.
Before You Begin: What You Need
To fasten a Bow Tie, just two items are essential:
- A conventional, self-fastening Bow Tie
- A looking glass (not required, though beneficial)
Confirm your Bow Tie has the correct span for your neck circumference. The mass is shiftable, so modify it to your familiar collar size.
Simple Guide to Tying a Bow Tie (Direct for Beginners)
Adhere to these instructions closely, and don't fret if your initial runs aren't perfect. Frequently, several efforts are required!
2. Start by placing the Bow Tie around your neck
Let one end hang about 1–2 inches lower than the other.
This longer end will be used to form the first knot.
2. Cross the longer end over the shorter end
This creates an “X” shape.
3. Loop the longer end under and pull it up
You’ll now have the first simple knot, just like starting a shoelace.
Let the long end fall over your shoulder for a moment.
4. Fold the shorter end to form the front bow
Pinch it in the middle so it starts to look like a small bow shape.
Hold this shape firmly.
5. Drop the longer end down over the shorter folded bow
This will form the center of your Bow Tie.
6. Fold the longer end behind the bow
Just like you folded the shorter end earlier, fold this longer piece into a bow shape behind the front bow.
7. Push the folded end through the small loop at the back
This step is the trickiest part.
Take your time, gently push the folded end through the opening behind the bow.
8. Adjust until it looks balanced
Pull both loops carefully to tighten.
Tidy up and adjust your Bow Tie till it appears crisp and balanced.
Great job, your Bow Tie is secured!
Useful Suggestions for Novices
Here are some supplementary recommendations to simplify the process of knotting a Bow Tie:
- Use a mirror
It aids comprehension of events.
- Don't aim for perfection.
A slightly uneven Bow Tie looks stylish and natural.
- Practice with softer fabrics.
Thick fabrics are harder to learn with.
- Keep trying
After a few attempts, your hands will know the steps by memory.
Reasons to Master the Bow Tie
Learning to knot your own Bow Tie is more than just a clothing technique; it shows personal style. Bow Ties convey distinctiveness, refinement, and confidence. They manage to be both eye-catching and modest, feeling timeless instead of old-fashioned.
For upscale events or elevating your routine look, a Bow Tie reliably captures notice.
After you learn to tie one yourself, pre-tied styles will seem less appealing.
Final Thoughts
Fastening a necktie might appear a bit challenging initially, yet with some practice and repetition, it gets rather straightforward.


Sign in to leave a comment.