Description:
If you have a hot and cold pressure washer sitting in your garage and it has been staring at you for weeks, you are not alone. Getting started can feel overwhelming, but once you figure out a rhythm, it becomes oddly satisfying. This guide is less about theory and more about what actually works when you are standing there with water blasting and grime flying everywhere.
Key Insights:
Hot water is your friend for grease, oil, and stubborn buildup, while cold water handles the everyday dirt, mildew, and dust just fine.
A few minutes of preparation and proper setup save you hours of frustration and prevent accidental damage.
Small habits, like rinsing hoses or checking fittings, will make your pressure washer last way longer than you expect.
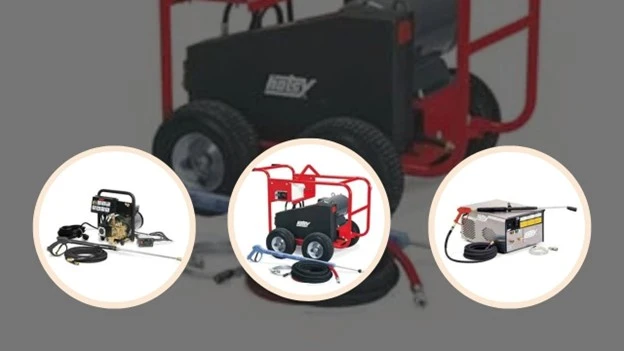
Local resources like Hotsy of Virginia in Hopewell, VA, have the right tools and supplies, so you are not stuck guessing or improvising with the wrong equipment.
Prepare Your Space
Before you even think about turning the machine on, walk the area and look around. Remove anything fragile, sweep up leaves, and get rid of random debris that will only get in the way. I once started on a driveway without doing this and ended up spraying the potted plants into the neighbor’s yard. It is worth taking a few extra minutes to check for cracks, loose boards, or spots where water could sneak in and cause damage. You want the cleaning to be about grime, not emergency repairs.
Set Up Your Pressure Washer
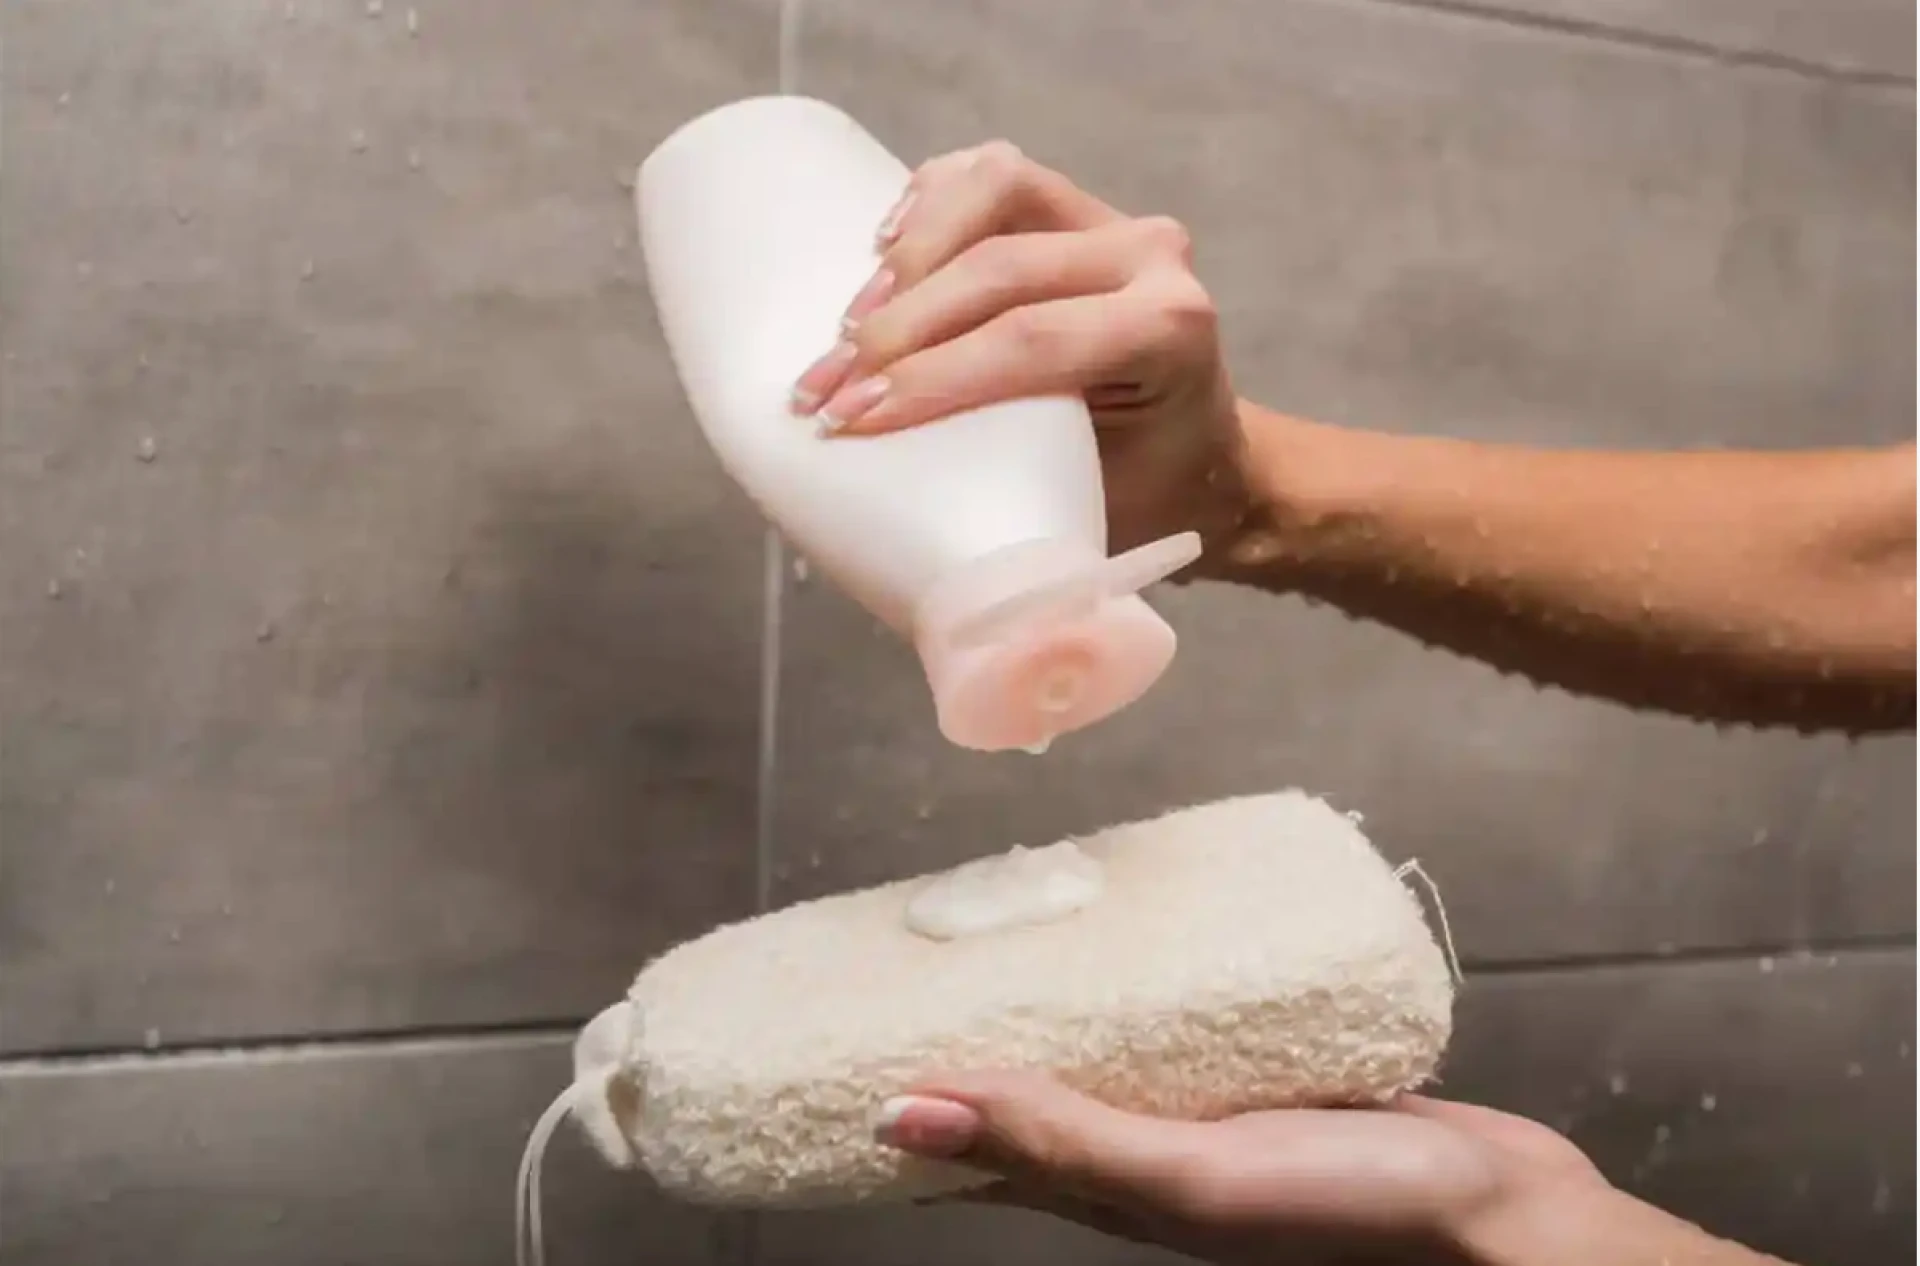
Check all hoses and connections so nothing comes loose mid-cleaning. Fill the detergent tank if you are planning to use soap, and make sure your water supply is steady. Start slow. Beginners often overdo it with the pressure and end up scaring themselves or gouging a surface. Hot water is fantastic on grease stains, oil spots, and grime that has baked onto surfaces, while cold water is perfect for general cleaning. Knowing when to switch between hot & cold pressure washers will save a ton of effort and make your results look professional.
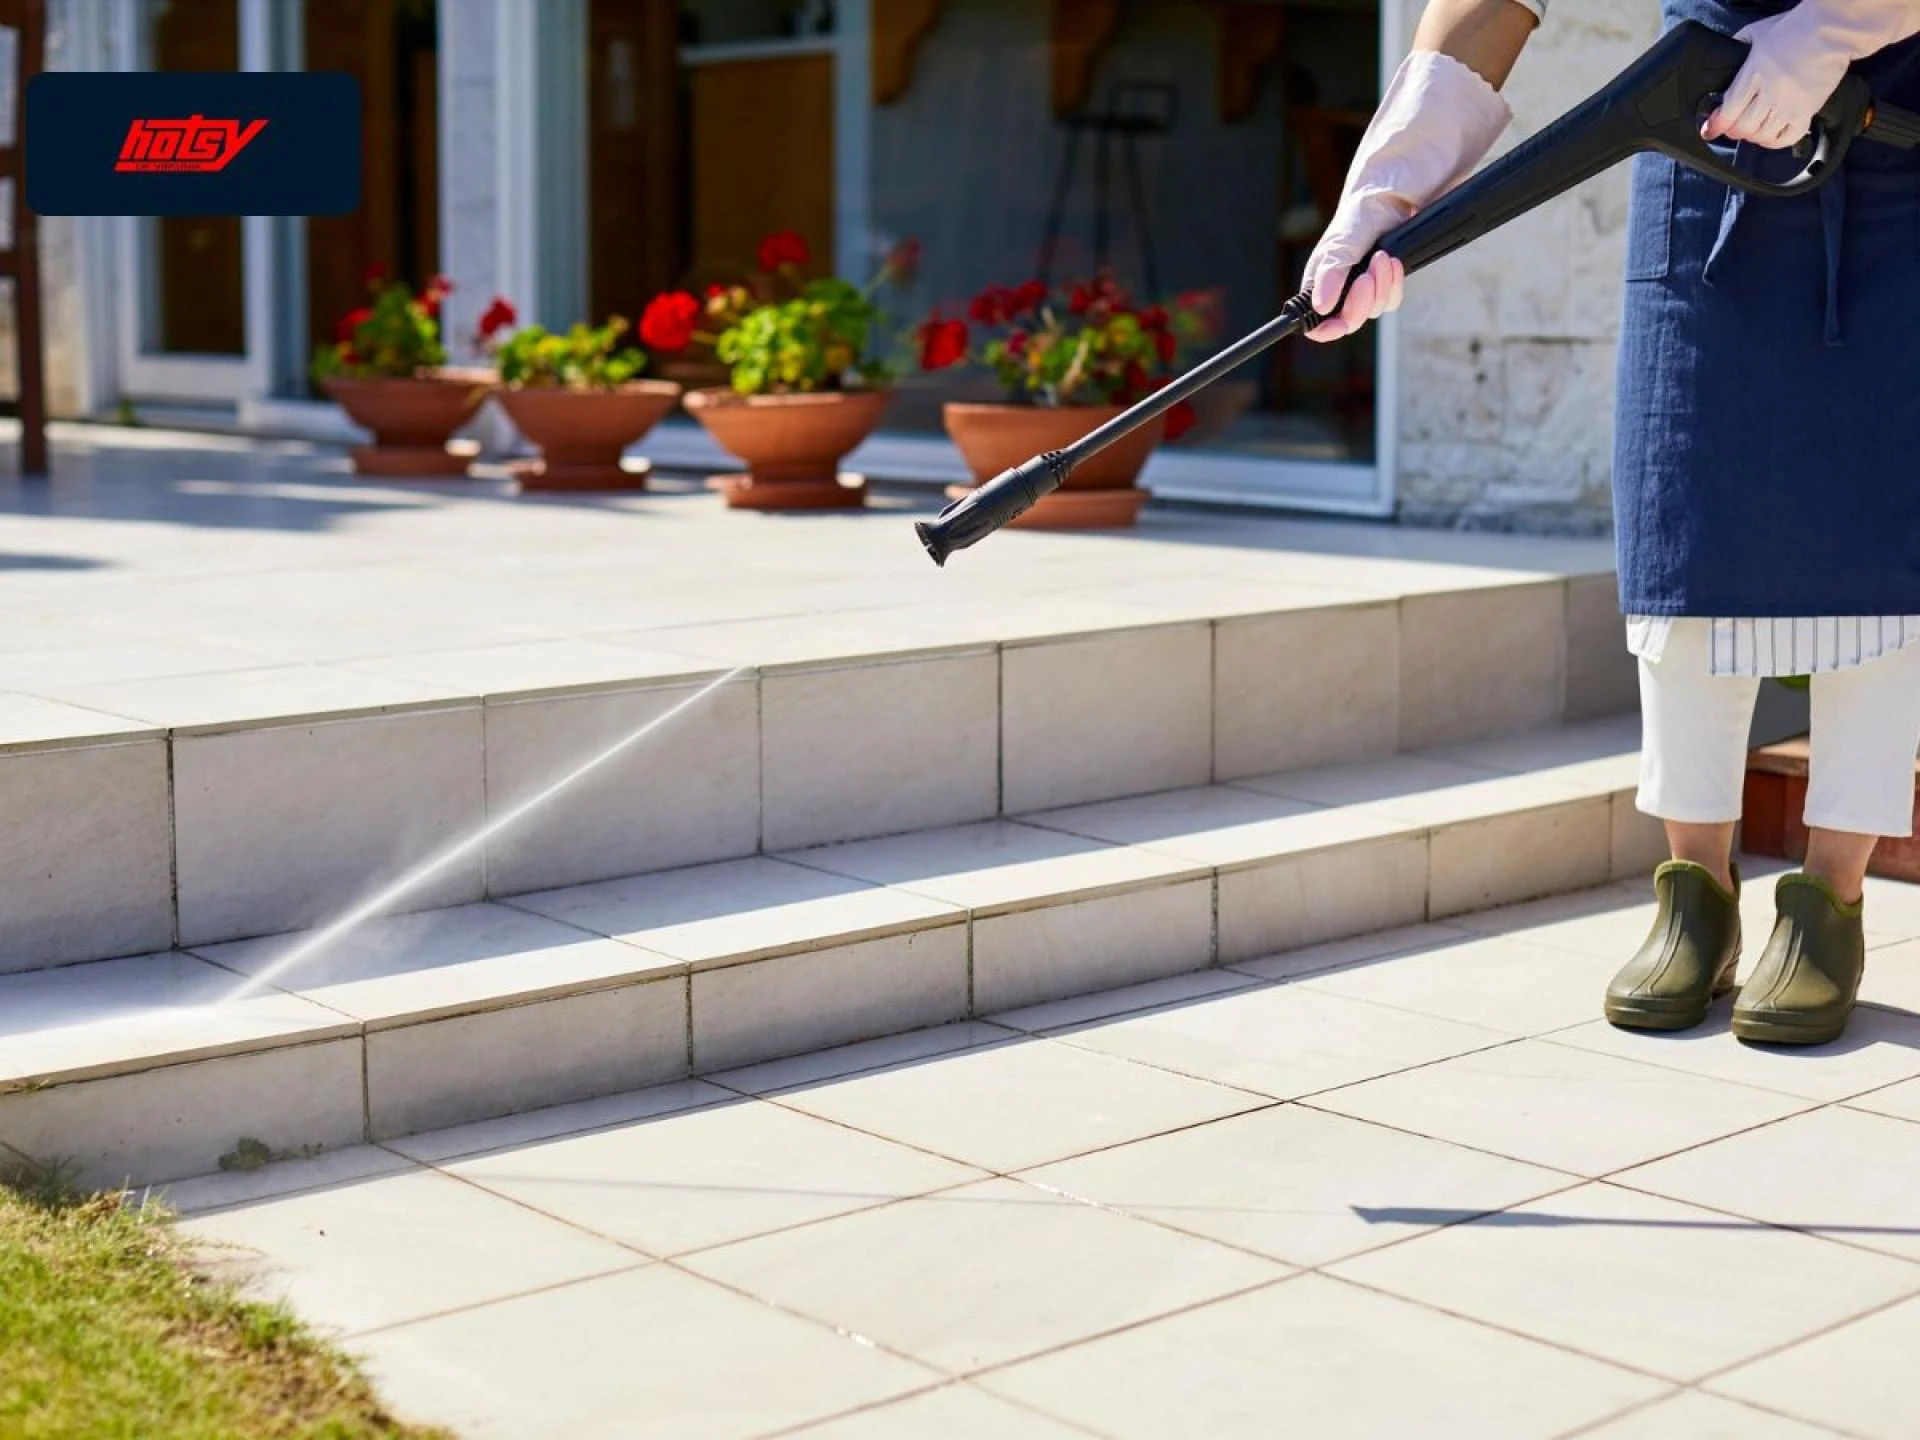
Practice Proper Technique
Keep the nozzle moving and maintain a consistent distance from the surface. Don’t linger too long in one spot, or you risk marks or streaks. Overlap your strokes slightly so nothing gets missed. If you are using detergent, let it sit for a couple of minutes to loosen the dirt, but never let it dry completely because then you have more scrubbing to do. Rinse everything thoroughly afterward. One thing I learned the hard way is that rushing this step always leaves streaks and patches.
Experiment and Maintain Your Equipment
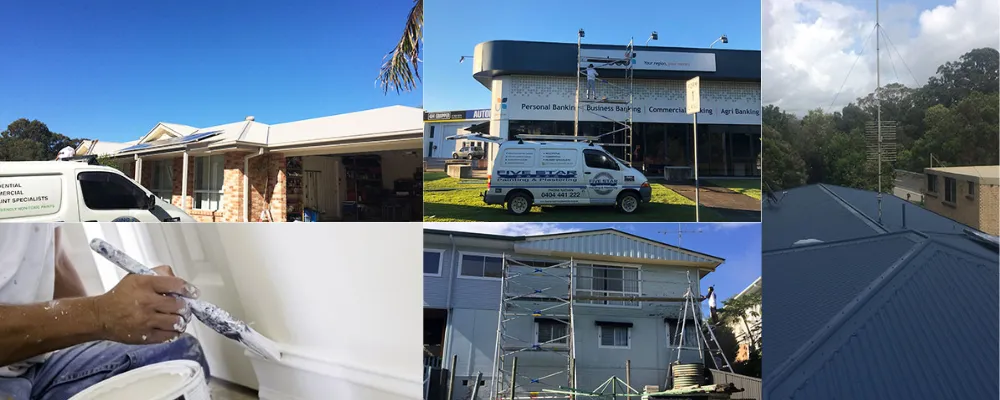
Try different nozzle tips to see which works best. Wide spray covers big areas fast, and concentrated spray tackles stubborn spots. Surfaces are all different. Concrete, wood, vinyl, and siding each react differently, so you adjust as you go. A quick habit that makes a huge difference is flushing out the hoses, checking fittings, and looking for leaks after every session. It keeps the machine working longer and saves you from surprises mid-job.
Conclusion
If you want the right tools to make this easier, Hotsy of Virginia has the power washing equipment and supplies in Richmond, VA, and the guidance you need. Start slow, pay attention, and treat your first few projects as practice rather than perfection. Stick with it, and you will find that cleaning a driveway, deck, or siding becomes almost enjoyable. Grab your gear, take a deep breath, and dive in because the results are worth it.


Sign in to leave a comment.