If you’ve discovered moisture issues, swollen skirtings, or musty smells, you might be asking whether it’s time to reclad a leaky home. This guide explains what “leaky” really means, how recladding solves the root problem, and what to expect from start to finish. Along the way, you’ll find a helpful reference to a detailed walkthrough of the process here: reclad leaky home.
What do we mean by a “leaky” home?
A leaky home lets water get past the cladding system, which is the outer layer covering your house, and into the wall assembly. Water problems are not always obvious. Often, moisture slowly moves behind plaster or weatherboards, soaking the wooden framing and causing hidden damage. New Zealand’s wet and windy climate, especially in Wellington, puts a lot of stress on cladding. If water gets in and cannot escape, timber can rot and indoor air quality can decline.
Common early clues include soft or swollen skirting boards, staining around windows, musty odours, bubbling paint, and spongy exterior cladding. Later signs can include warped floors, visible mould, or cracked plaster. An independent moisture assessment with a builder or building surveyor is the best way to understand the extent.
Why recladding is different from patch repairs
It can be tempting to patch small cracks or failed sealant. While patches can help with minor surface issues, they rarely solve bigger problems like poor flashing design, not enough ventilation behind the cladding, or building wrap failures. Recladding takes care of the whole system, including cladding, flashings, cavities for ventilation and drainage, penetrations where pipes or wires go through walls, and junctions. This approach gives water fewer ways to get in and more reliable ways to get out.
Recladding also gives you the chance to upgrade to modern systems that meet today’s building code standards for keeping water out. For many homes built in the 1990s and 2000s with monolithic plaster cladding, this is a big improvement. You get drained and vented cavities, strong window and door flashings, and details designed to handle Wellington’s winds and heavy rain.
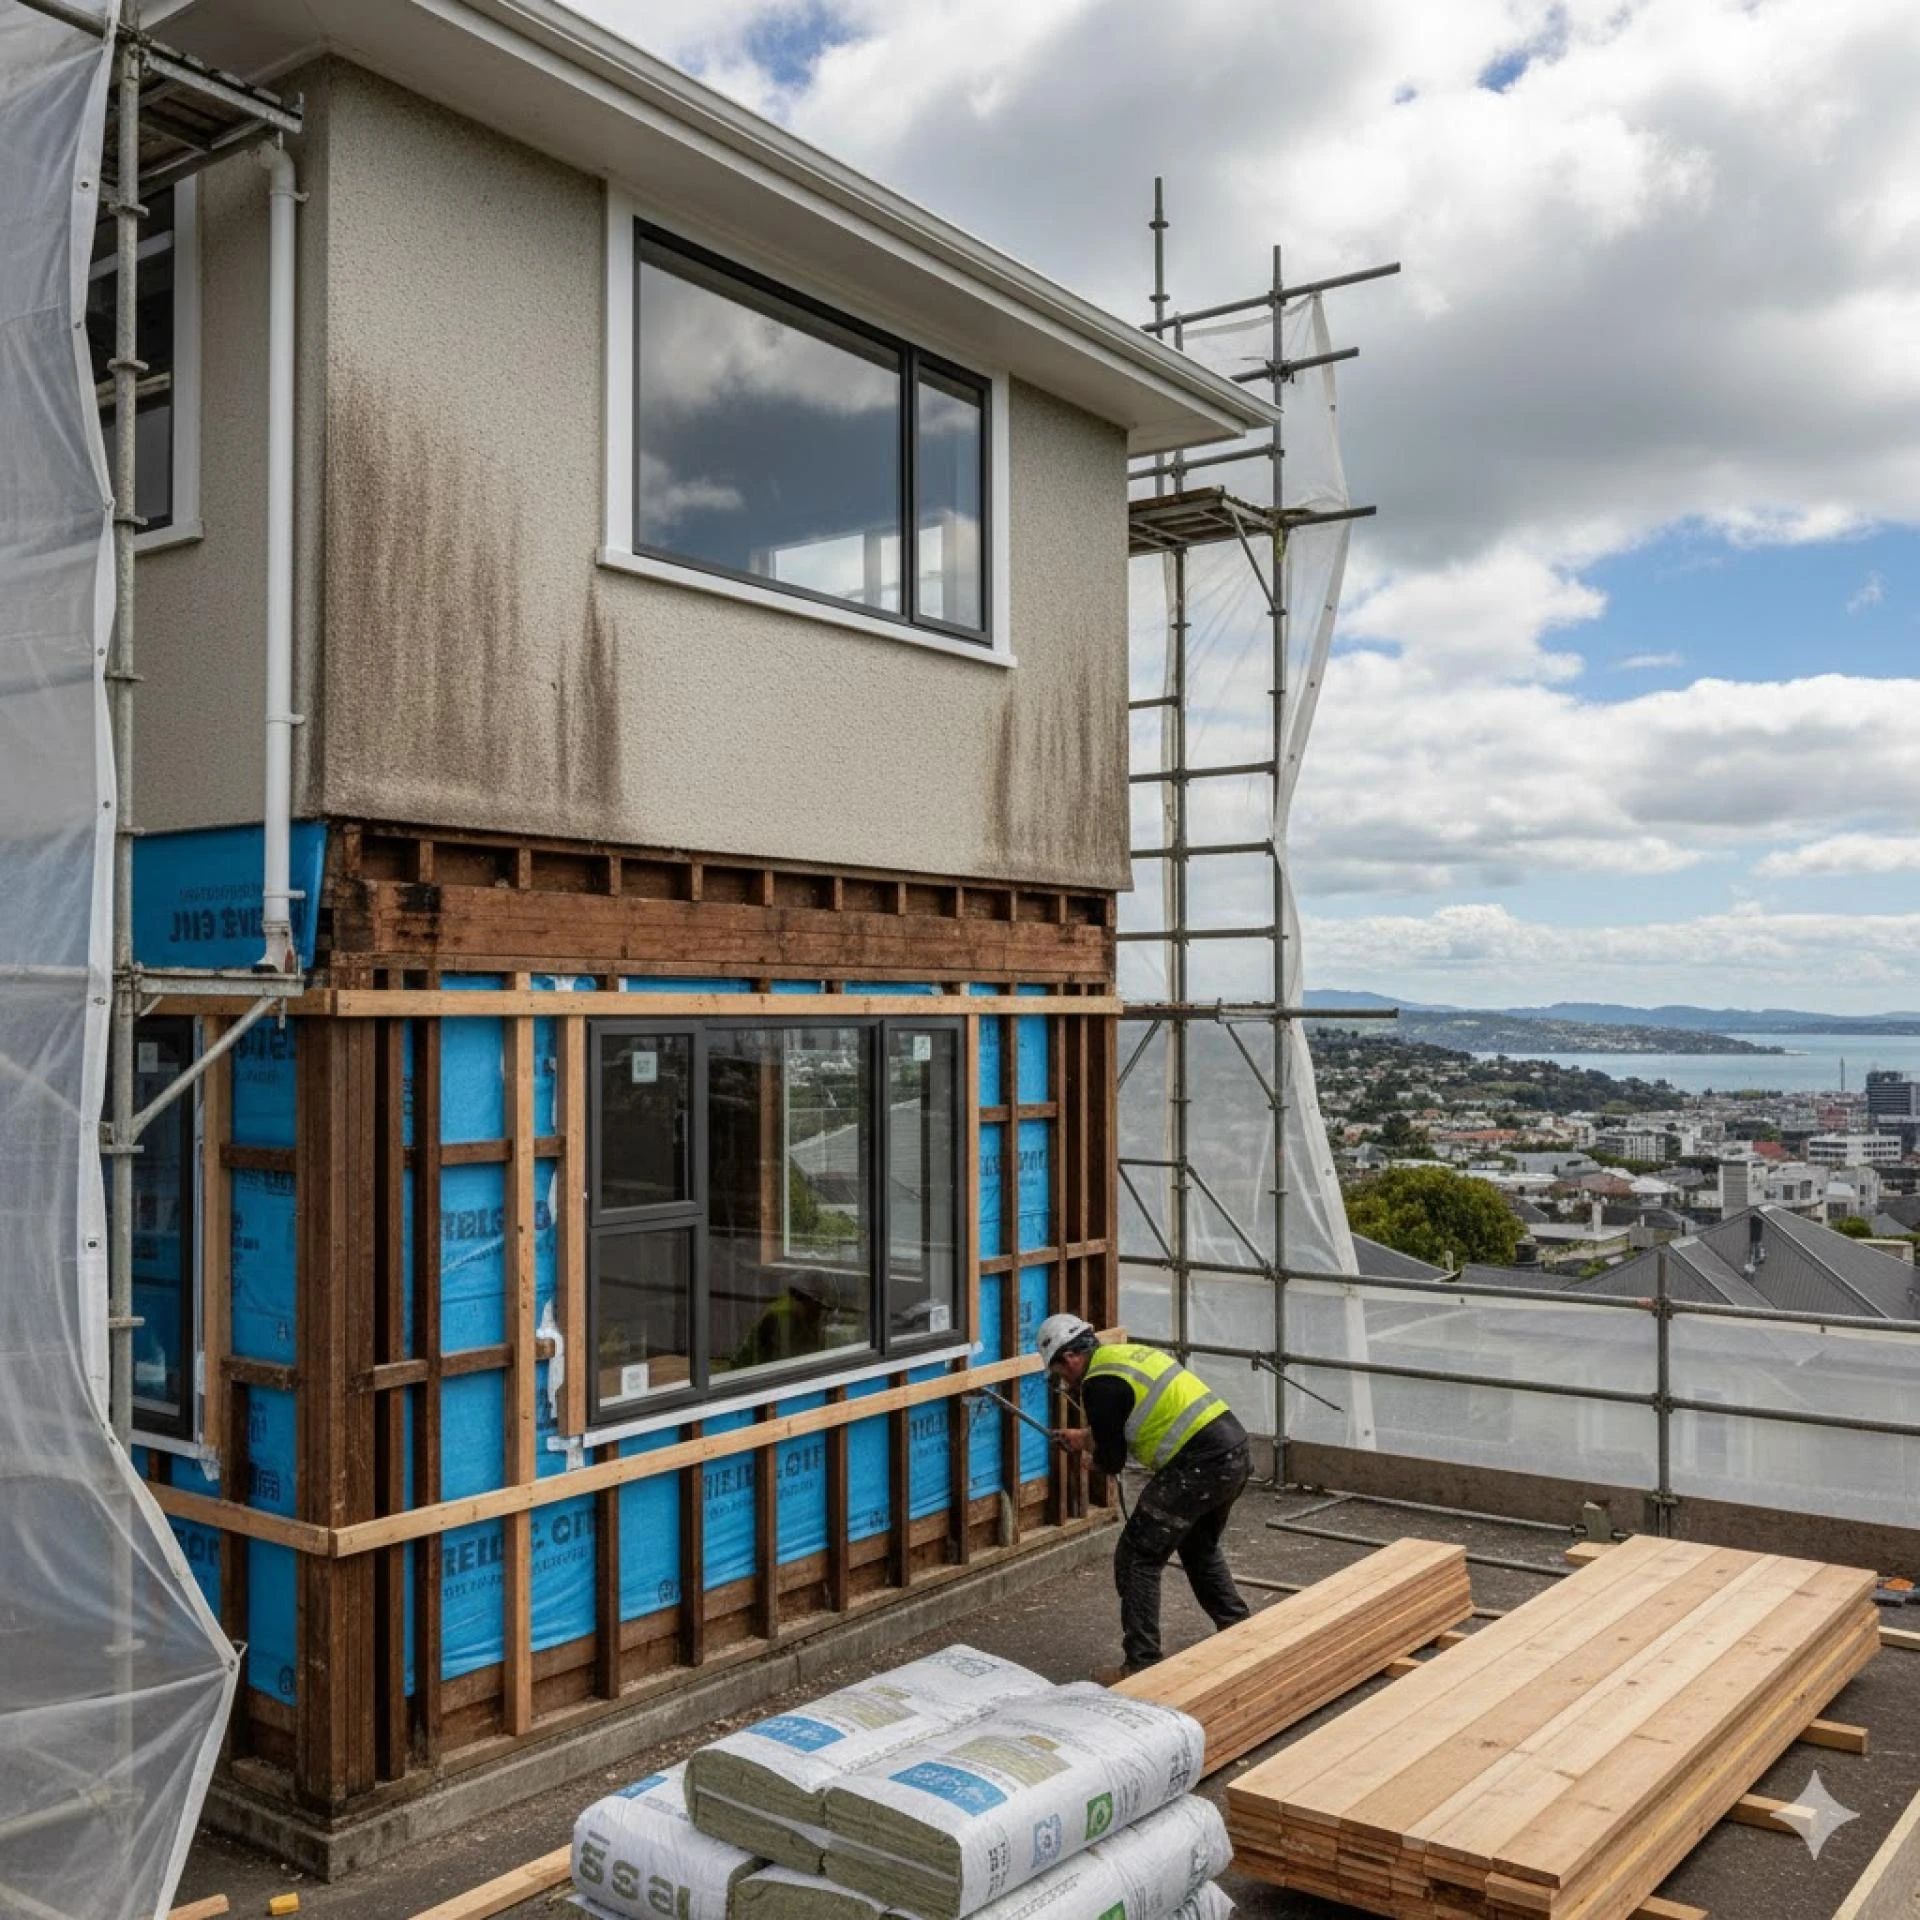
What changes during a reclad?
At a high level, recladding typically involves stripping the existing cladding, checking and repairing the framing (the internal structure of the wall), installing up-to-date building wrap (a water-resistant barrier) and flashings (materials to guide water away from joints), creating an appropriate cavity (an air space that helps with ventilation and drainage) behind the new cladding, and then fitting the chosen cladding system. While the walls are open, it’s also the ideal time to add insulation, re-flash windows, and tidy any wiring or plumbing penetrations (spots where pipes or wires go through the wall).
Healthier indoor environment
A drywall assembly is a healthier wall assembly. By managing bulk water and vapour movement, the new envelope reduces the risk of mould and improves indoor air quality. Homeowners often report the home feels less damp and easier to heat after a reclad, especially if they take the chance to insulate and upgrade glazing at the same time.
Better durability and maintenance
Modern cladding systems are designed with serviceability in mind. Junctions are detail-driven, penetrations are flashed, and weather-exposed surfaces are selected for Wellington conditions. With the right maintenance (washing, re-sealing, repainting to manufacturer schedules), the exterior lasts longer and costs less to keep sound.
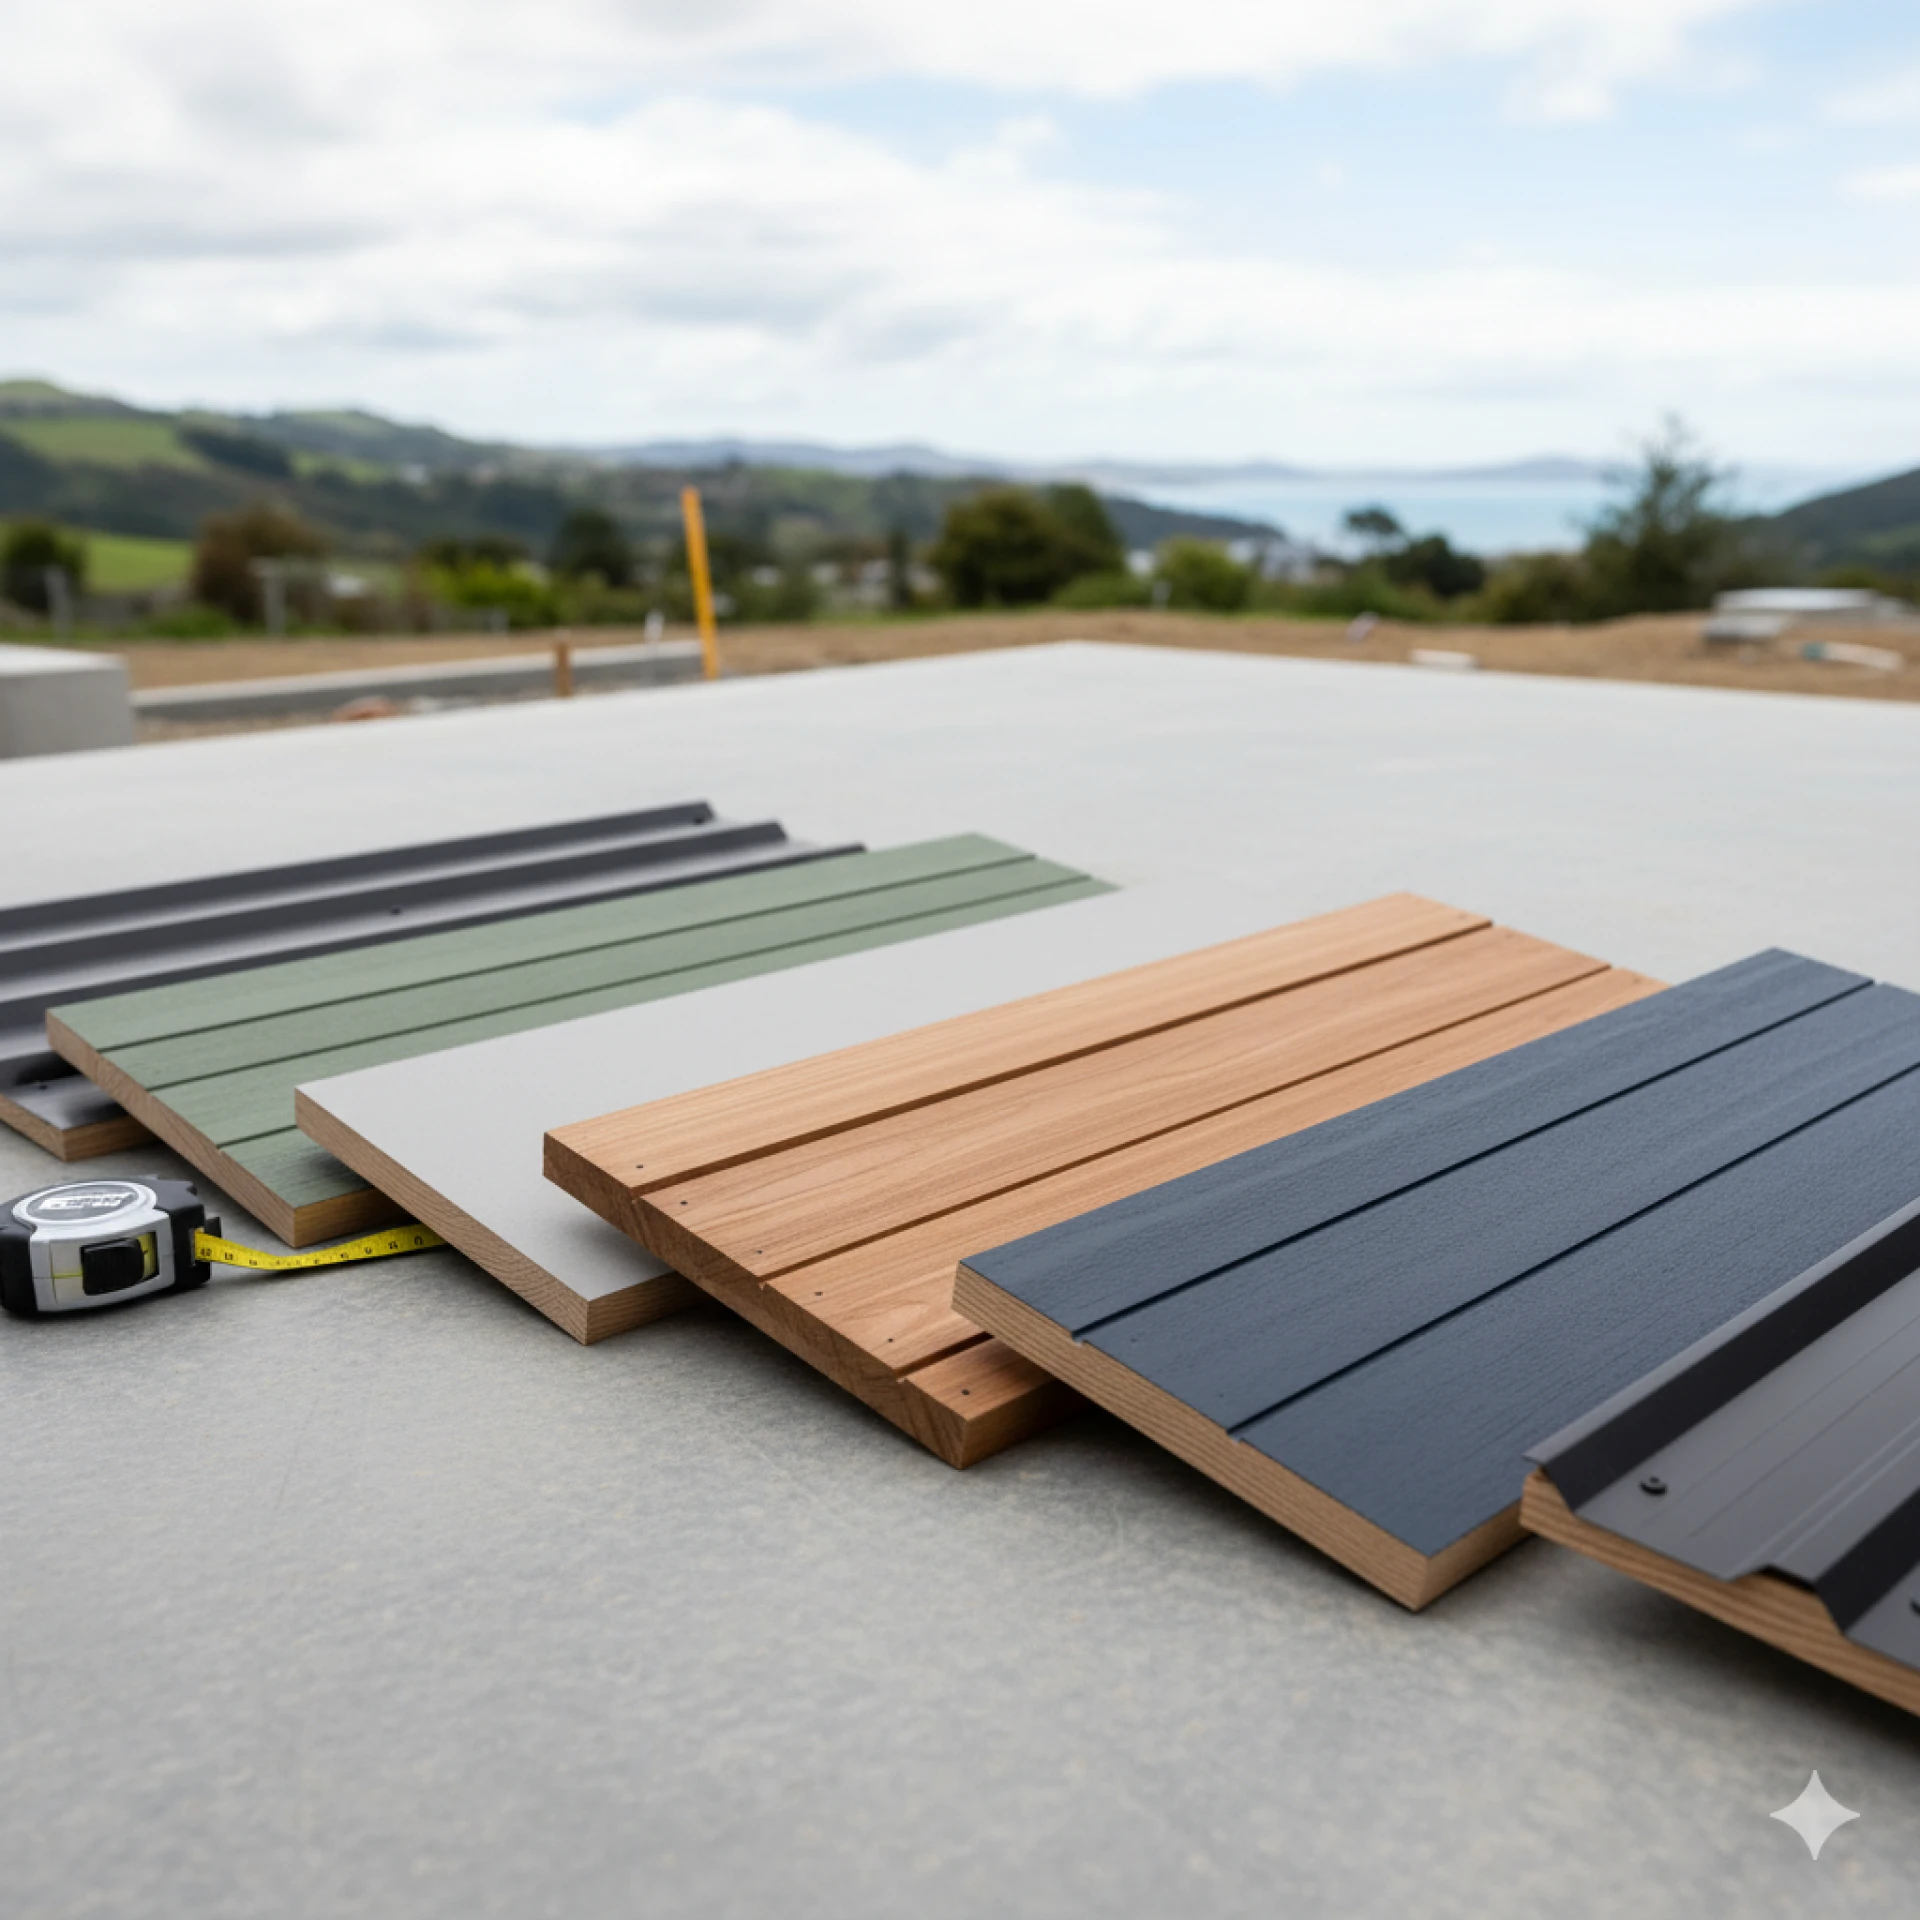
Cladding choices: timber, fibre-cement, engineered weatherboards, and more
There’s no single “best” cladding—only what best fits your home’s design, location, and maintenance preferences. Options generally include timber weatherboards, fibre-cement sheets, engineered weatherboards, and metal cladding; each offers different looks and maintenance needs.
Timber weatherboards
Timber is classic, repairable, and—when detailed correctly—very durable. Profiles and finishes vary from heritage bevel-back to sharp modern lines. Timber needs a maintenance plan (washing and repainting on schedule), but rewards you with timeless looks and easy spot repairs if something chips or dents.
Fibre-cement and other sheet systems
These can create a clean, modern aesthetic and perform well when installed with a ventilated cavity and correct flashings. They’re good for mixed-material façades, pairing with timber or metal to add contrast. As with any sheet system, pay close attention to joints, penetrations, and paint systems.
Engineered weatherboards and metal cladding
Pre-finished, engineered boards and metal profiles can deliver crisp lines and low maintenance. They’re popular in salt-exposed or wind-exposed locations where durability is critical. Detailing around windows and at corners is where experience counts.
A good builder can walk you through the pros, cons, long-term maintenance, cost, and how each cladding type suits your home.
Consent, timelines, and coordination (Wellington context)
Building consent is almost always required for recladding. The council wants to know the new envelope—a combination of cladding, building wrap, flashings, and all weather-resisting layers—meets weathertight standards and that any damaged framing is properly repaired. Your builder coordinates with designers (architect or architectural designer) to prepare drawings and details for consent. Expect site inspections at key stages.
Timelines depend on your home’s size and complexity, how easy it is to access, and how much hidden damage is found once the cladding is removed. A simple, single-storey reclad might take a few weeks, while a large or complex home can take several months. A good team will plan the work to keep your house as liveable as possible by using temporary weather protection, working on different parts in sequence, and planning around the weather.
Costs and the “unknowns”
Budgets depend on cladding choice, scaffold and access, window/door upgrades, and how much remediation the framing needs. It’s honest to say there’s always some uncertainty until the walls are open. Mitigate that with:
- A thorough pre-work survey (moisture readings, endoscope checks).
- Clear allowances/contingencies in the contract for framing repairs.
- Agreement on decision pathways if more damage is found (e.g., thresholds for notifying you and pricing variations).
Transparent communication helps you make quick, informed calls and keeps the project moving.
Windows, glazing, and thermal comfort
When the cladding is removed, you have a unique chance to access your window openings. Many homeowners use this time to add double or triple glazing, improve thermal breaks, and update window flashings to modern standards. Together, new cavity cladding, better insulation, and upgraded windows can make a real difference by reducing drafts, moisture, and heating costs.
Sustainability without the buzzwords
A well-planned reclad reduces waste over your home’s lifetime. While there is some construction waste at first, the result is a strong exterior that protects your house, avoids repeated repairs, and lowers energy use. Using sustainably sourced timber, low-VOC coatings, and better insulation can improve the outcome. Re-using good framing and picking cladding from local suppliers can also reduce your home’s environmental impact.
Common mistakes to avoid
- Patching the symptom only. Sealing a crack without addressing failed flashings or lack of cavity is short-term thinking.
- Skipping consent or documentation. It risks insurance and resale value. Future buyers want to see the paper trail.
- Under-scoping windows. If your joinery is near the end of its life, consider upgrading while access is easy.
- No maintenance plan. Even the best cladding needs washing and periodic re-sealing/painting. Lock in a simple, realistic schedule.
Working with the right team
Recladding involves careful coordination of design, consent, demolition, repairs, detailing, and finishing, all while working around the weather. You need a builder who knows Wellington’s climate, understands council requirements, and pays close attention to the details that keep water out. If you want a simple overview of the process with examples of upgrades, this page is a great place to start: reclad leaky home. Ready to move forward? Contact a qualified Wellington reclad specialist today for advice tailored to your home.


Sign in to leave a comment.