
What is a Caddy Proxy?
Caddy Proxy is an innovative, user-friendly Caddy web server and proxy solution designed for simplicity, security, and flexibility. Unlike traditional web servers that often require extensive manual setup, Caddy server setup minimizes complexity with an elegant configuration process and built-in features like automatic HTTPS.
Known for its efficiency and developer-friendly design, Caddy is versatile enough to handle static site hosting, reverse proxying, load balancing, and even acting as an API gateway. Whether you’re running a small project or managing enterprise-grade infrastructure, Caddy’s security features, including Caddy HTTPS and automatic SSL, make it an invaluable tool.

Why Choose Caddy Proxy?
Caddy Proxy stands out due to its unique blend of features:
- Automated HTTPS: Caddy server automatically obtains, installs, and renews SSL/TLS certificates, ensuring secure connections without manual intervention.
- Simple Configuration: The Caddyfile syntax is clean and easy to understand, reducing setup time and complexity.
- Cross-Platform: Caddy runs seamlessly on Linux, macOS, Windows, and Docker,
- Dynamic Management: Caddy’s security guide includes support for live configuration updates via API without restarting the server.
- Performance: Optimized for speed, Caddy supports HTTP/3 and QUIC.
- Modularity: Highly extensible with plugins, Caddy can be adapted to a wide range of use cases.
- Built-In Security: Caddy includes robust defaults for handling HTTPS, preventing misconfigurations.
- Resource-Efficient: Caddy Proxy is designed for minimal CPU and memory usage, even under high load.
- Integrated Features: Caddy includes file server, reverse proxy, load balancing, and caching out-of-the-box.
Installing and Setting Up Caddy Proxy on Ubuntu

Caddy is a modern web server that simplifies setup and management, especially for HTTPS. Follow these steps to install and configure Caddy on an Ubuntu system:
Step 1: Update the System
Before installing Caddy, ensure your system packages are up to date:
sudo apt update && sudo apt upgrade -y
Step 2: Install Caddy
Option 1: Install via APT Repository (Recommended)
Add Caddy’s official repository and key:
sudo apt install -y debian-keyring debian-archive-keyring apt-transport-https
curl -1sLf 'https://dl.cloudsmith.io/public/caddy/stable/gpg.key' | sudo gpg --dearmor -o /usr/share/keyrings/caddy-stable-archive-keyring.gpg
Code language: JavaScript (javascript)
curl -1sLf 'https://dl.cloudsmith.io/public/caddy/stable/debian.deb.txt' | sudo tee /etc/apt/sources.list.d/caddy-stable.list
Code language: PHP (php)
sudo apt update
- Install Caddy:
sudo apt install caddy
Option 2: Install via Binary
Download the latest Caddy binary:
curl -O https://caddyserver.com/api/download?os=linux&arch=amd64
Code language: JavaScript (javascript)
- Move the binary to a system directory and set permissions:
sudo mv caddy /usr/local/bin/
sudo chmod +x /usr/local/bin/caddy
Step 3: Verify Installation
Confirm Caddy is installed correctly:
caddy version
Step 4: Start and Manage Caddy
Option 1: Start Caddy as a File Server
You can immediately start serving files from the current directory:
caddy file-server --browse
Visit http://localhost:2015 to see the default file server.
Option 2: Use Systemd to Manage Caddy
Start the Caddy service:
sudo systemctl start caddy
- Enable Caddy to start on boot:
sudo systemctl enable caddy- Check the status of the Caddy service:
sudo systemctl status caddy- Before reloading Caddy, validate your configuration
sudo caddy validate --config /etc/caddy/Caddyfile
Step 5: Installing and Running Caddy Proxy with Docker
Deploying Caddy using Docker is simple and efficient. Follow these steps to install, verify, and run Caddy.
- Install Caddy with Docker
Run the following command to pull and start the latest Caddy image:
docker run -d -p 80:80 -p 443:443 caddy:latest
Code language: CSS (css)
-d: Run the container in the background.-p 80:80 and -p 443:443: Maps HTTP and HTTPS ports from the container to your host.caddy:latest: Fetches the latest Caddy image from Docker Hub.- Verify Caddy Installation
You can check the Caddy version in two ways:
- From the Host Terminal (Same Terminal):
- Run this command to inspect the running container:
docker exec -it <container_id> caddy version
Code language: HTML, XML (xml)
Replace <container_id> with the actual container ID or name.
- From Inside the Container:
- First, access the container:
docker exec -it <container_id> sh
Code language: HTML, XML (xml)
Then, check the version:
caddy version
You’ll see output like this:
V2.x.x
Code language: CSS (css)
Run the Container with the Caddyfile:
 docker run -d -p 80:80 -p 443:443 -v  /path/to/Caddyfile:/etc/caddy/Caddyfile caddy:latest
Code language: JavaScript (javascript)
Replace /path/to/Caddyfile with the absolute path to your file.
- Getting Started with Docker base Caddy Configuration
Caddy’s configuration revolves around the Caddyfile, a simple, declarative syntax for defining server behavior.
Here’s a basic example:
example.com {
    respond "Hello from Caddy!"
}
Code language: JavaScript (javascript)
- example.com: Specifies the domain to serve.
- respond: Returns a custom response to the client.
Configuring Caddy Proxy
Caddy uses a configuration file called Caddyfile, which is straightforward and human-readable.
Create a directory for your configuration:
sudo mkdir -p /etc/caddy
sudo nano /etc/caddy/Caddyfile
1. Add a basic reverse proxy configuration:
example.com {
    reverse_proxy localhost:8080
}
2. Save the file and reload Caddy to apply the changes:
sudo systemctl reload caddy
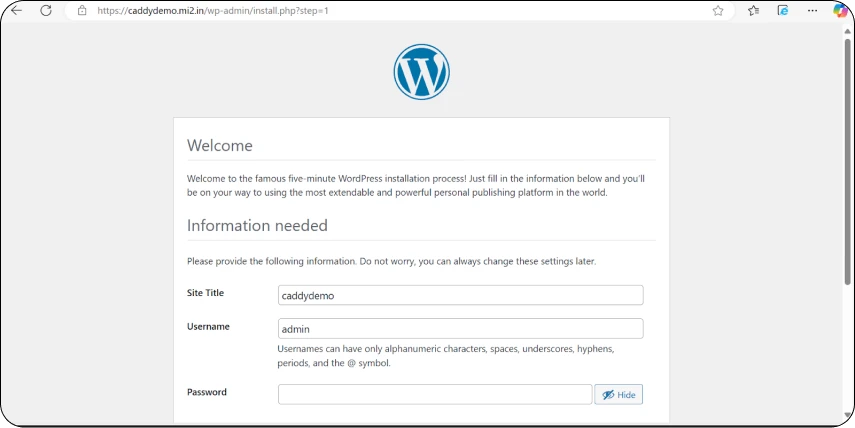
You can see Web page as below :
Features of Caddy Proxy
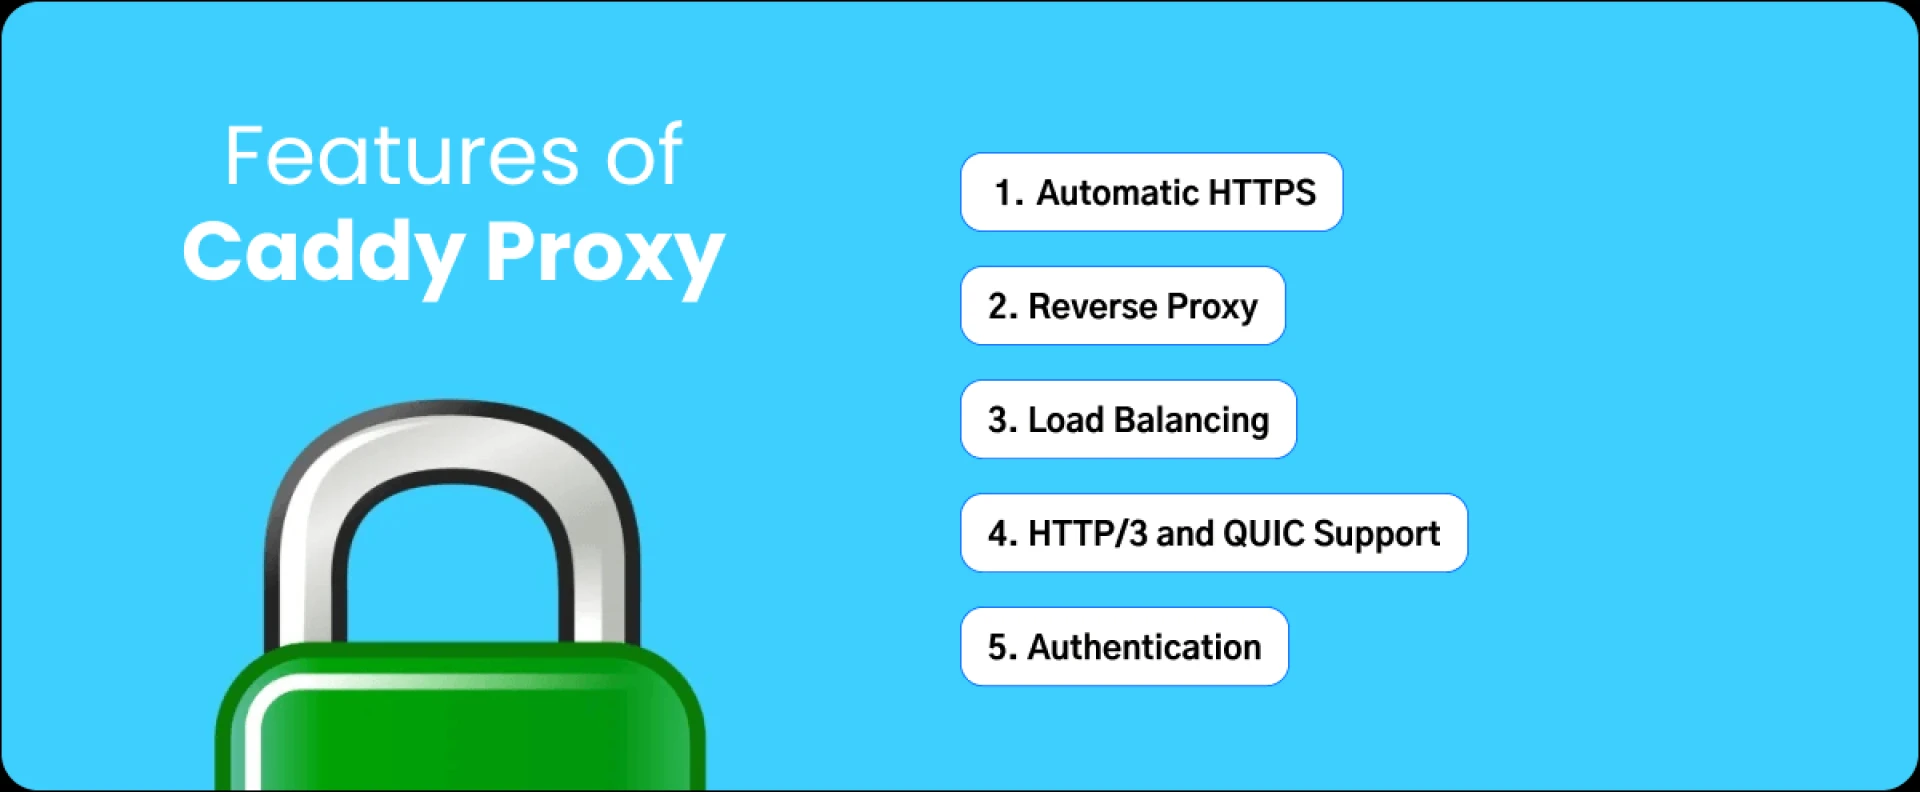
1. Automatic HTTPS
Caddy handles SSL/TLS certificates automatically, including renewal. For example:
example.com {
    file_server
}
This configuration secures example.com without additional effort.
2. Reverse Proxy
Easily configure Caddy to forward requests to backend services:
example.com {
    reverse_proxy 127.0.0.1:5000
}
3. Load Balancing
Distribute traffic among multiple servers for improved performance and fault tolerance:
example.com {
    reverse_proxy backend1:5000 backend2:5001 {
        lb_policy random
    }
}

- After refreshing the page redirect from server 1 to server 2 in load balancing
4. HTTP/3 and QUIC Support
Caddy supports modern web standards, ensuring optimal performance for users with compatible browsers.
5. Authentication
Secure access to your site or APIs using built-in authentication directives:
basic_auth {
admin plaintext password
}
Using a Hashed Password
If you want to use a secure hashed password:
Generate a bcrypt-hashed password using the caddy hash-password command:
caddy hash-password --plaintext "password"
Example output:
$2a$10$wE0khcBf8eFJQ0thLUu4oOKF9QY7LZQn9phl2g5JbC9BQWtRpIrGS
Code language: PHP (php)
Update the Caddyfile:
basic_auth {
        admin $2a$10$wE0khcBf8eFJQ0thLUu4oOKF9QY7LZQn9phl2g5JbC9BQWtRpIrGS
}
Code language: PHP (php)
Restart Caddy
sudo systemctl restart caddy.service
Code language: CSS (css)
- This how the Authentication Page looks when you browse the URL it asks for a username & password

6. Hosting Static Websites
Use Caddy as a file server with directory browsing:
example.com {
    root * /var/www/html/
    file_server browse
}
Code language: JavaScript (javascript)
- root: Defines the document root for static files.
- file_server browse: Enables directory listings.
7. Monitoring and Logging
Enable comprehensive access and error logs:
example.com {
    log {
        output file /var/log/caddy/access.log
        format json
    }
}
Code language: JavaScript (javascript)
- output file: Directs logs to a specified file.
- format JSON: Output logs in JSON format for easy integration with monitoring tools.
8. Custom Headers
Modify or add HTTP headers for advanced use cases:
example.com {
    reverse_proxy backend:5000 {
        header_up X-Custom-Header "CustomValue"
    }
}
Code language: JavaScript (javascript)
Comprehensive Caddy Proxy Configuration
A single Caddyfile to encompass the following above feature
# Primary Domain Configuration
example.com {
  # Serve static files from the specified directory
  root * /var/www/html
  file_server browse

  # Enable reverse proxy to backend servers with load balancing
  reverse_proxy backend1:5000 backend2:5001 {
    lb_policy random
  }

  # Add custom headers for additional response metadata
  header_up X-Custom-Header "CustomValue"

  # Enable rate limiting to manage traffic efficiently
  rate_limit / 100 1m

  # Configure access logging in JSON format for monitoring
  log {
    output file /var/log/caddy/access.log
    format json
  }
}

# Secondary Domain Configuration
api.example.com {
  # Basic authentication for API security
  basic_auth {
    admin plaintext password
  }

  # Proxy API requests to a local backend service
  reverse_proxy 127.0.0.1:8080

  # Add HTTP/3 support for modern browser compatibility
  respond "Hello from Caddy with HTTP/3!"
}
Code language: PHP (php)
Explanation of Configuration
- Static File Hosting:
- example.com serves static files from /var/www/html and includes directory browsing for easy navigation.
- Reverse Proxy with Load Balancing:
- Requests are distributed between backend1:5000 and backend2:5001 using a random load-balancing policy.
- Custom Headers and Rate Limiting:
- A custom header (X-Custom-Header) is added to responses, and request rates are limited to prevent abuse.
- Monitoring:
- Access logs are saved in JSON format to /var/log/caddy/access.log for seamless integration with monitoring tools.
- Authentication and HTTP/3:
- The api.example.com configuration secures API access with basic authentication and returns a test response with HTTP/3 enabled.
Benefits of Using Caddy
- Ease of Use: Intuitive syntax shortens the learning curve.
- Secure by Default: Caddy configures HTTPS with optimal settings automatically.
- Scalable: Handles both small and large-scale deployments effortlessly.
- Versatility: Supports a wide range of web hosting scenarios.
- Community and Extensibility: A growing ecosystem of plugins and active community support.
Conclusion
Caddy Proxy redefines how web servers are managed with its focus on simplicity, automation, and performance. Whether you’re serving static websites, proxying requests to backend services, or deploying a complex load-balanced setup, Caddy has you covered with built-in Caddy HTTPS and Caddy automatic SSL features.
Explore the full potential of Caddy and experience the convenience of a modern web server built for developers and administrators alike.

Source Link: Secure with Caddy: Focus on security features like automatic HTTPS in Caddy


Sign in to leave a comment.