Mold and fungal growth on walls can cause not only unpleasant odors and unsightly stains but also serious health hazards. Using anti fungal paint for walls is an effective preventative measure that protects your surfaces while enhancing indoor air quality and overall comfort.
For a flawless, durable finish, proper surface preparation and application techniques are essential. This step-by-step guide will walk you through applying anti-fungal paint, typically an acrylic matt emulsion, to achieve long-lasting mold resistance.
Why Choose Anti-Fungal Paint?
Anti-fungal paints contain specially formulated biocides that inhibit the growth of mold, mildew, and algae on painted surfaces. Designed for high-humidity areas such as bathrooms, kitchens, basements, and even exterior walls exposed to moisture, these paints prevent the spread of fungi that can damage walls and negatively impact health. The acrylic matt emulsion base adds a smooth, low-sheen finish that conceals imperfections and resists dirt accumulation.
Step 1: Assess the Surface
- ➤ Before applying anti-fungal paint, inspect the walls carefully for existing mold, moisture damage, or cracks. Mold must be completely removed to prevent spores from reactivating beneath the new paint.
- ➤ Use a stiff brush and a fungicidal wash or a diluted bleach solution to clean affected areas thoroughly.
- ➤ Allow the surface to dry completely, ensuring no lingering moisture that can cause future fungal growth.
- ➤ Repair cracks or holes with a suitable filler to ensure a uniform surface.
Step 2: Prepare the Surface
For optimal adhesion and protection, surface preparation is critical.
- ➤ Clean the walls with mild detergent and water to remove dust, dirt, and grease.
- ➤ Sand glossy or previously painted surfaces lightly to create a rough profile that the new paint can grip.
- ➤ Remove any peeling or flaking paint.
- ➤ Use a primer if the wall is porous or stains are present. Anti-fungal primers are available and enhance protection by sealing surfaces and preventing fungal growth beneath the paint.
Step 3: Select the Right Paint
Choose a high-quality anti fungal paint for walls with an acrylic matt emulsion base. These paints combine smooth finishes with anti-fungal properties, ensuring both aesthetics and health protection.
Verify that the product is certified for anti-fungal efficacy.Ensure the paint meets environmental and VOC regulations for indoor air quality. Consider options with added water resistance for areas prone to high humidity or splash.
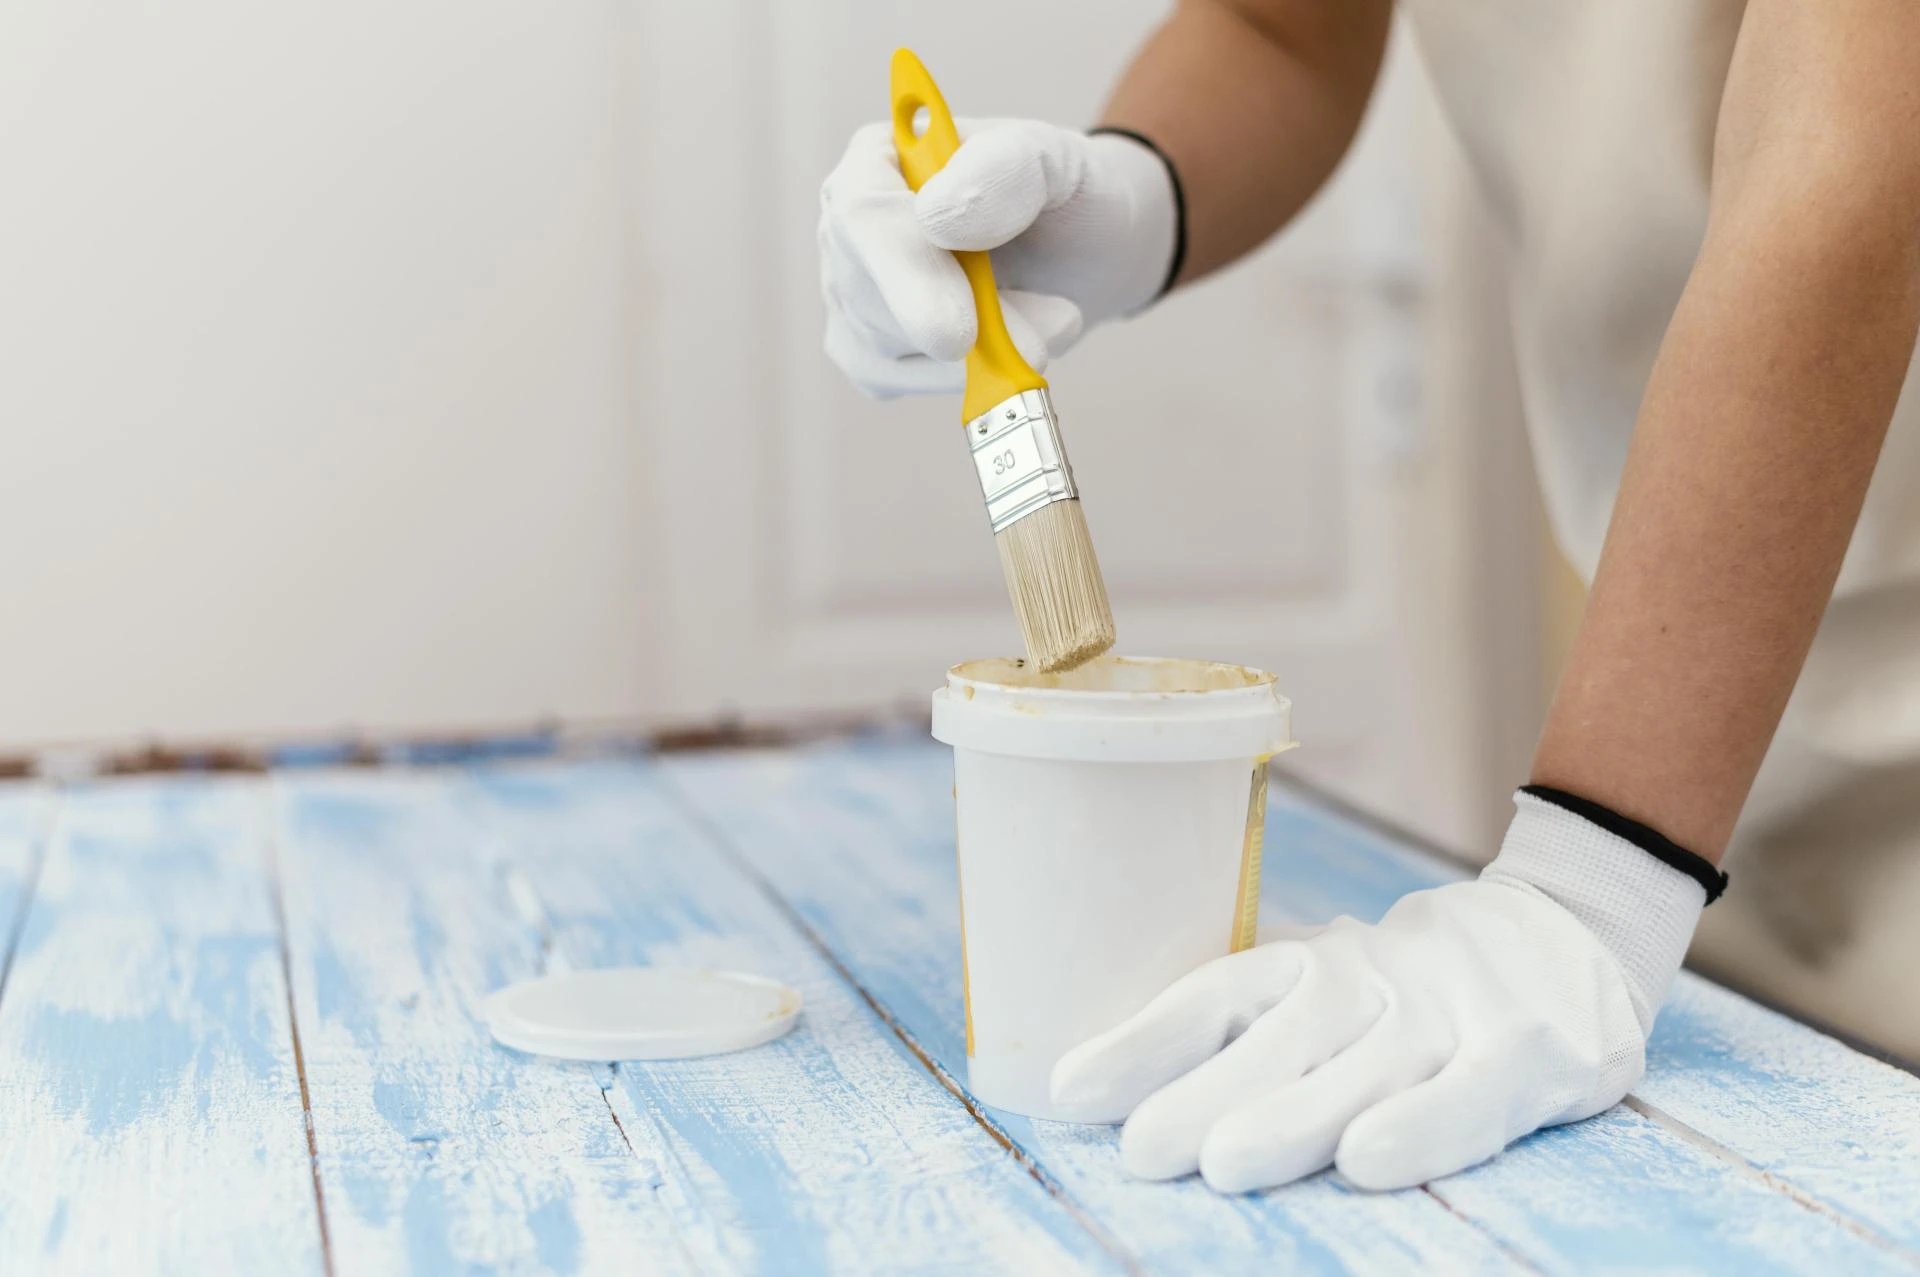
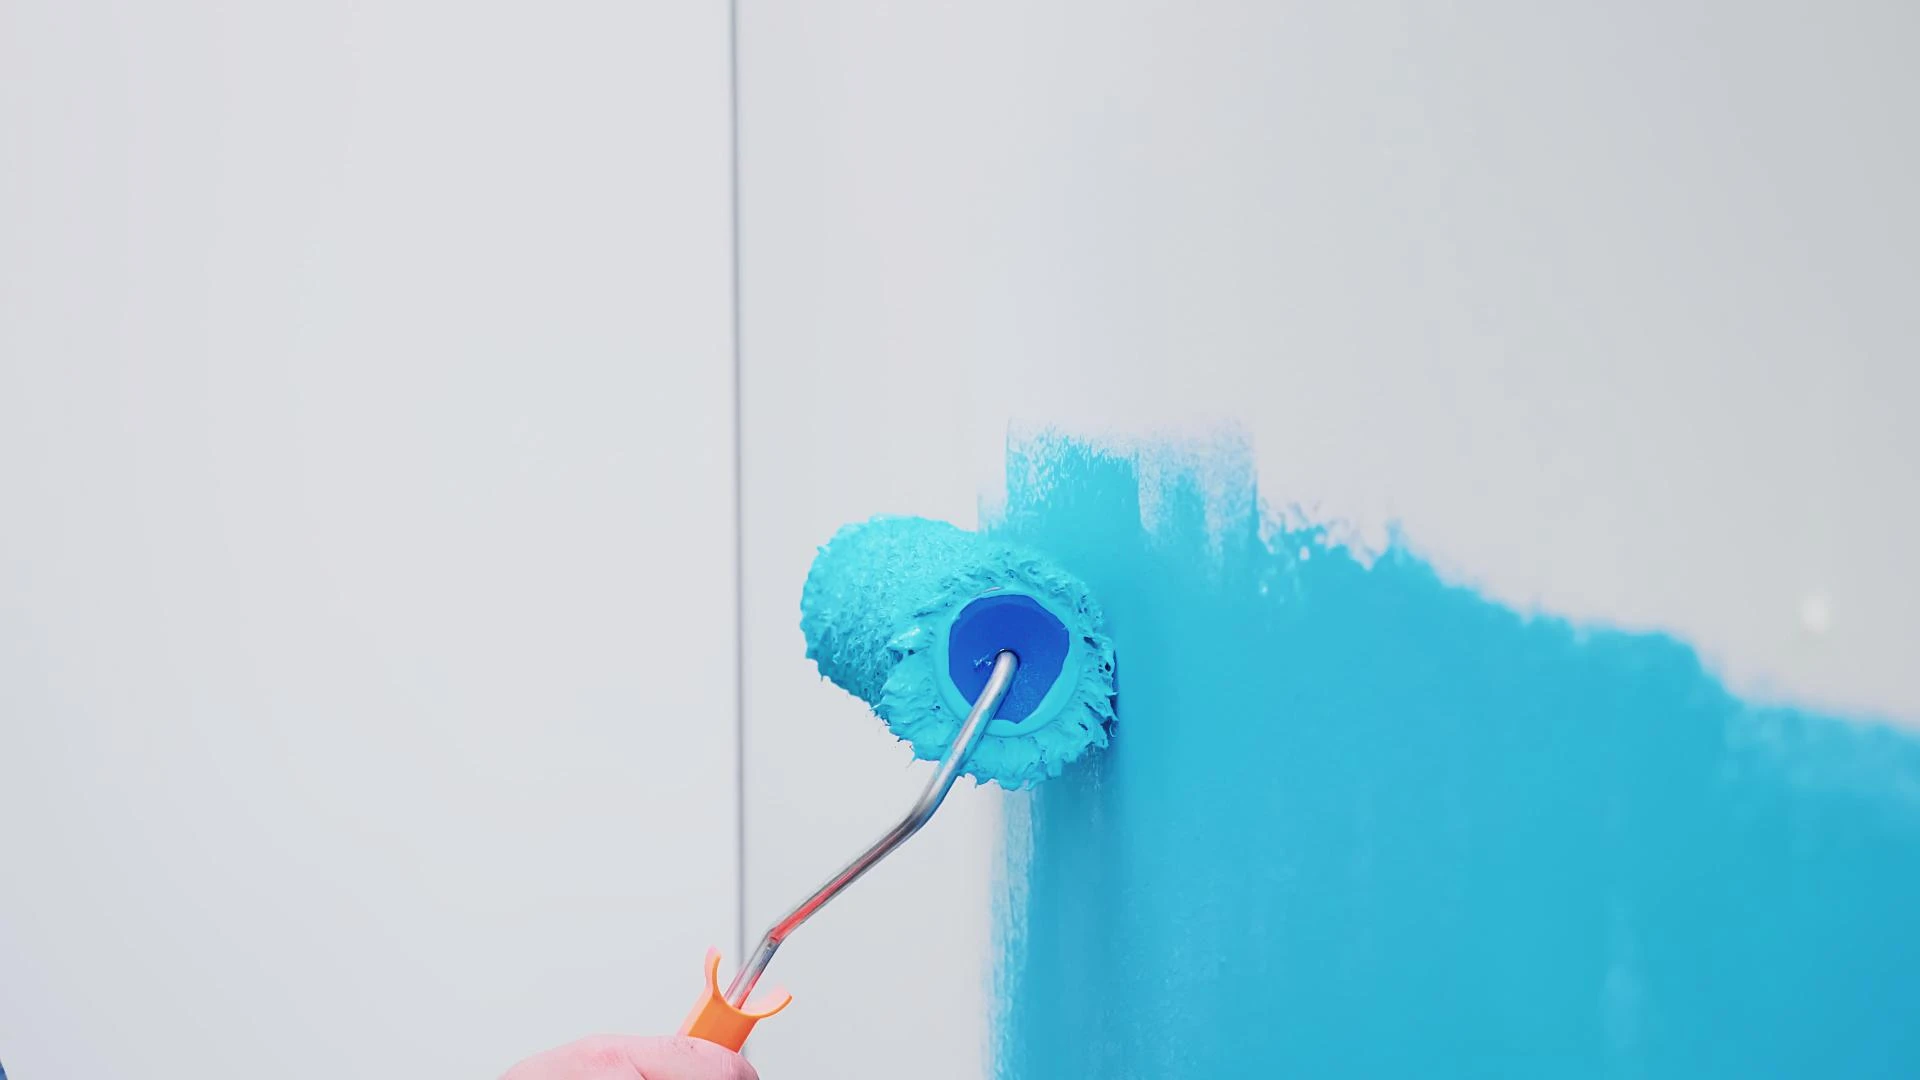
Step 4: Apply the Paint Correctly
Proper application ensures the maximum efficacy of the anti-fungal paint.
- ➤ Stir the paint well before use to evenly distribute the active ingredients.
- ➤ Use a good-quality synthetic brush or roller suitable for acrylic paints.
- ➤ Apply the paint in thin, even coats for better drying and film formation.
- ➤ Start from the top and work downward for smooth coverage.
- ➤ Allow the first coat to dry fully (typically a few hours) before applying a second coat.
Most surfaces benefit from at least two coats to build an effective anti-fungal barrier.
Step 5: Maintain and Inspect Regularly
Anti-fungal paint acts as a first line of defense but still requires upkeep to remain effective.
- ➤ Keep humidity levels low inside the building using ventilation fans or dehumidifiers.
- ➤ Clean walls gently with a damp cloth to remove dust and prevent moisture buildup.
- ➤ Inspect the paint regularly, especially in vulnerable areas, for any signs of fungal reappearance or damage.
- ➤ Reapply anti-fungal paint as needed, usually every 5–7 years depending on environmental conditions.
Additional Tips for Success
- Always wear protective gear such as gloves, masks, and eye protection when handling anti-fungal chemicals.
- Use painter’s tape to protect ceilings, floors, and trims.
- Work in well-ventilated areas to avoid inhaling fumes.
- Avoid painting in extreme humidity or temperatures to prevent uneven drying.
Conclusion
Applying anti fungal paint for walls is an essential step toward creating healthier, mold-free indoor environments. By following thorough surface preparation, choosing the right acrylic matt emulsion paint, and applying it carefully, you can ensure long-lasting protection for your walls. This protective coating not only enhances visual appeal with smooth finishes but also safeguards your home or office from the damaging effects of fungi—promoting both aesthetic and wellbeing benefits for years to come.
#antifungalpaintforwalls
acrylicmattemulsion


Sign in to leave a comment.