Step-by-Step Guide to Nocqua Battery Charger Setup
✅ What You Need
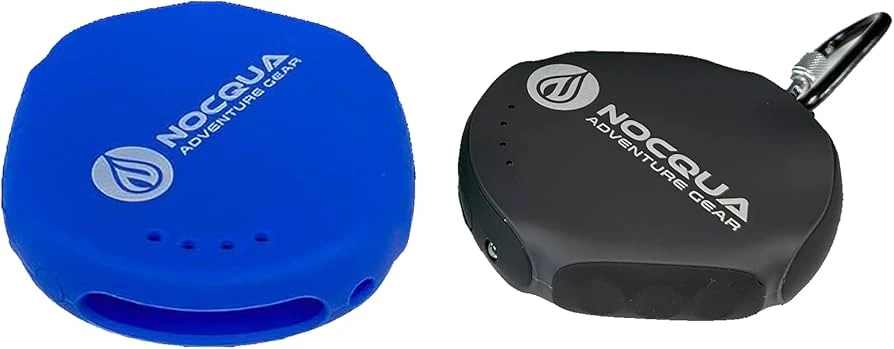
- Nocqua battery
- Nocqua smart charger
- Charging cable (included)
- Wall socket or power strip
Step 1: Inspect the Charger & Battery
Before connecting:
- Check that the battery and cable are clean and dry.
- Make sure there is no dirt, nocqua battery charger moisture, or saltwater on the connectors.
Step 2: Connect the Charger to the Battery
- Take the charger cable with the round waterproof connector.
- Align the pins—Nocqua connectors only fit one way.
- Push the connector straight in power bank stash until it locks securely.
- Do NOT twist the connector.
Step 3: Plug the Charger Into Power
- Insert the charger's AC plug into a wall outlet.
- The charger LED will turn red indicating charging has started.
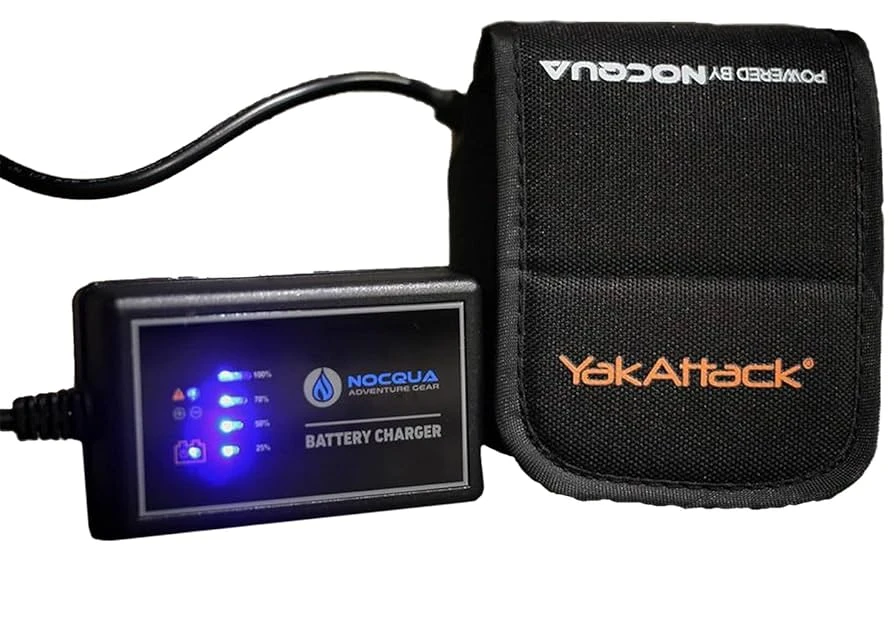
Step 4: Monitor the Charging Indicator
Nocqua chargers use color signals:
LED ColorMeaning🔴 RedCharging🟡 Yellow/OrangeAlmost full (topping off)🟢 GreenFully charged & ready
Charging time:
- 10Ah battery: ~4–6 hours
- 20Ah battery: ~8–10 hours
Step 5: Disconnect Safely
When the LED turns green:
- Unplug the charger from the wall.
- Gently pull the connector straight out from the battery.
- Close the waterproof cap on the battery.
Step 6: Store the Battery Properly
For long battery life:
- Keep the battery in a cool, dry place.
- Do not leave it connected to the charger for days.
- Charge at least once every 30 days if not in use.
Common Mistakes to Avoid
❌ Charging a wet battery
❌ Leaving connectors unaligned / forcing pins
❌ Using a non-Nocqua charger
❌ Charging in extreme heat or sunlight


Sign in to leave a comment.