Stone veneer is one of those magical materials that works just as beautifully indoors as it does outside. Whether you’re dreaming of a cozy fireplace wall in the living room or a statement entryway on your home’s façade, it’s a go-to for adding texture, warmth, and long-lasting charm.
But here’s the thing: while the look may be similar, stone installation for interior and exterior projects is not exactly the same. There are some key differences in prep, materials, and method—and if you’re tackling this yourself or working with a contractor, it’s worth knowing what those are.
Let’s break down the basics of both, using plain language (not contractor-speak) and pull some clarity from what those stone veneer manuals are really telling you.
What Stays the Same?
First, a quick win: the general process for installing stone veneer—whether inside or out—follows a similar structure.
In both cases, you’ll likely be:
- Prepping the surface with lath and a scratch coat (unless it’s concrete)
- Applying mortar or adhesive
- Back-buttering each stone
- Pressing the stone in place and adjusting for spacing
- Cleaning and curing the finished surface
But the why, how, and which materials you use will depend heavily on whether you're working indoors or braving the elements outside.
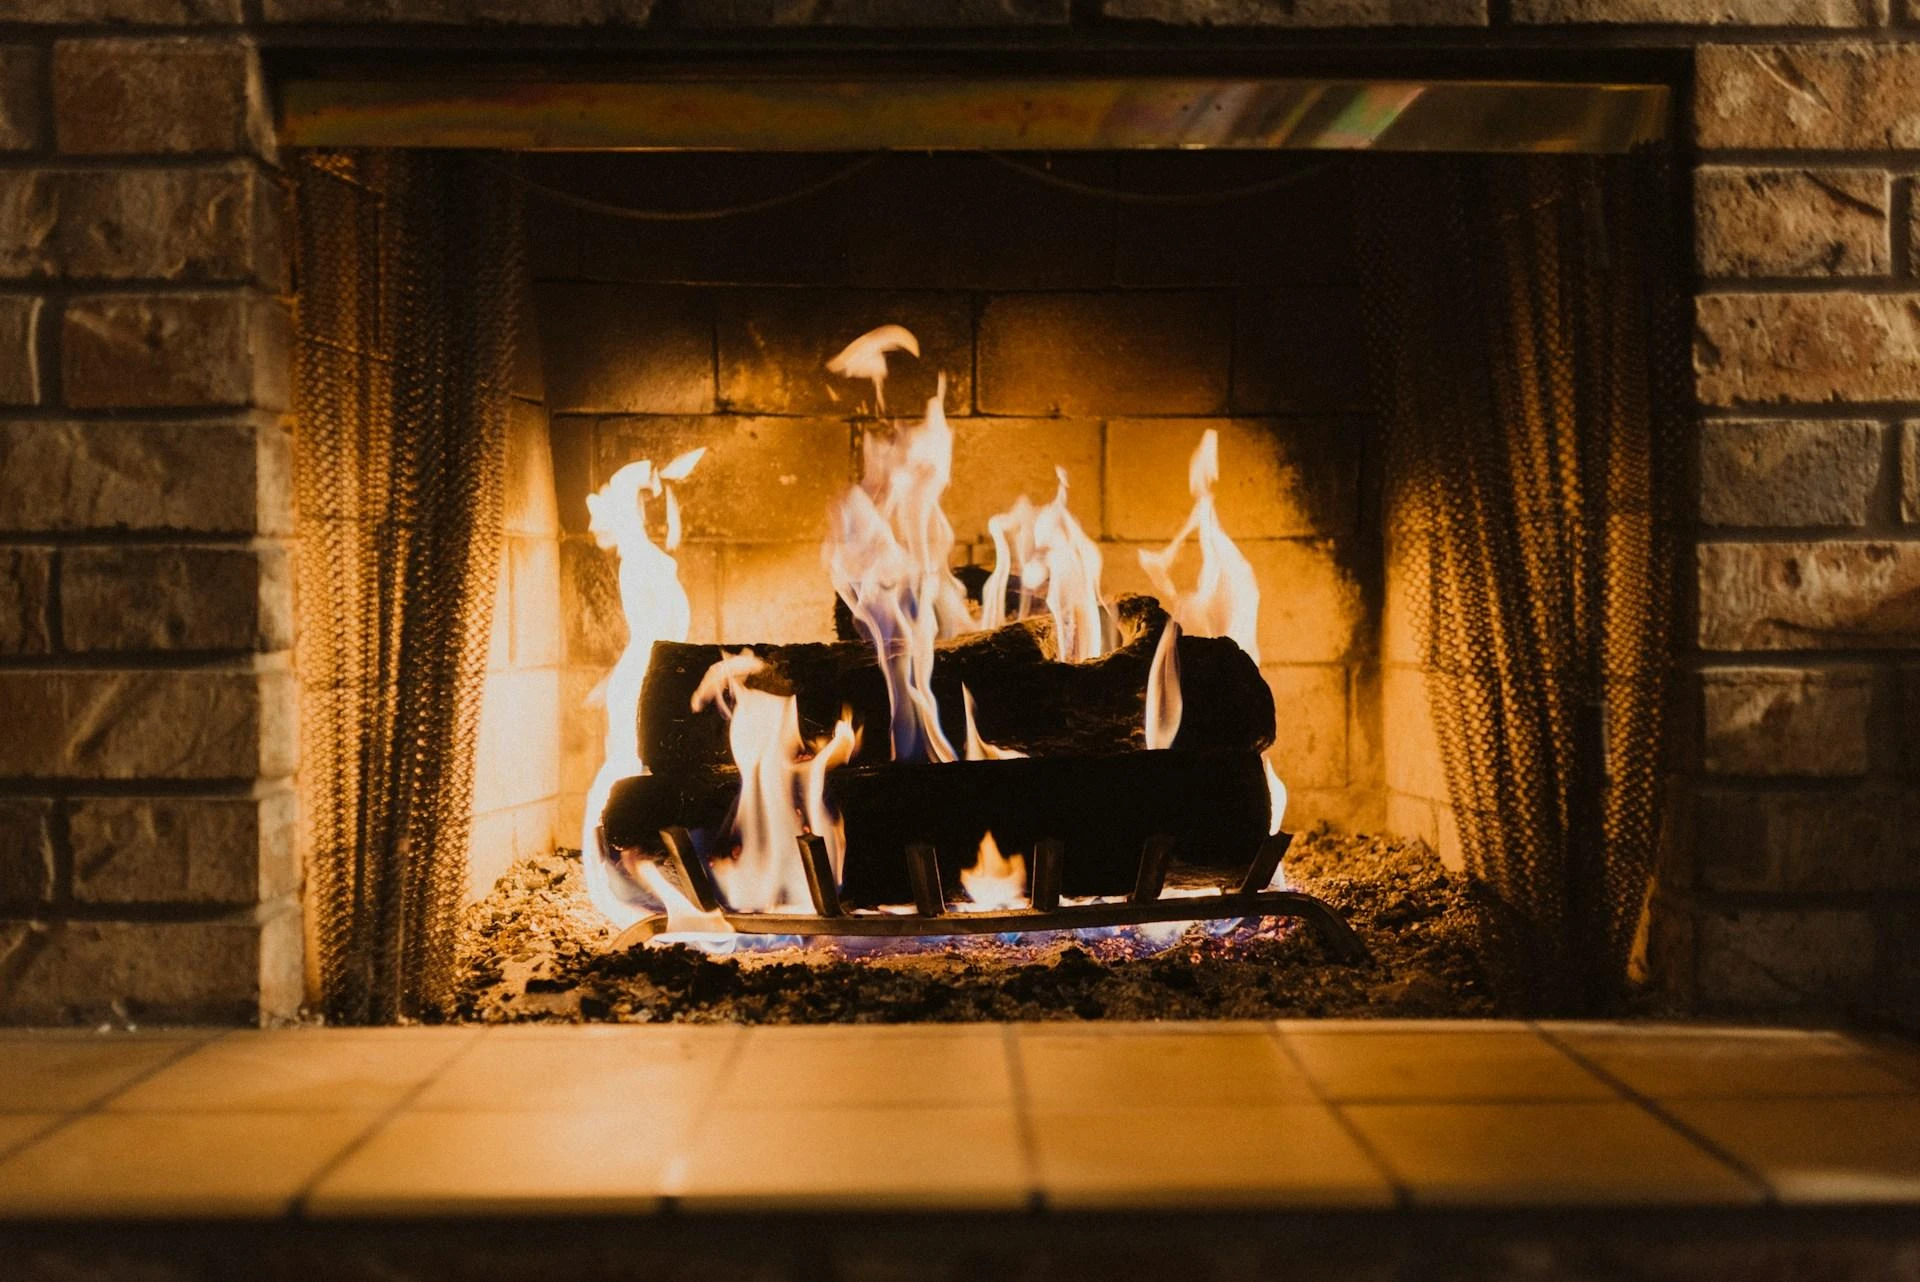
Interior Stone Installation: Cozy, Controlled, and More Forgiving
When you’re installing stone veneer indoors, you're working in a controlled environment. No rain, no freezing temps, no direct UV exposure. That means:
- You can often use lightweight manufactured stone
- Installation conditions are cleaner and easier to manage
- There's no need to worry about weatherproofing the system (unless you're working in a bathroom or near a fireplace)
Stone veneer manuals for interior projects tend to be simpler. You may even find products that use construction adhesive instead of mortar—perfect for feature walls or fireplace surrounds.
Ideal Interior Spots:
- Fireplace walls
- Accent/TV walls
- Kitchen backsplashes
- Bedroom feature walls
- Entryway nooks or hallways
Since you’re not battling moisture or freeze-thaw cycles, your focus is on aesthetics, adhesion, and proper support—especially for heavier veneer.
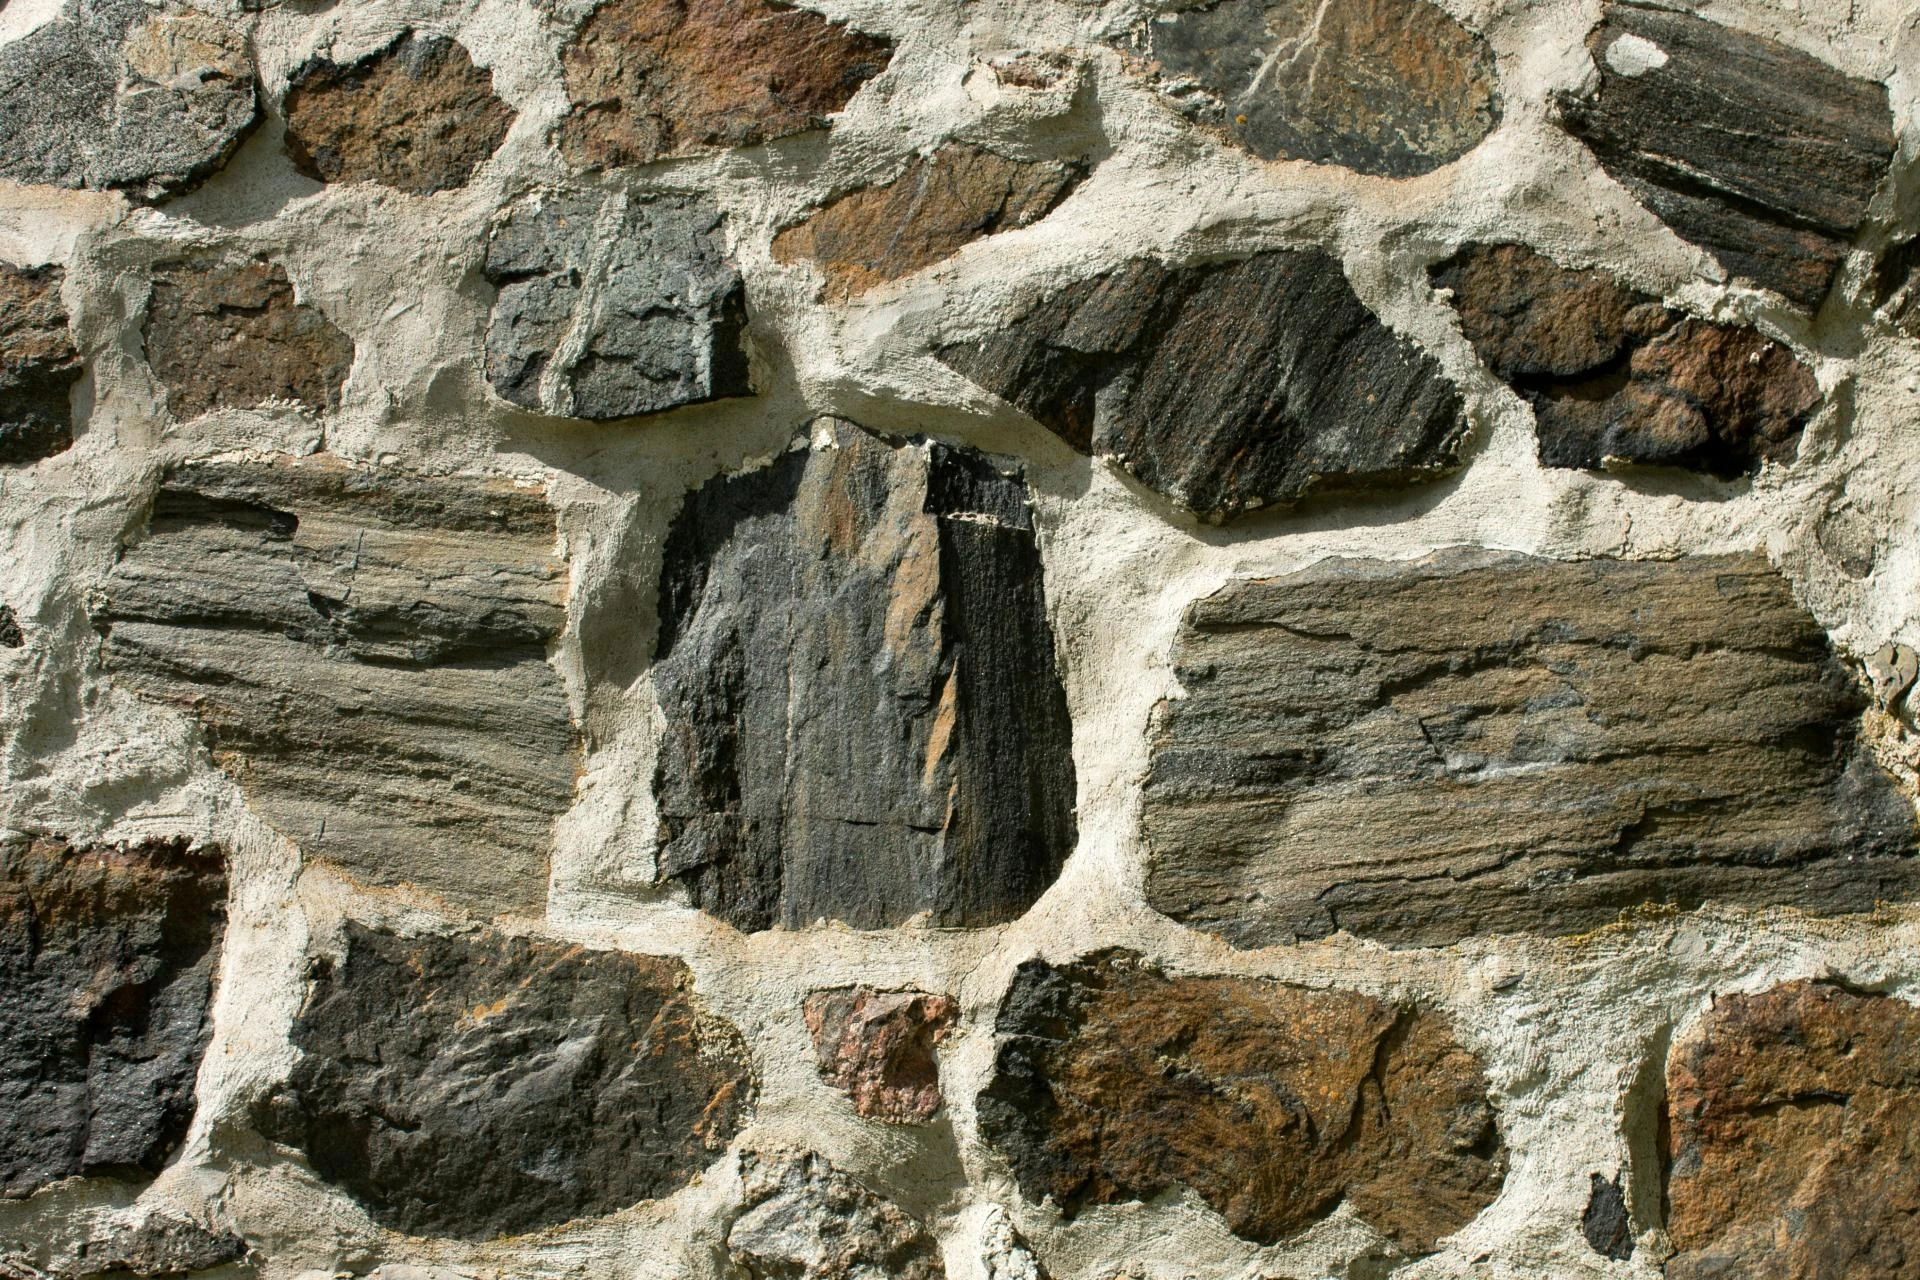
Exterior Stone Installation: Weather-Proof and Built to Last
Now, the outdoors? That’s a whole different game.
Exterior stone installation needs to be tougher, better sealed, and built to last against wind, water, temperature swings, and sun exposure. You’re not just installing stone—you’re protecting your house while you do it.
Key differences include:
- A moisture barrier is essential (like building paper or house wrap)
- You’ll need metal lath and a scratch coat, even over plywood or OSB
- Mortar needs to be rated for exterior use and mixed precisely
- Expansion joints may be required depending on wall length and exposure
- You'll need to finish edges and corners to prevent water seepage
Stone veneer manuals for exterior use are more detailed for a reason—they’re helping you prevent major structural headaches down the line.
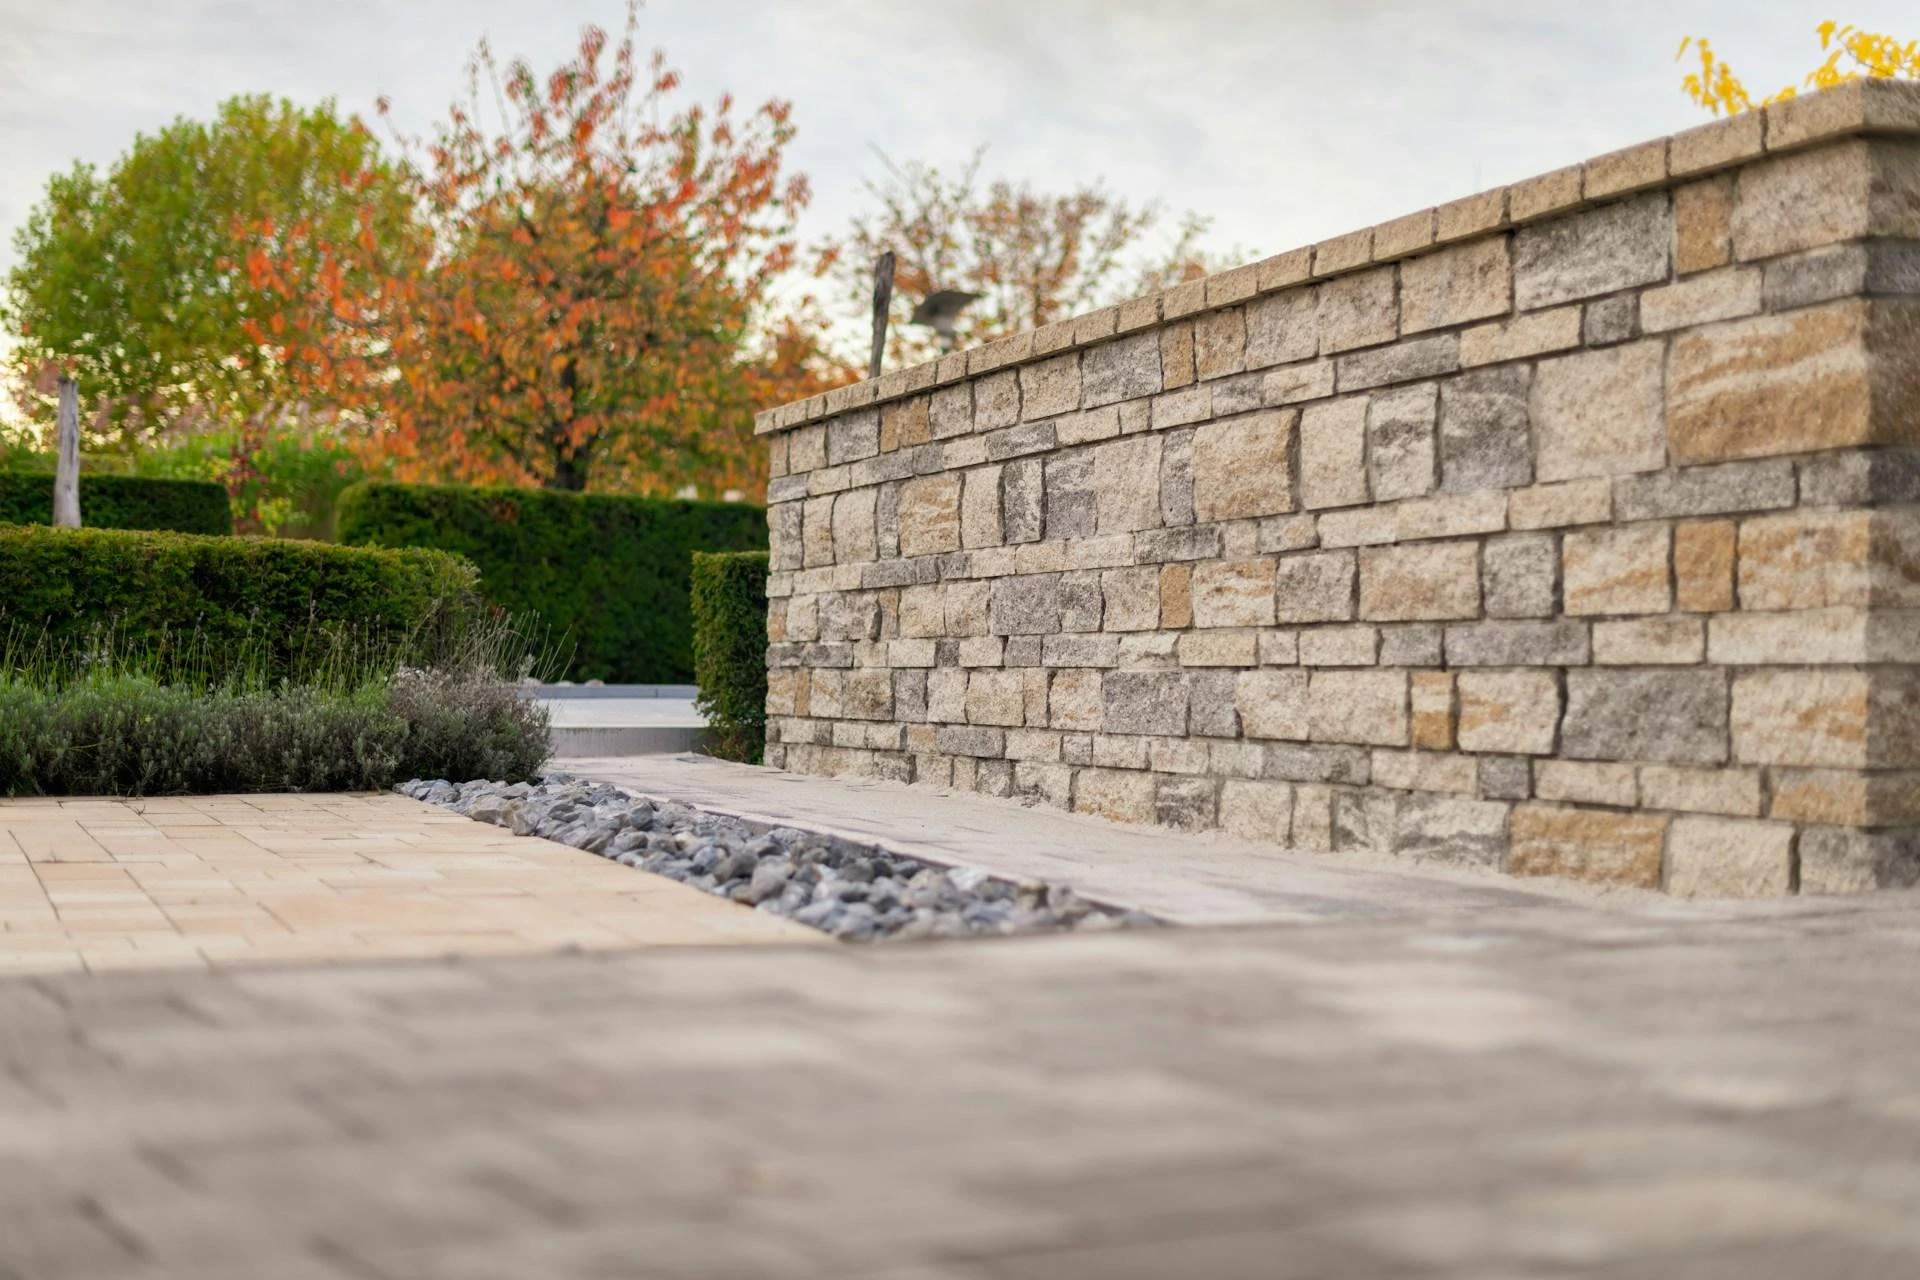
Common Exterior Applications:
- Front porch or entryway columns
- House façades or partial cladding
- Outdoor fireplaces and kitchens
- Garden walls and retaining walls
Moisture control and freeze-resistance are critical outdoors. A sloppy install here can mean efflorescence (that white powdery buildup), loosening stones, or worse—water damage inside the home.
Material Considerations: One Size Doesn’t Fit All
Not every veneer is rated for both interior and exterior use. Some are only meant to be installed inside where they’re not exposed to moisture or dramatic temperature changes.
When comparing options, always check the manufacturer’s specs. If you’re pulling info from stone veneer manuals, look for labels like:
- Interior Use Only
- Freeze-Thaw Resistant
- UV-Stable
- Water-Resistant Backing
Also, think about the look you want. Rough, heavier stones tend to feel more natural outside, while sleeker stones often suit indoor modern design better.
Installation Tools: Mostly the Same—with a Few Extras for Outside
Your basic tool kit stays consistent:
- Trowels
- Buckets for mixing mortar
- Level or laser
- Wet saw or grinder
- Grout bag or tuck pointer (if using joints)
But for exterior projects, you may also need:
- Weather-resistant fasteners
- Sealants for corner and edge protection
- Scaffolding or ladders for high installations
- Flashing or weep screed for water management
Some stone veneer manuals include diagrams for how to layer moisture barriers and lath correctly—especially helpful for beginners taking on exterior installs.
Maintenance Differences
Another point to consider: long-term upkeep.
Indoor stone installations typically just need a light dusting or occasional cleaning. No sealing required unless you’re in a kitchen or high-humidity space.
Exterior stone, however, may benefit from:
- Sealing to protect against water and UV
- Occasional power washing (on low setting)
- Checking for cracked mortar or shifting pieces, especially after winter
Proper installation from day one makes maintenance a breeze. Skip key steps, and you may be back out there fixing things more often than you’d like.
Final Thoughts: Know Your Space, Then Choose Your Strategy
Stone installation is one of those projects that rewards good prep. While interior jobs might be more forgiving and beginner-friendly, exterior installs demand more thought, weather-proofing, and care. But both can be DIYable with the right tools—and a good manual in hand.
So don’t let the technical parts scare you. Get familiar with the terms, follow the steps, and trust the process. With a bit of effort, your stonework (inside or out) can look like it was done by a pro—even if it was just you, a trowel, and a weekend.
Helpful Resources to Get Started:
https://canyonstonecanada.com/Installation/Manuals
https://stoneselex.com/brick-and-stone/Dry-Stack-Stone-0615
https://canyonstonecanada.com/rockstone/rockwalls/Rocky-Ledge
Stone Selex helps homeowners blend timeless design and durability with stone veneer products crafted for both inside and out.
Canyon Stone Canada offers trusted manuals, tools, and materials to ensure your stone installation stands strong—wherever you build it.


Sign in to leave a comment.