
When it comes to achieving a flawless and timeless wooden floor, the process of sanding plays a pivotal role. Sanding is not just a routine task; it is a transformative art that breathes new life into wooden surfaces. In this comprehensive guide, we will explore what sanding entails, its significance in wooden flooring Bangalore, and the steps involved in this essential process.
Understanding Sanding in Wooden Flooring
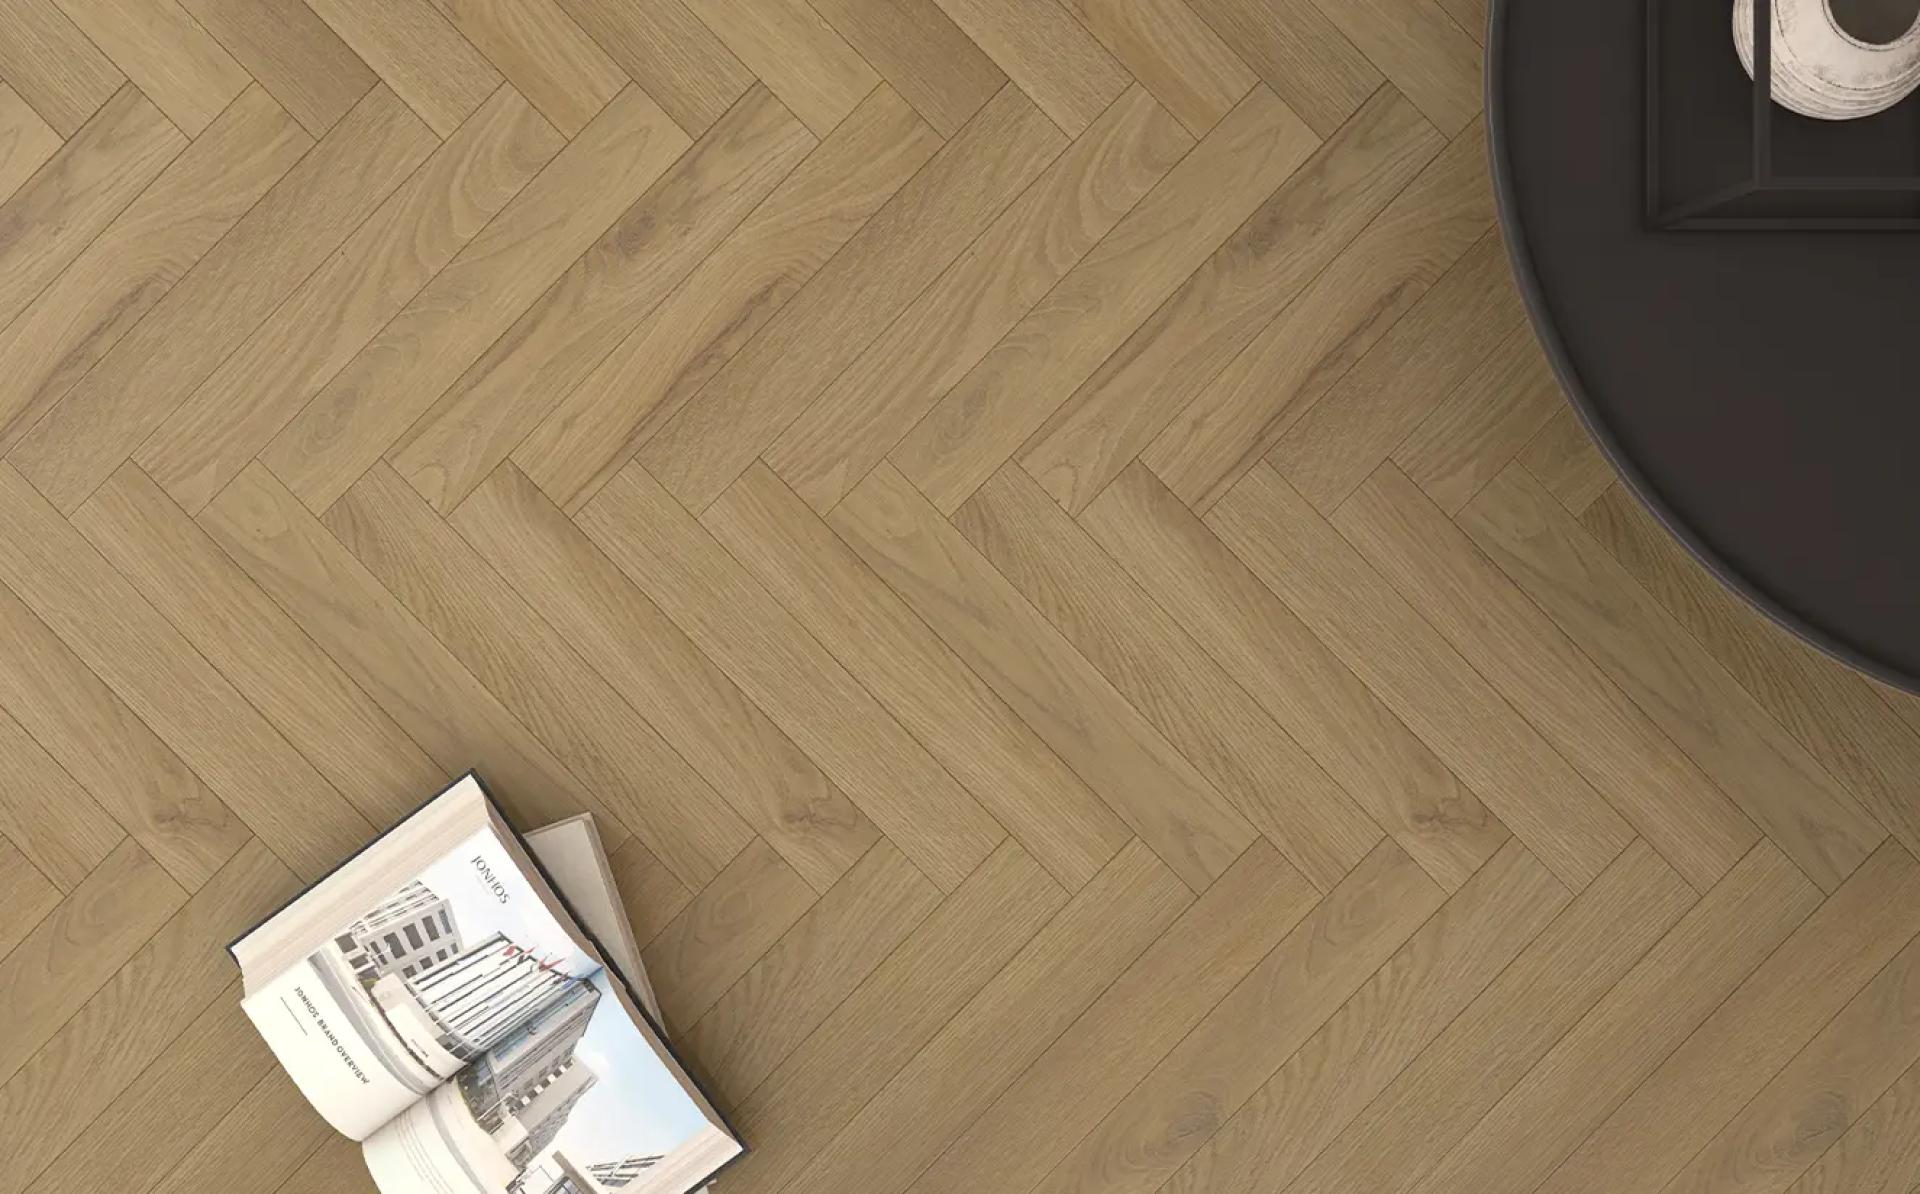
Sanding is the method of using abrasive materials to smooth, refine, and level the surface of wooden floors. This process is a crucial component of both the installation and maintenance of wooden flooring, providing a range of benefits that contribute to the overall aesthetics, durability, and longevity of the wood.
Significance of Sanding
Surface Smoothing: One of the primary purposes of sanding is to create a smooth and even surface. Wooden floors, over time, can develop imperfections such as unevenness, scratches, or rough spots. Sanding effectively addresses these issues, resulting in a sleek and polished appearance.Stain Removal: Sanding is a powerful tool for removing stains, discolorations, and blemishes on the wooden surface. It goes beyond the surface, eliminating layers of old finishes, and revealing the natural beauty of the wood beneath.Preparation for Finishing: Sanding acts as a crucial preparatory step before applying finishes like varnish, lacquer, or sealant. By creating a smooth and receptive surface, sanding ensures that the finish of the wooden flooring adheres evenly, enhancing both the appearance and protection of the wood.Leveling and Reparation: In cases where the wooden floor has experienced wear and tear or damage, sanding helps to level the surface and repair imperfections. This revitalizing process can extend the lifespan of the wooden flooring, saving homeowners from costly replacements.Steps Involved in Sanding Wooden Flooring:
Surface Inspection: Begin by thoroughly inspecting the wooden surface. Identify scratches, dents, stains, and any imperfections that need attention. This assessment guides the sanding process.Selecting the Right Sandpaper: Choosing the correct sandpaper grit is crucial. Coarse grits (lower numbers) are suitable for removing old finishes and addressing deep imperfections, while finer grits (higher numbers) are ideal for achieving a smooth finish.Initial Coarse Sanding: Start with coarse sandpaper to remove the existing finish and address any deep-seated imperfections. This step provides a clean canvas for the subsequent sanding stages.Intermediate Sanding: Progress to intermediate grits to further refine the surface. This step aims to eliminate scratches left by the coarse sandpaper, gradually smoothing the wood.Fine Sanding: Finish with fine-grit sandpaper to achieve a silky-smooth surface. This step prepares the wood for finishes by eliminating the last traces of imperfections and creating a polished appearance.Cleaning and Inspection: After sanding, thoroughly clean the surface to remove dust and debris. Inspect the wood to ensure all imperfections have been addressed, creating a flawless foundation for finishing.Applying Finishes: Once the wood is sanded and cleaned, apply the chosen finish. This could be a sealant, varnish, or lacquer, enhancing the wood's natural beauty while providing protection.Sanding in wooden flooring is an indispensable process that transforms ordinary floors into stunning masterpieces. Beyond its aesthetic contributions, sanding plays a crucial role in the structural integrity and longevity of wooden surfaces. Whether you are installing new wooden flooring or revitalizing an existing one, embracing the art of sanding is the key to unlocking the true potential of your wooden floors, ensuring they stand the test of time in both beauty and durability.


Sign in to leave a comment.