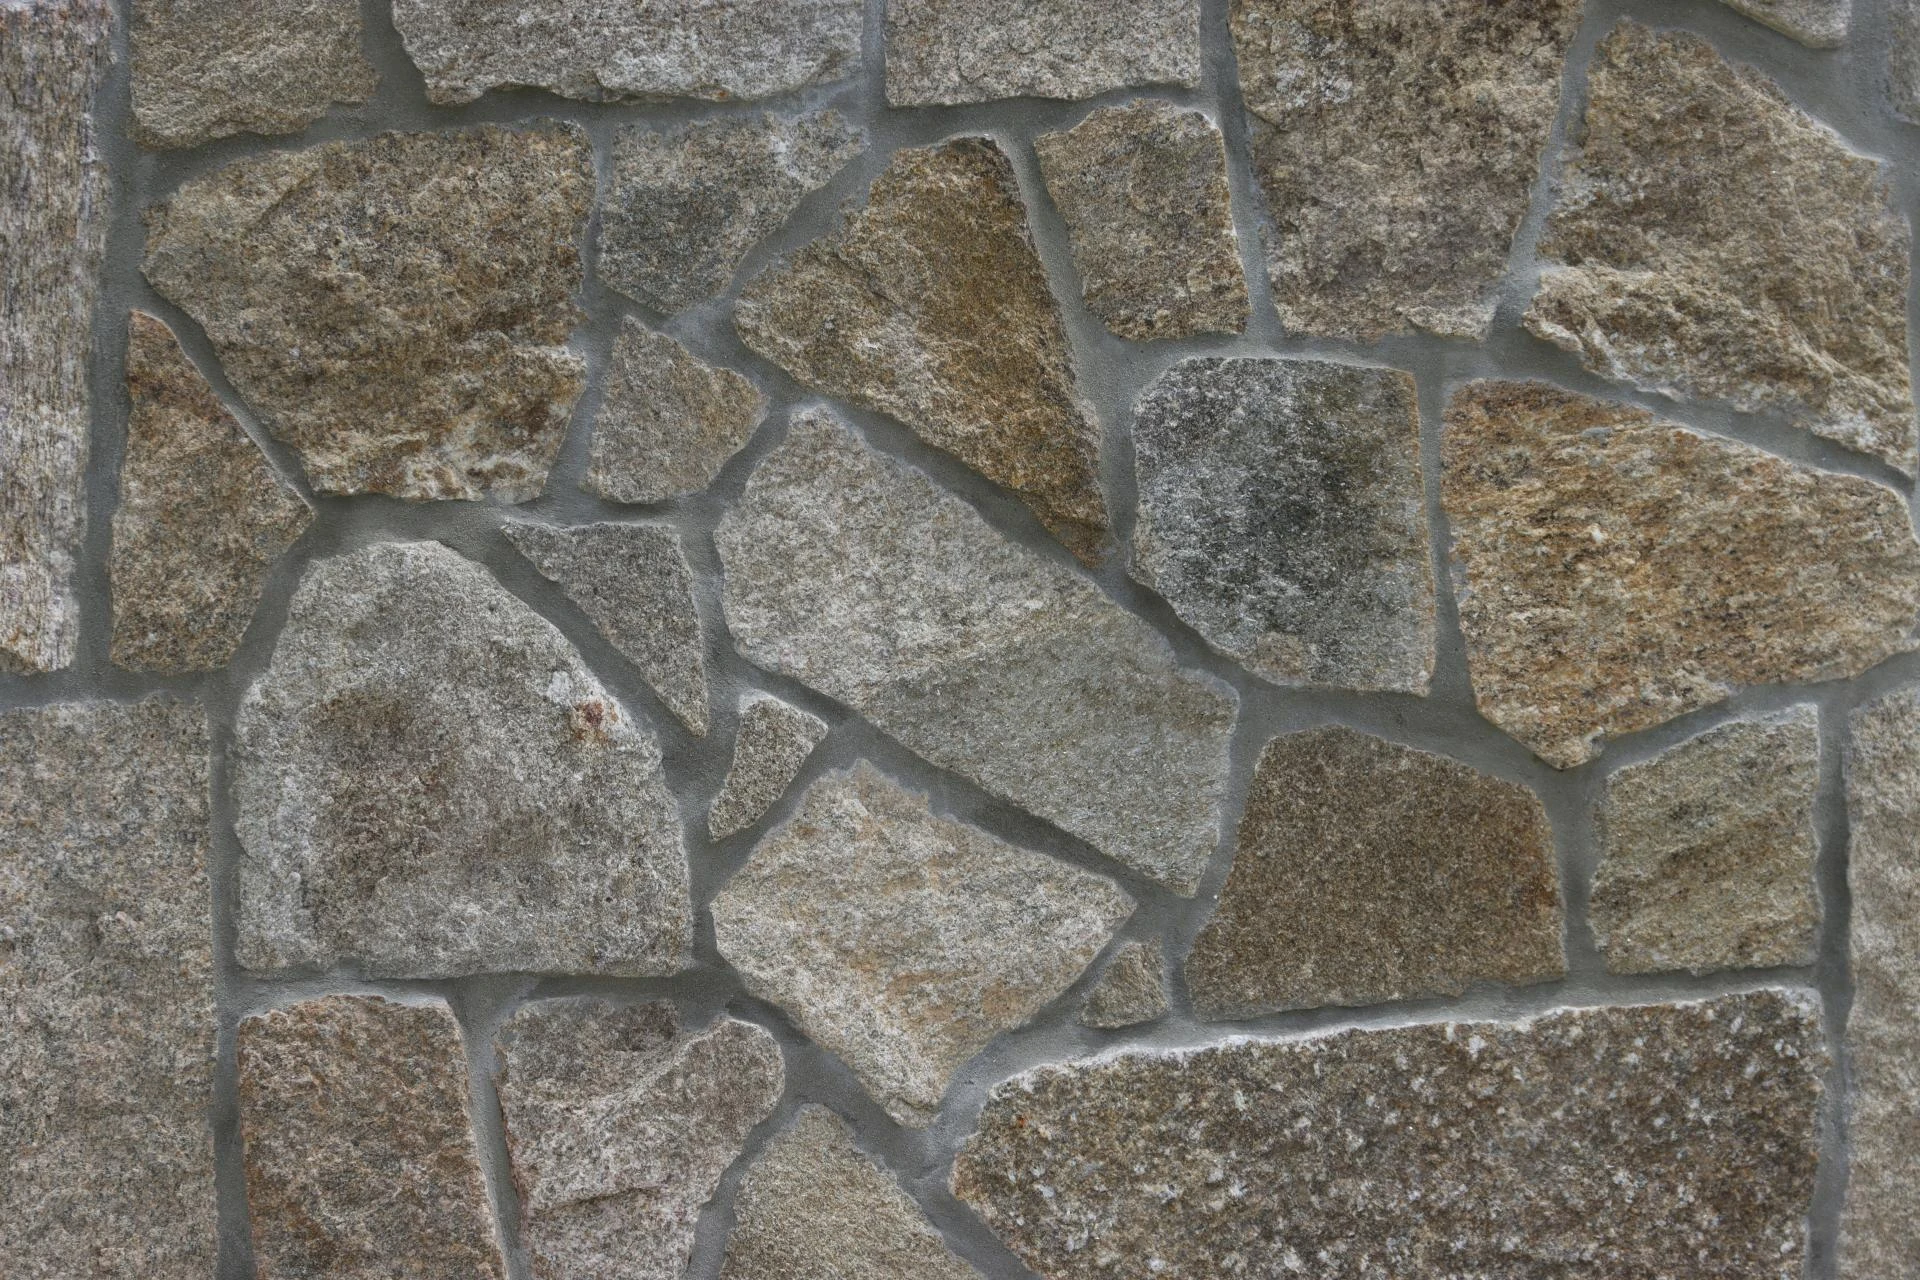
Let’s cut to the chase: You love the look of stone siding, but you’re not exactly jumping at the idea of mixing mortar, wrestling heavy materials, or shelling out thousands for a pro crew. Good news? You don’t have to. Faux stone siding is changing the game for homeowners—especially those with a drill, a free weekend, and a touch of motivation.
If you've been eyeing your home’s exterior (or maybe the fireplace wall or garage facade) thinking, "This could really use some love," then this guide is for you. We’ll walk you through every step of the faux stone siding installation process—without the jargon, the fluff, or the unnecessary panic.
Spoiler: It’s easier than you think.
Why Faux Stone Siding Is Every DIYer’s Dream
Before we start tossing around tools and tape measures, let’s get one thing straight: faux stone siding isn't the same old clunky, back-breaking stone veneer your uncle installed in the ‘90s. This stuff is lightweight, durable, and designed to be easy-install stone siding.
It’s made from polyurethane or composite materials that are molded to look just like real stone. And yes, it feels real too—but without the cost, weight, or hassle.
So if you're a first-timer, or even if your last home project involved duct tape and a silent prayer, faux stone siding is still very much in your lane.
Tools You’ll Need (Don’t Worry—It’s a Short List)
You won’t need a contractor’s truckload of tools. Most of this stuff is probably already in your garage:
- Drill or impact driver
- Circular saw or jigsaw
- Tape measure
- Level
- Chalk line
- Screws (typically galvanized or corrosion-resistant)
- Construction adhesive (depending on brand)
- Caulking gun
- Safety gear: gloves, goggles, maybe your lucky playlist
Step-By-Step: How to Install Faux Stone Siding Like a Total Boss
Step 1: Plan Your Layout
It’s tempting to just grab a panel and go, but trust us—planning is everything. Lay out your panels on the ground first to get a feel for the pattern. Decide where your seams will go and how you'll stagger them to avoid obvious repetition.
Mark your starting point with a chalk line. Usually, you’ll start at the bottom and work your way up, just like with regular siding.
Pro Tip: If you're covering multiple walls, make sure the patterns flow cleanly from one corner to the next. Continuity is key.
Step 2: Prep the Surface
Your siding won’t stick to dirt, peeling paint, or warping wood. Make sure the surface is flat, dry, and clean.
For outdoor installs, you’ll likely need a weather-resistant barrier underneath the siding—house wrap or a similar moisture control material works well. Check the manufacturer’s recommendation on this. Some faux stone panels also need a plywood or OSB backer board.
Step 3: Cut Your Panels
Grab that saw. Faux stone siding is super lightweight and easy to cut—like, actually easy. A circular saw with a fine-tooth blade works great, but even a jigsaw will do the trick for more precise or curved cuts.
Heads-up: Always cut from the back side of the panel to avoid nicking the surface design.
Step 4: Start Screwing (or Gluing)
Line up your first panel at the bottom corner. Most faux stone panels have a tongue-and-groove design or interlocking edges—makes lining things up a breeze.
Use your drill to fasten the panel to the wall using the recommended screws. Some panels might also call for adhesive along the back before you screw them in. It gives a tighter seal and extra holding power.
Check your level as you go—especially on that first row. If it’s crooked, the whole wall will start slanting like a bad haircut.
Step 5: Work Your Way Up
Continue adding panels row by row. If your pattern starts repeating too clearly, rotate a panel or cut one shorter to break up the visual. Faux stone looks best when it’s staggered naturally, just like real stone.
If you hit an electrical outlet or corner, don’t panic. Just measure, mark, and cut. Most faux stone systems also come with corner pieces and trim to finish off the edges cleanly.
Step 6: Seal It Up
Once everything is installed, run a bead of caulk where needed—especially around doors, windows, or seams that might let in moisture.
Touch up any cut edges with manufacturer-recommended paint or finish, and you're golden.
Stand back. Admire. Flex.
How Long Does It Really Take?
Honestly? A single weekend could be enough to completely transform a small to mid-sized wall. Bigger exteriors might take a few more hours or an extra set of hands. But this is one of those projects that pays off fast—in both satisfaction and curb appeal.
You’ll finish the job sore but proud. Probably with a neighbor asking, “Who’d you hire?”
Why Homeowners Are Falling in Love with Faux Stone
- Affordability: It looks high-end but costs way less than real stone or even traditional stone veneer.
- Lightweight design: Easier to lift, cut, and install without special tools or muscle.
- Weather-resistant: Faux stone siding holds up in rain, snow, heat—whatever Canada throws your way.
- Low-maintenance: A rinse here and there is all it usually needs.
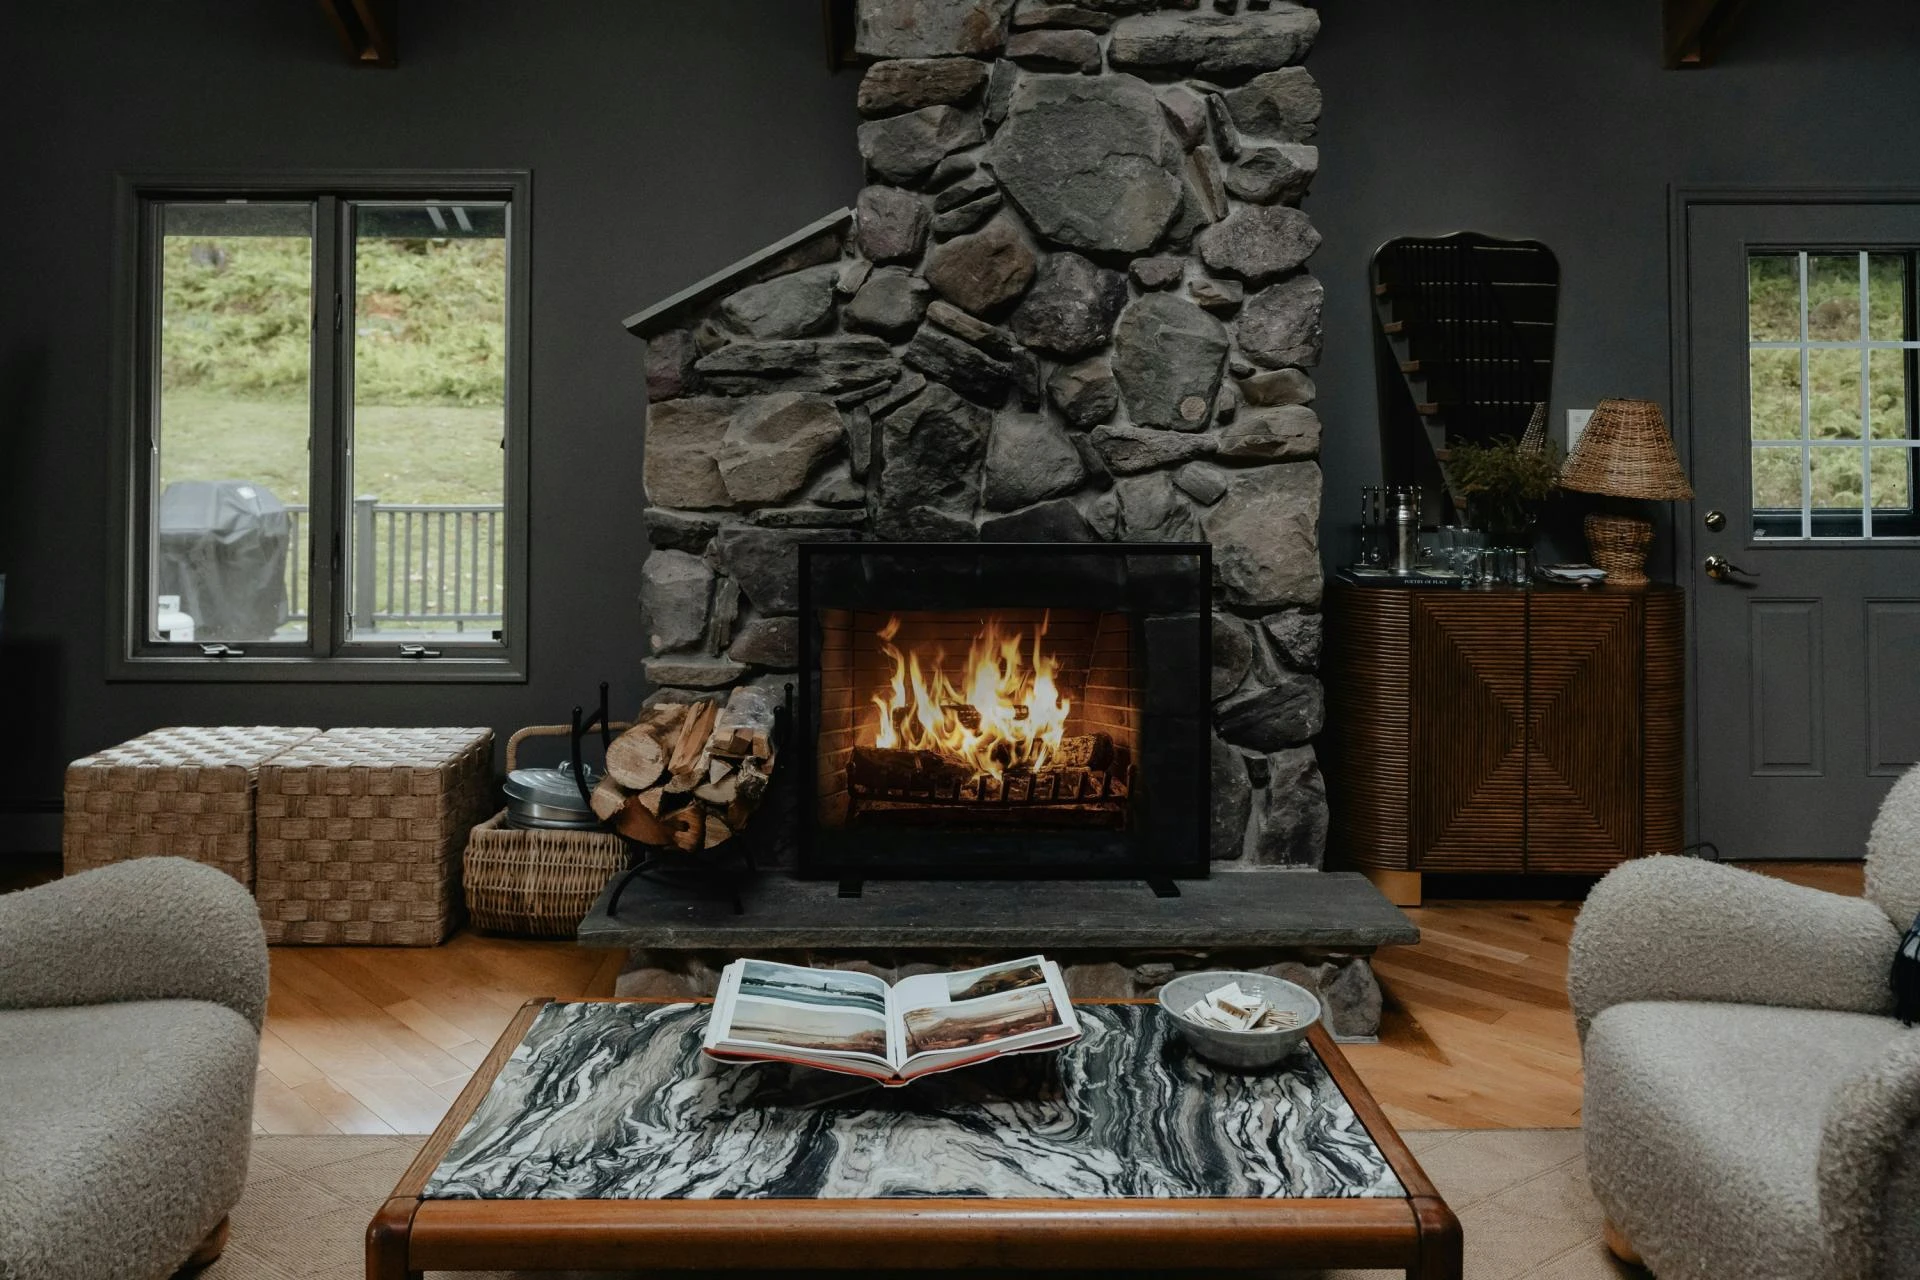
- Looks fantastic: Seriously, people won’t believe it’s not real stone.
Common Questions (Because Let’s Be Real, You’ve Got a Few)
Will faux stone siding fade over time?
Good-quality panels are UV-resistant and color-through, so they hold their color well—even under that blazing summer sun.
Can I install faux stone over existing siding?
In some cases, yes! But you’ll usually get a better, longer-lasting finish if you install it on a flat, prepared surface. Always follow the panel manufacturer’s guidance.
How does it handle Canadian winters?
Pretty well, actually. Faux stone siding doesn’t absorb water like real stone, so freeze-thaw cycles aren’t a big problem.
Ready to Try It?
Here’s the deal: You don’t need to be a professional contractor to install faux stone siding. With a little patience and a bit of elbow grease, your home can have that rugged, high-end look—without the high-end price or the stress.
So grab your drill. Fire up your playlist. And turn that blank wall into something that makes you smile every time you pull into the driveway.
Helpful Links for Getting Started:
- https://stoneselex.com/brick-and-stone/faux-stone-panels-Toronto-0819
- https://stoneselex.com/Faux-Stone-Siding/Exterior-Stone-Siding
- https://stoneselex.com/Versetta-Stone-Siding
- https://stoneselex.com/Faux-Stone-Siding/Stacked-Stone
Stone Selex helps Canadian homeowners transform ordinary exteriors into eye-catching features with easy-to-install faux and real stone options.
Canyon Stone Canada is another top choice for lightweight and stylish stone veneer solutions that make DIY renovations totally approachable.


Sign in to leave a comment.