Spring is the season of renewal, and for many of us, that means getting back into the garden. As the weather warms up and the flowers begin to bloom, it's the perfect time to tackle that overgrown hedge, clear out the winter debris, and get your outdoor space ready for the warmer months. But with all that pruning, trimming, and weeding comes a mountain of waste. That’s where a green waste skip bin becomes your best friend.
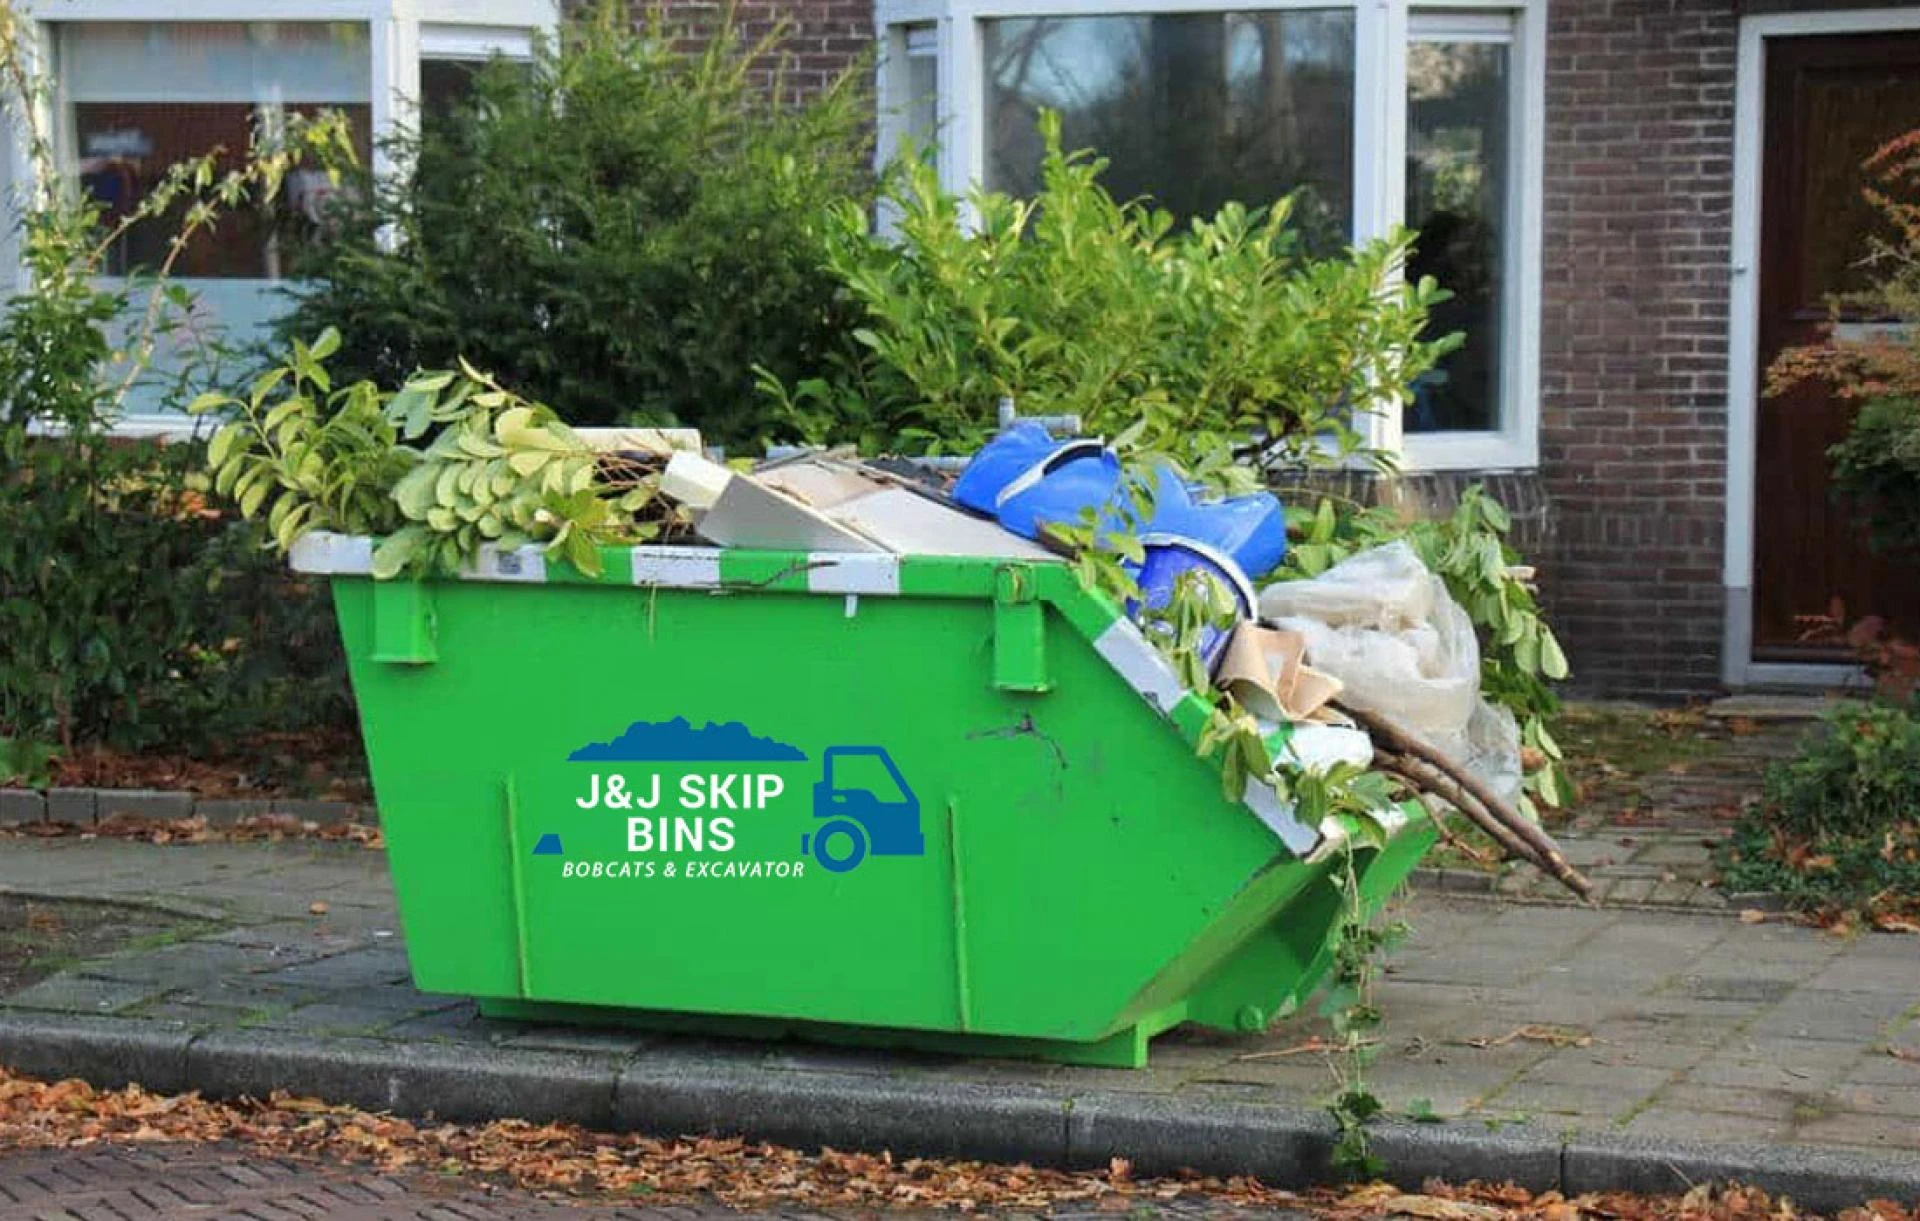
Using a dedicated green waste skip bin is not only the most efficient way to manage your garden clean-up but also the most environmentally friendly. Unlike a general waste skip bin, which is designed for a mix of household rubbish, a green waste bin is specifically for organic matter. This ensures that all your clippings and branches are sent for composting and recycling, not to a landfill.
Ready to get started? Follow this ultimate guide to make your spring clean-up a breeze.
Step 1: Plan Your Attack & Assess Your Needs
Before you even think about ordering a skip bin, take a good look at your garden. What exactly are you trying to achieve? Are you simply trimming back hedges and shrubs, or are you undertaking a major overhaul, like removing a dead tree or clearing a large garden bed?
- Estimate the Volume: Walk around your garden and try to visualize the amount of waste you'll generate. A good rule of thumb is to remember that green waste can be quite bulky. A 2-cubic-meter skip might seem big, but it can fill up surprisingly fast with leafy branches and woody cuttings.
- Identify the Type of Waste: A green waste skip bin is ideal for:
- Grass clippings
- Weeds
- Leaves
- Small branches and prunings
- Tree bark
- Shrubs and hedge trimmings
- Untreated timber (not chemically treated wood or fence posts)
- Palm fronds
It’s crucial to know what’s allowed and what’s not. Items like soil, rocks, concrete, and food waste are typically not permitted in a green waste bin. Make sure you check with your skip bin provider to avoid any extra charges or complications.
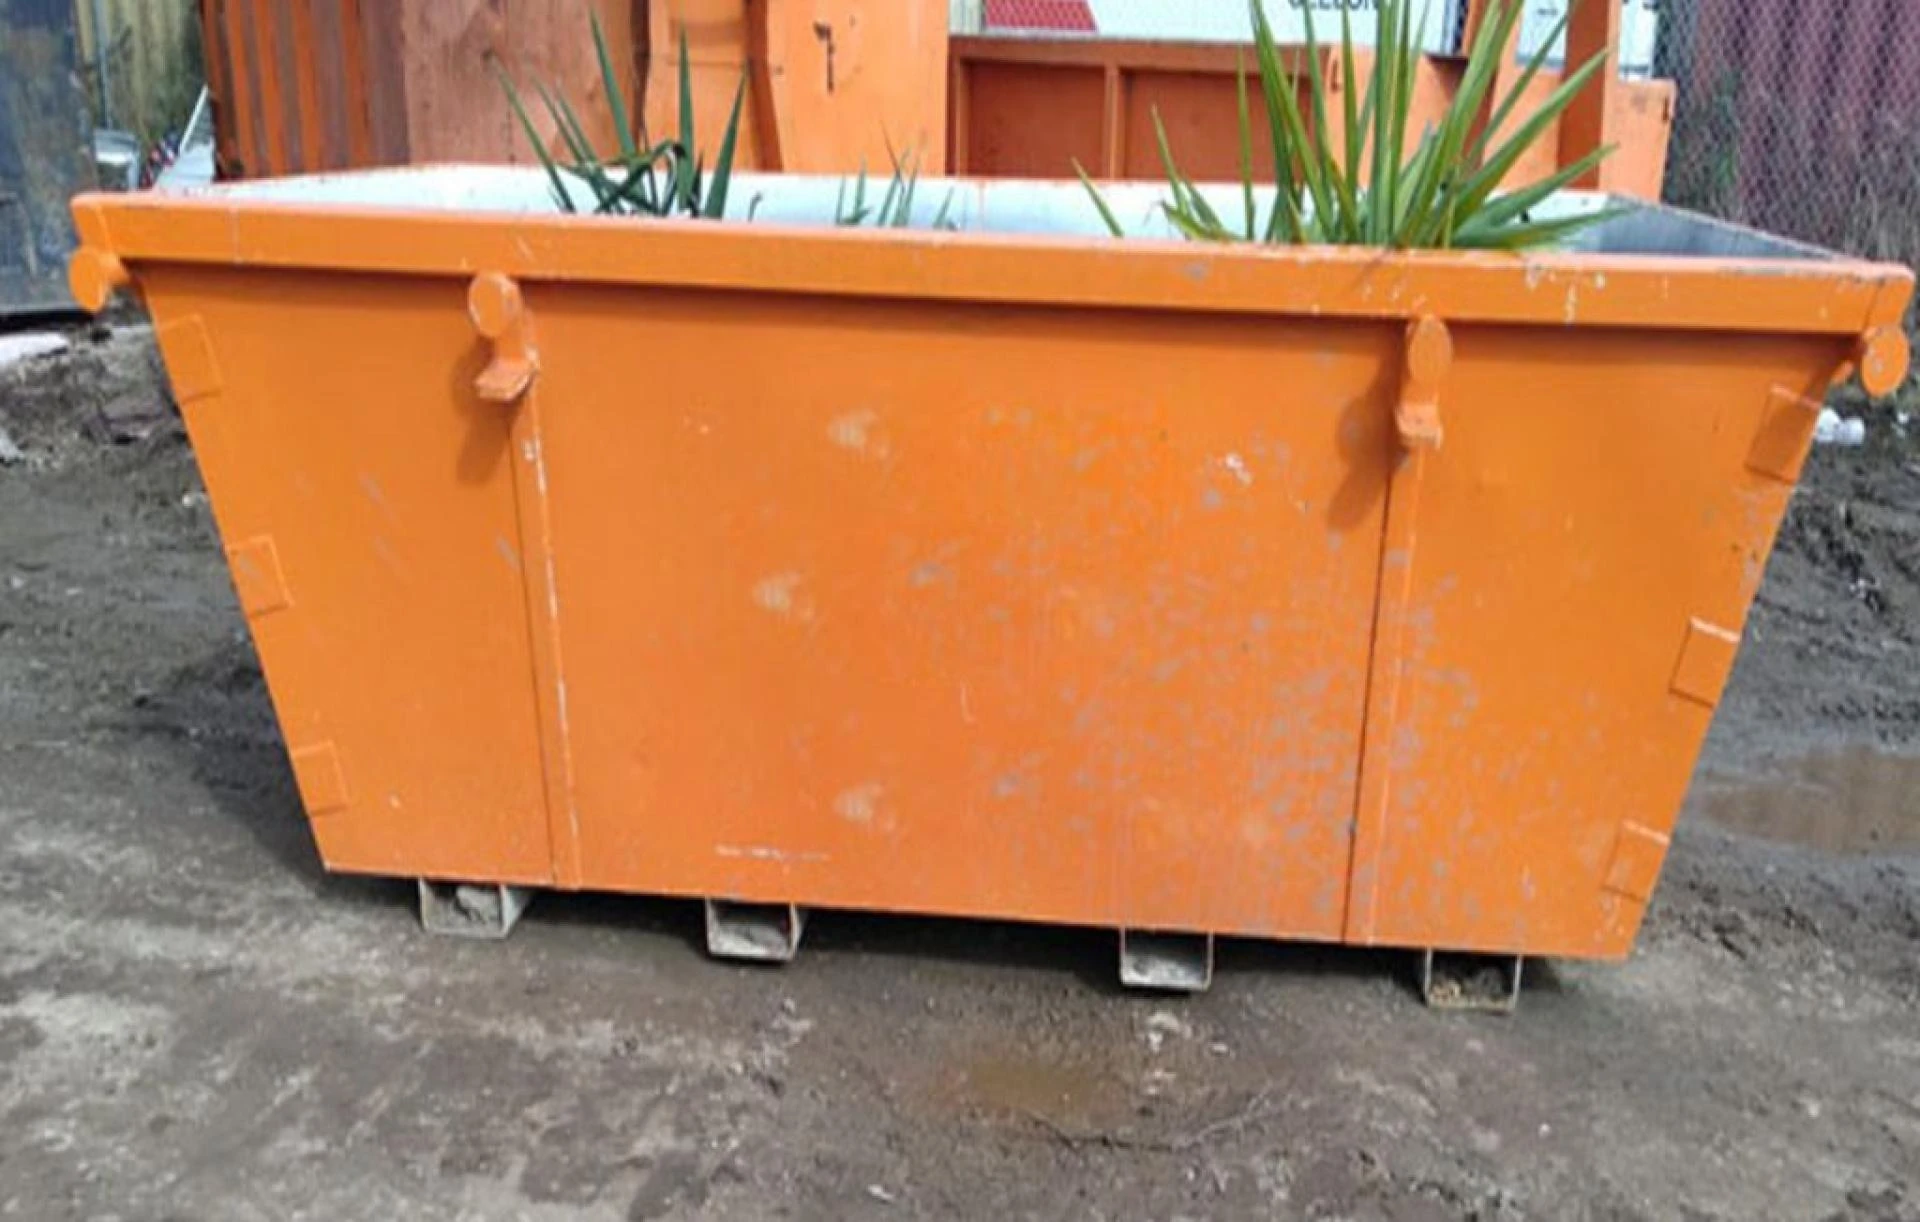
Step 2: Choose the Right Skip Bin Size
Once you have a rough idea of your waste volume, it's time to select a skip bin size. Ordering a bin that's too small will leave you with leftover waste, while a bin that's too big is a waste of money. Most companies offer a range of sizes, from small bins perfect for a backyard tidy-up to large ones suitable for commercial landscaping projects.
- Small (2-4 cubic meters): Great for a light spring clean, such as a quick trim of a few hedges and raking up leaves.
- Medium (6-8 cubic meters): Ideal for more substantial projects like a complete garden bed clear-out, pruning multiple large trees, or a full backyard makeover.
- Large (10+ cubic meters): Best for major landscaping jobs, large-scale tree removal, or clearing out extensive properties.
When in doubt, it’s often better to go one size up. You'll thank yourself for having the extra space rather than having to deal with the stress of an overflowing bin.
Step 3: Efficiently Load Your Green Waste Skip
This is where you can save a lot of time and maximize the space in your bin. A little strategy goes a long way.
- Break It Down: Use a saw, secateurs, or a chipper to break down larger branches and woody cuttings. The smaller you can make them, the more you can fit in. Long, straight pieces of wood are excellent for creating a base layer.
- Place Flat Items First: Lay larger, flatter items like pieces of untreated timber or turf at the bottom. This creates a solid foundation and prevents smaller debris from falling through gaps.
- Use the “Tetris” Method: Place large, bulky items (like thick branches) strategically to fill empty spaces. Avoid simply tossing everything in randomly, as this creates air pockets and wastes valuable space.
- Shred and Compress: For leafy waste, grass clippings, and smaller twigs, use a garden shredder if you have one, or simply press down on the contents of the bin to compact them. This can dramatically increase the amount you can fit.
Remember, never overload the skip bin past its designated fill line. Overloaded bins are a safety hazard and can incur extra fees.
Step 4: The Clean-Up & Final Touches
With your green waste skip bin filled and your garden looking pristine, your spring clean-up is almost complete. A final sweep of the area to collect any stray leaves or debris will make all the difference. Enjoy the feeling of accomplishment and the sight of your renewed outdoor space.
Sum Up
By using a dedicated green waste skip, you've not only saved yourself countless trips to the tip but you've also contributed to a more sustainable future. Your green waste will be recycled into nutrient-rich compost, ready to be used again.
For your next spring clean-up, trust the experts at J&J Skip Bins to provide you with the perfect solution for all your green waste needs. Happy gardening!


Sign in to leave a comment.