Pick Your Grain Pattern
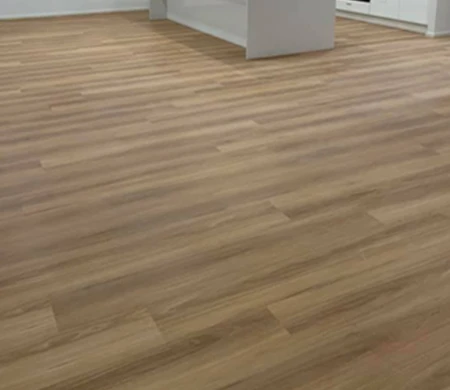
Logs are cut in three different ways—plain-sawn, rift-sawn, and quarter-sawn—which yield three different grain patterns. Plain-sawn produces traditional wood grain, with undulating patterns known as cathedrals. “It’s exactly what you think of when you hear the term wood grain,” says Caroll.
Rift-sawn boards, by comparison, feature a long, linear, consistent grain, without cathedrals. Quarter-sawn boards look similar to rift, but have additional irregular figuring “with iridescent, almost 3D rays that strike out across the plank,” says Caroll. “That can be very desirable, or not, depending on what you’re looking for.”
In most cases, Timber flooring is sold as plain-sawn, or as rift- and quarter-sawn mixed together. “The mix is nice because it gives you some of that figuring but doesn’t overdo it,” says Jones. However, it is possible to source exclusively rift-sawn wood or quarter-sawn wood, if desired.
There’s no good or bad when it comes to wood grain, says Miller. “It just depends on the application, and what you desire. In a more rustic property, we might use plain sawn; in the city, we might use quarter sawn to add a bit of life.”
Determine Plank Width
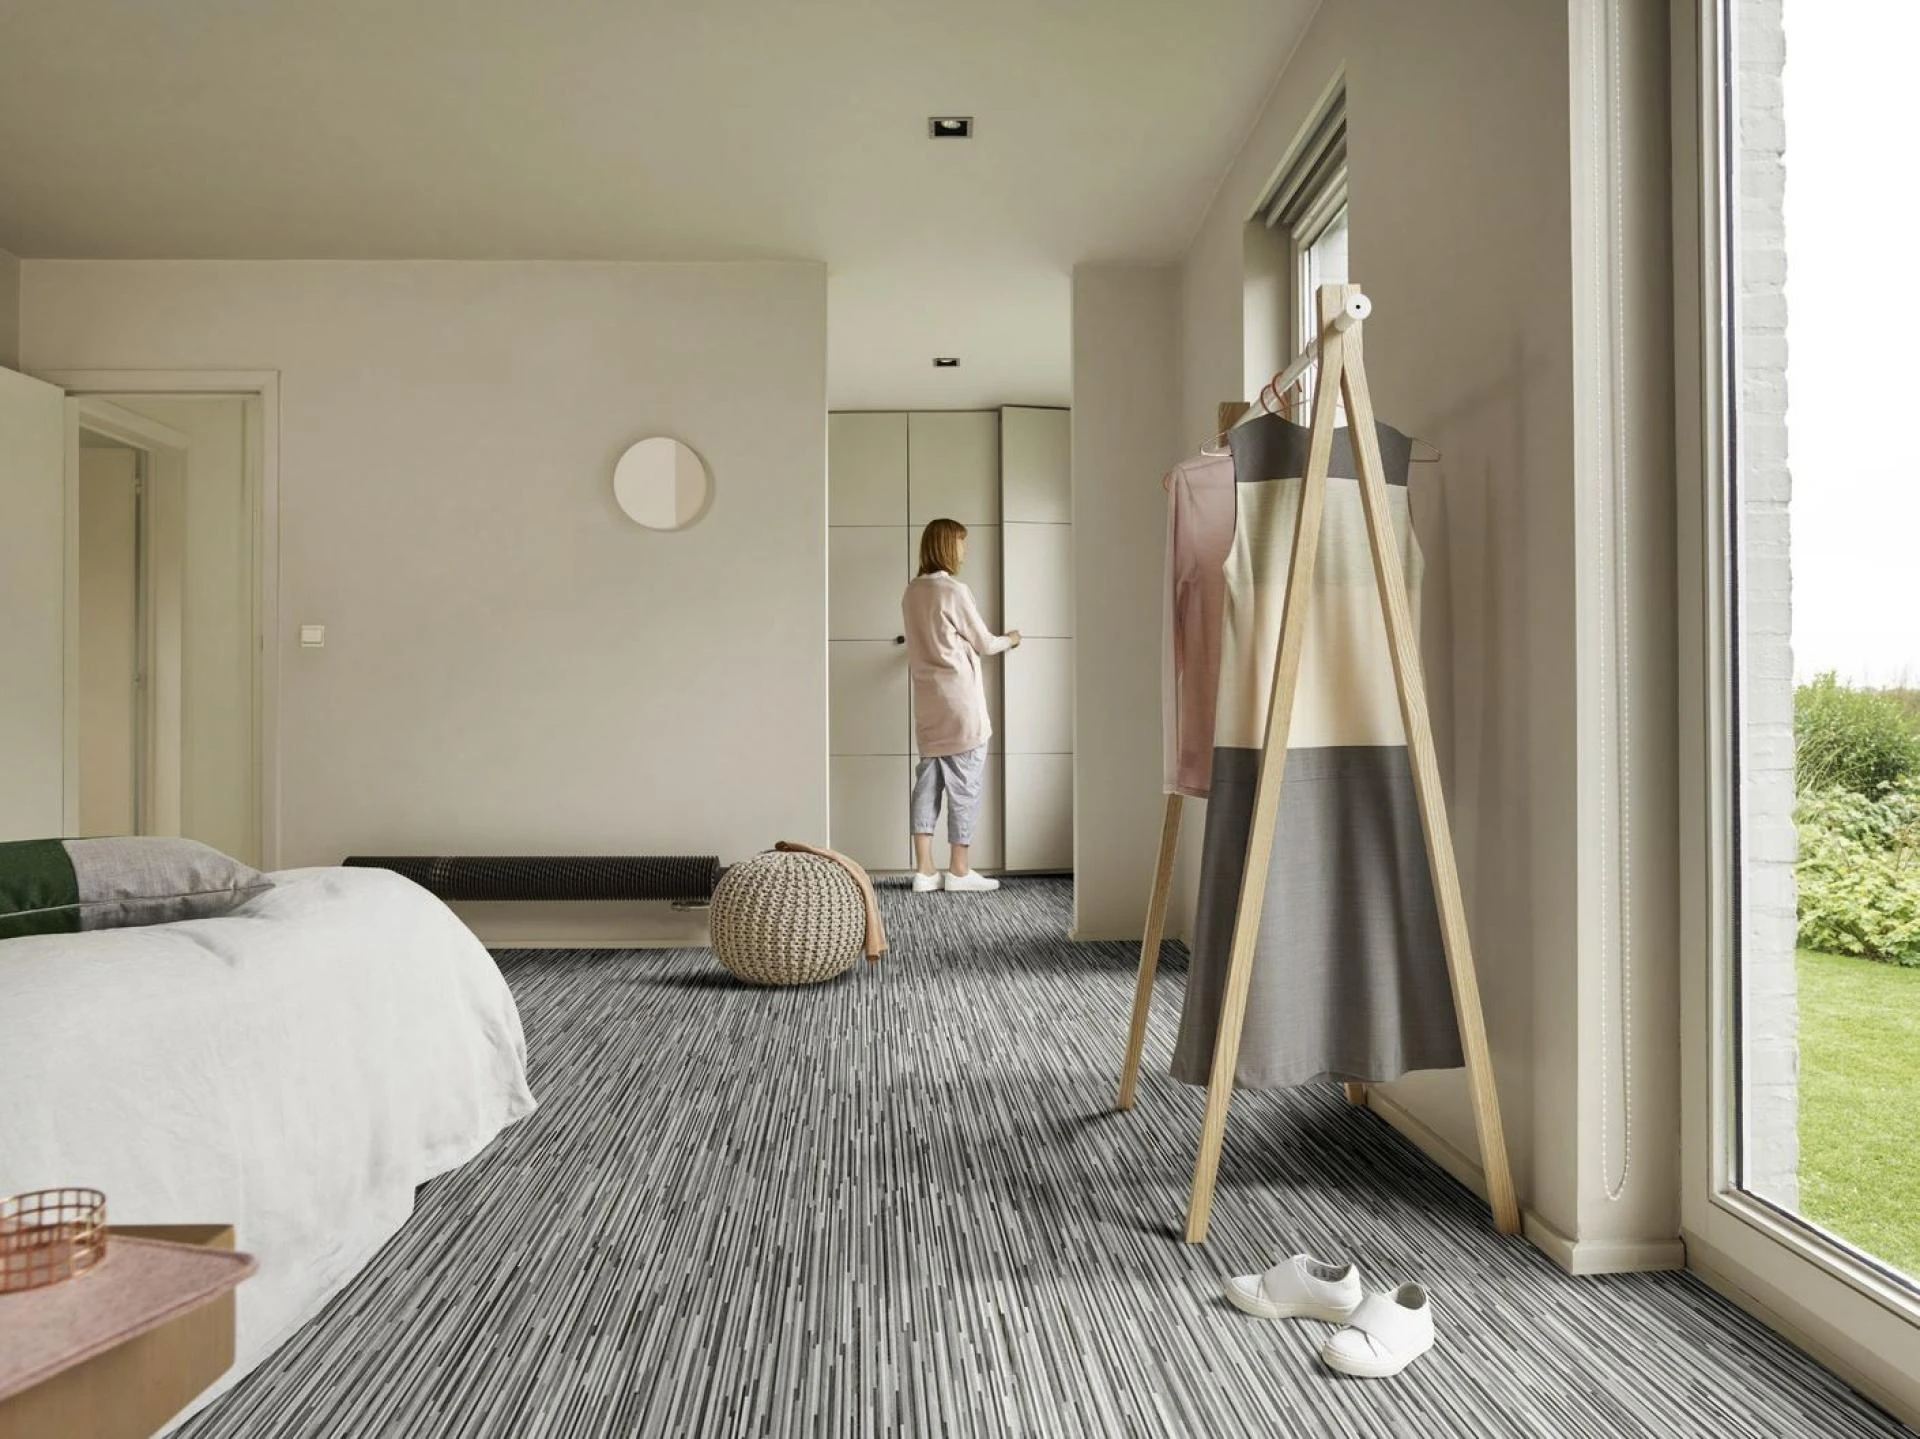
Although there was a time when it seemed that almost all solid timber flooring was installed in two- to three-inch strips, many people now use wider planks. “There’s a sense of luxury and expense associated with a wider plank,” says Miller. “Once you exceed the norm, it starts to feel special.” That’s why “a four- to six-inch plank is our standard specification, depending on the size of the room and the application,” she says, noting that, generally, the more expansive the room, the wider the plank they’ll choose.
At LV Wood, “seven inches has become our standard wide-plank floor,” says Caroll, and sizes go up from there. However, he adds, wider planks don’t just look more expensive—they are more expensive. “The wider you go, the more spendy you get.”
While a floor composed of wide planks will have fewer seams than a floor of thin strips, it’s important to be aware that those seams may eventually become more prominent as the wood expands and contracts. Because changes in the wood aren’t distributed across as many boards, the movement may appear exaggerated.
Install the Flooring
Begin by rolling out the underlayment, if it’s needed. Pastrana says to lay floor pieces parallel to the longest wall in the room. “Begin on the left side and work right, with the small tongue side facing towards you,” he says. “Use spacers between boards and walls to allow for expansion.” Follow the manufacturer's directions for the appropriate timber flooring installation method.
If you are using a pneumatic nail gun, drill pilot holes and face-nail the first few rows until there’s room for the nail gun.
Boxes or bundles can differ slightly in color. Mix boards from different boxes to create a random look and make sure that the finished floor doesn’t have lighter or darker patches.
Add the Finishing Touches
“The finishing details can make or break the success of a professional-looking job, so don’t cut corners here,” says Pastrana, who notes that you may need to cut boards lengthwise for the last row. Once you are nearly finished, “trace for contours to be cut and fitted according to the timber flooring installation guide.” When all rows are installed, remove the spacers and attach trim and moldings.


Sign in to leave a comment.