
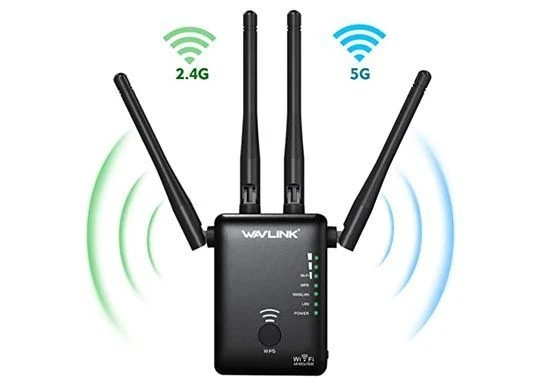
Is your internet creating trouble for you and you desire to get a better network connection across your space? Desire to add wavlink AC1200 to your current network? Are you new to networking? If the answer to the all above questions is yes then you reach the right page by reading the further section of this article you will be able to know how to complete the wavlink AC1200 setup. You can follow the steps specified below as mentioned to complete the configuration by yourself without any difficulty. The setup process begins with the installation of the device hardware. The process ends with the test of the network. Without any further ado let begin the step by step instructions on the setup process.
Placement Of The Device
First of all you have to place the device closer to the host networking device. Proximity placement is needed to set up the wavlink AC1200 device. After the placement of the device you can move further in the wavlink AC1200 setup process. Also make sure not to place the device in the corner or next two thick walls. Further, do not place it closer to the radio frequency devices and heavy metal objects. These devices and objects may restrict the device signal which may create trouble for you.
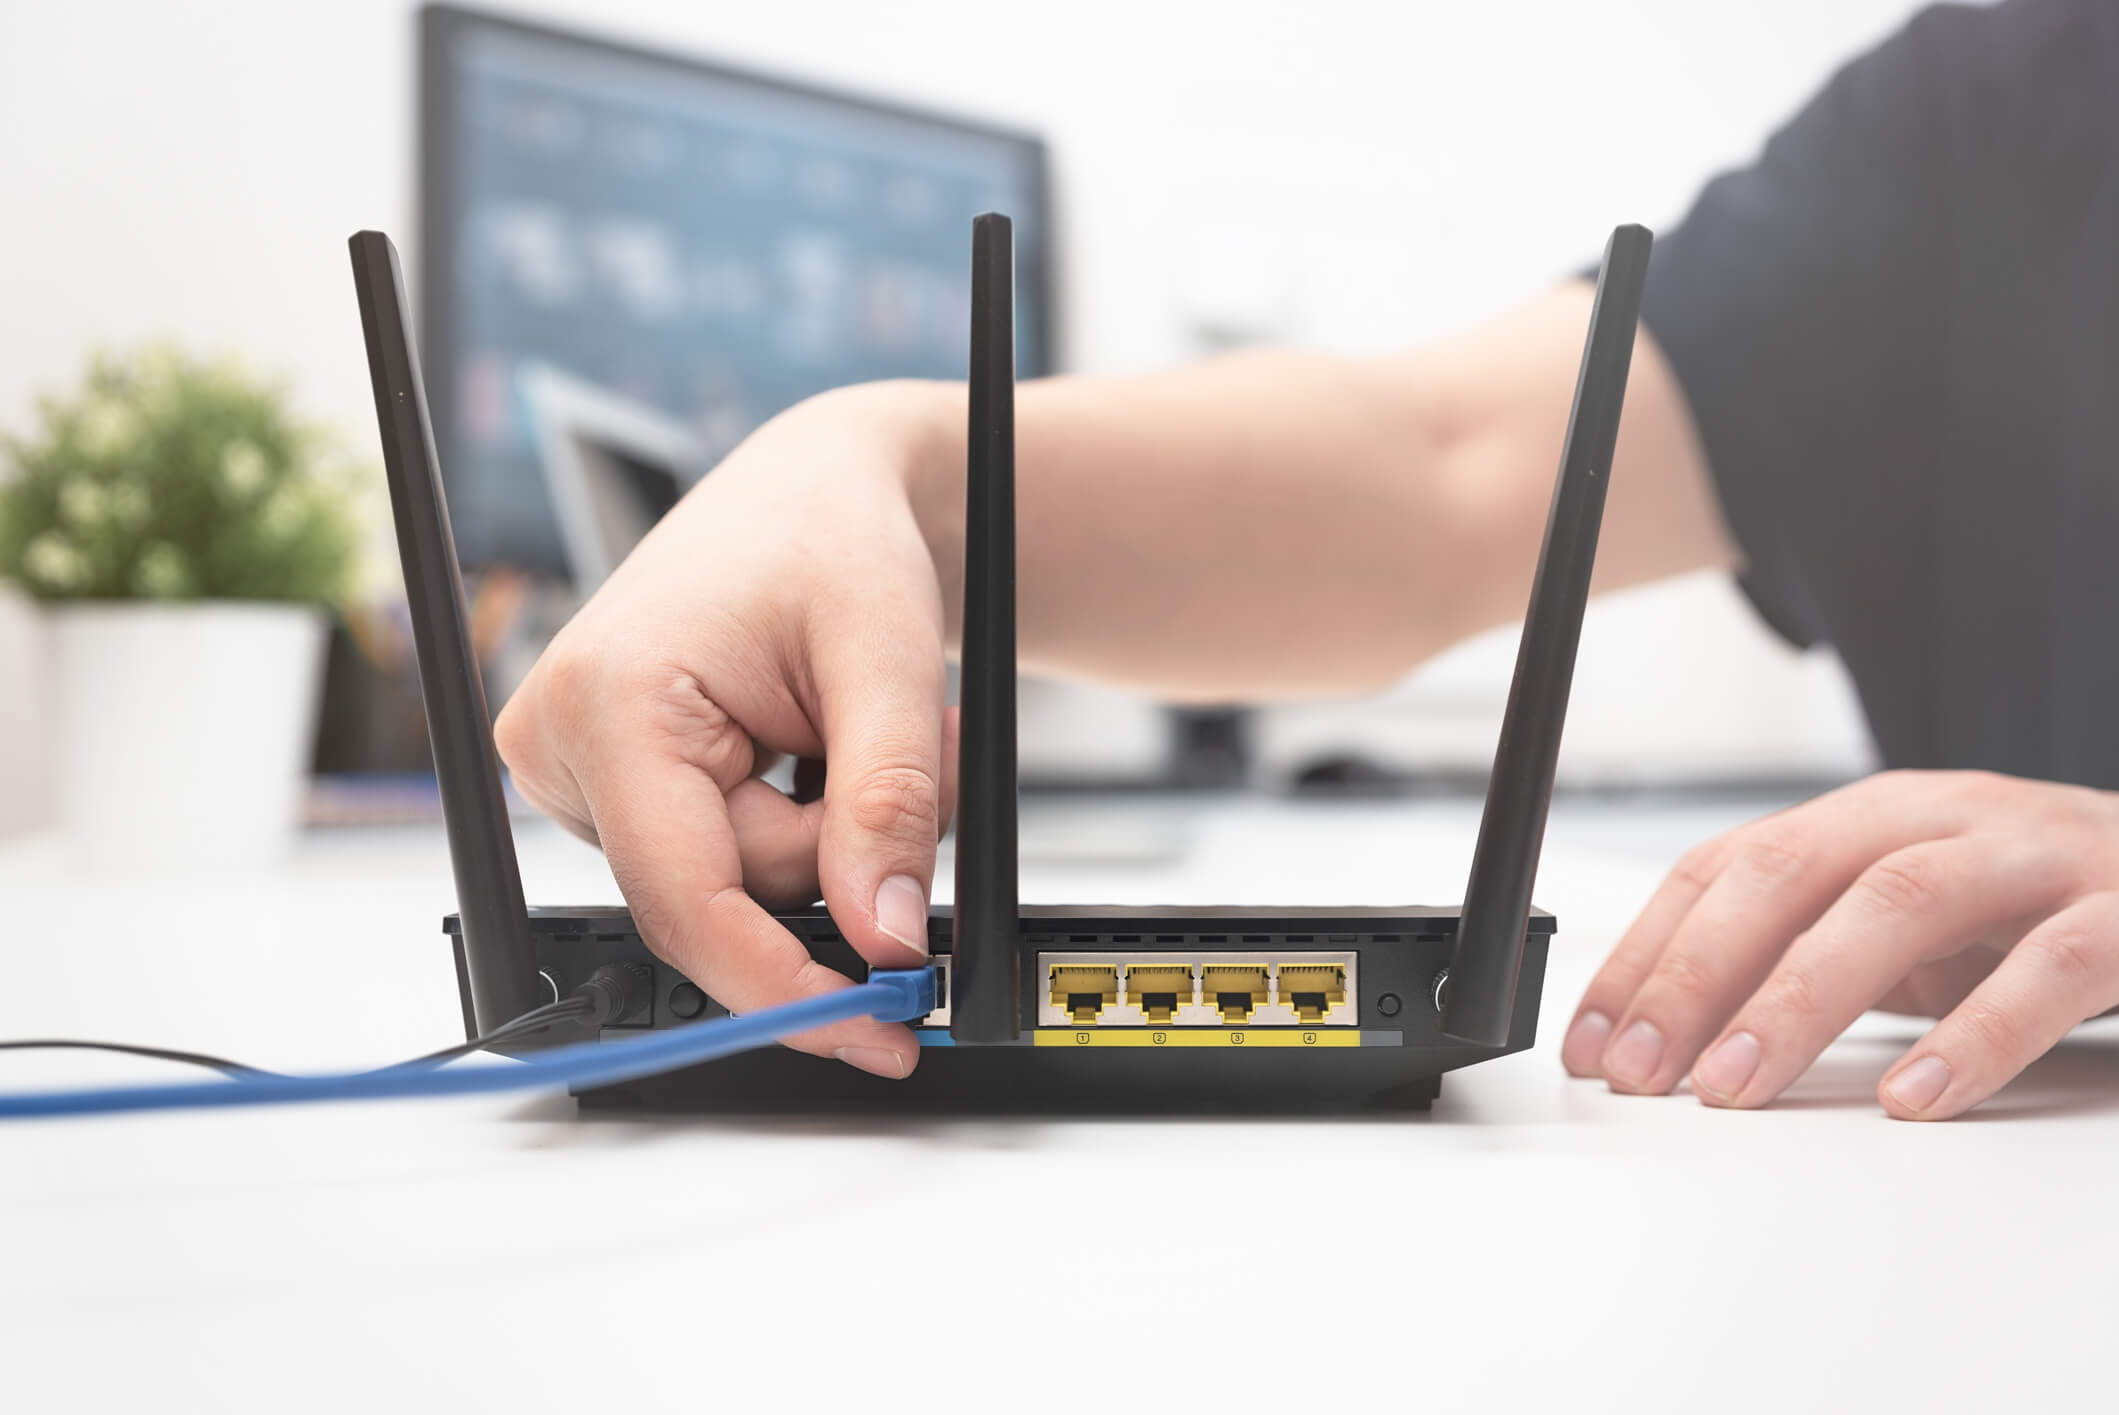
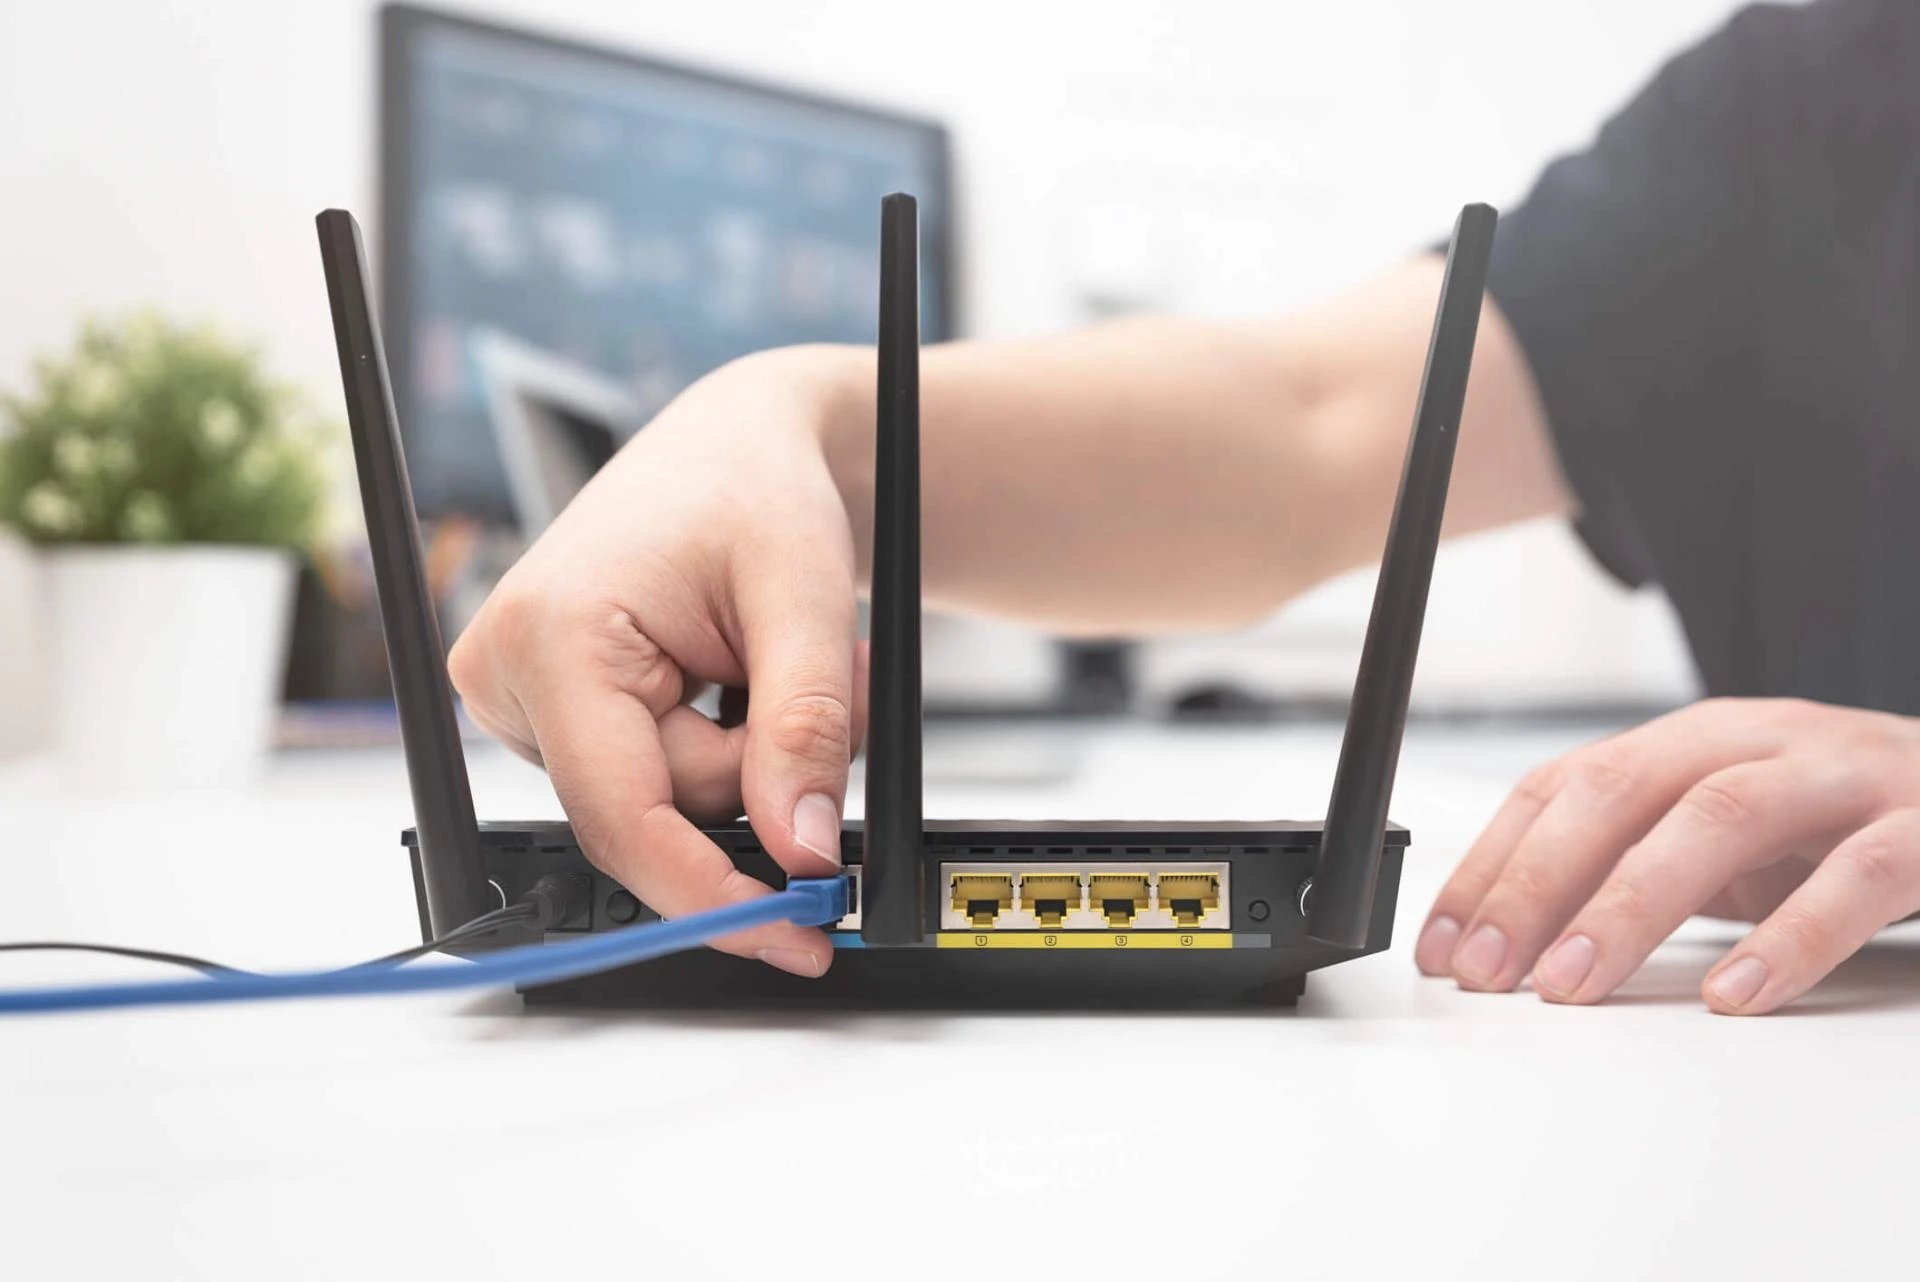
Connect wavlink To Host Network Device
Strapping further in the process you have to connect your wavlink AC1200 device to the host networking device using the ethernet cable. Inject the ethernet cable in the Ethernet port on both the devices for connection.
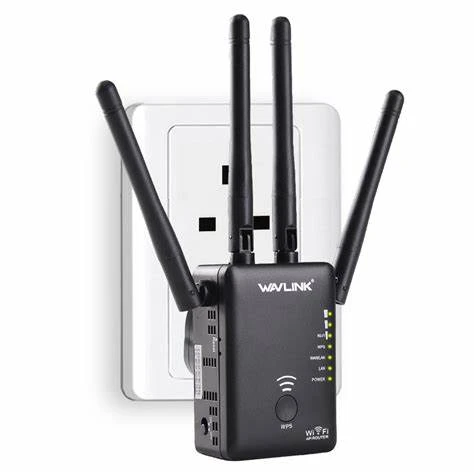
Power Up The Device
Now you have to power up your device by connecting the power adapter to it. After connecting the adapter to the wavlink device you have to connect it with the power source. Turn on the electric power and wait for the device to turn up. The LED on the device will help you in knowing whether the devices start up properly or not.
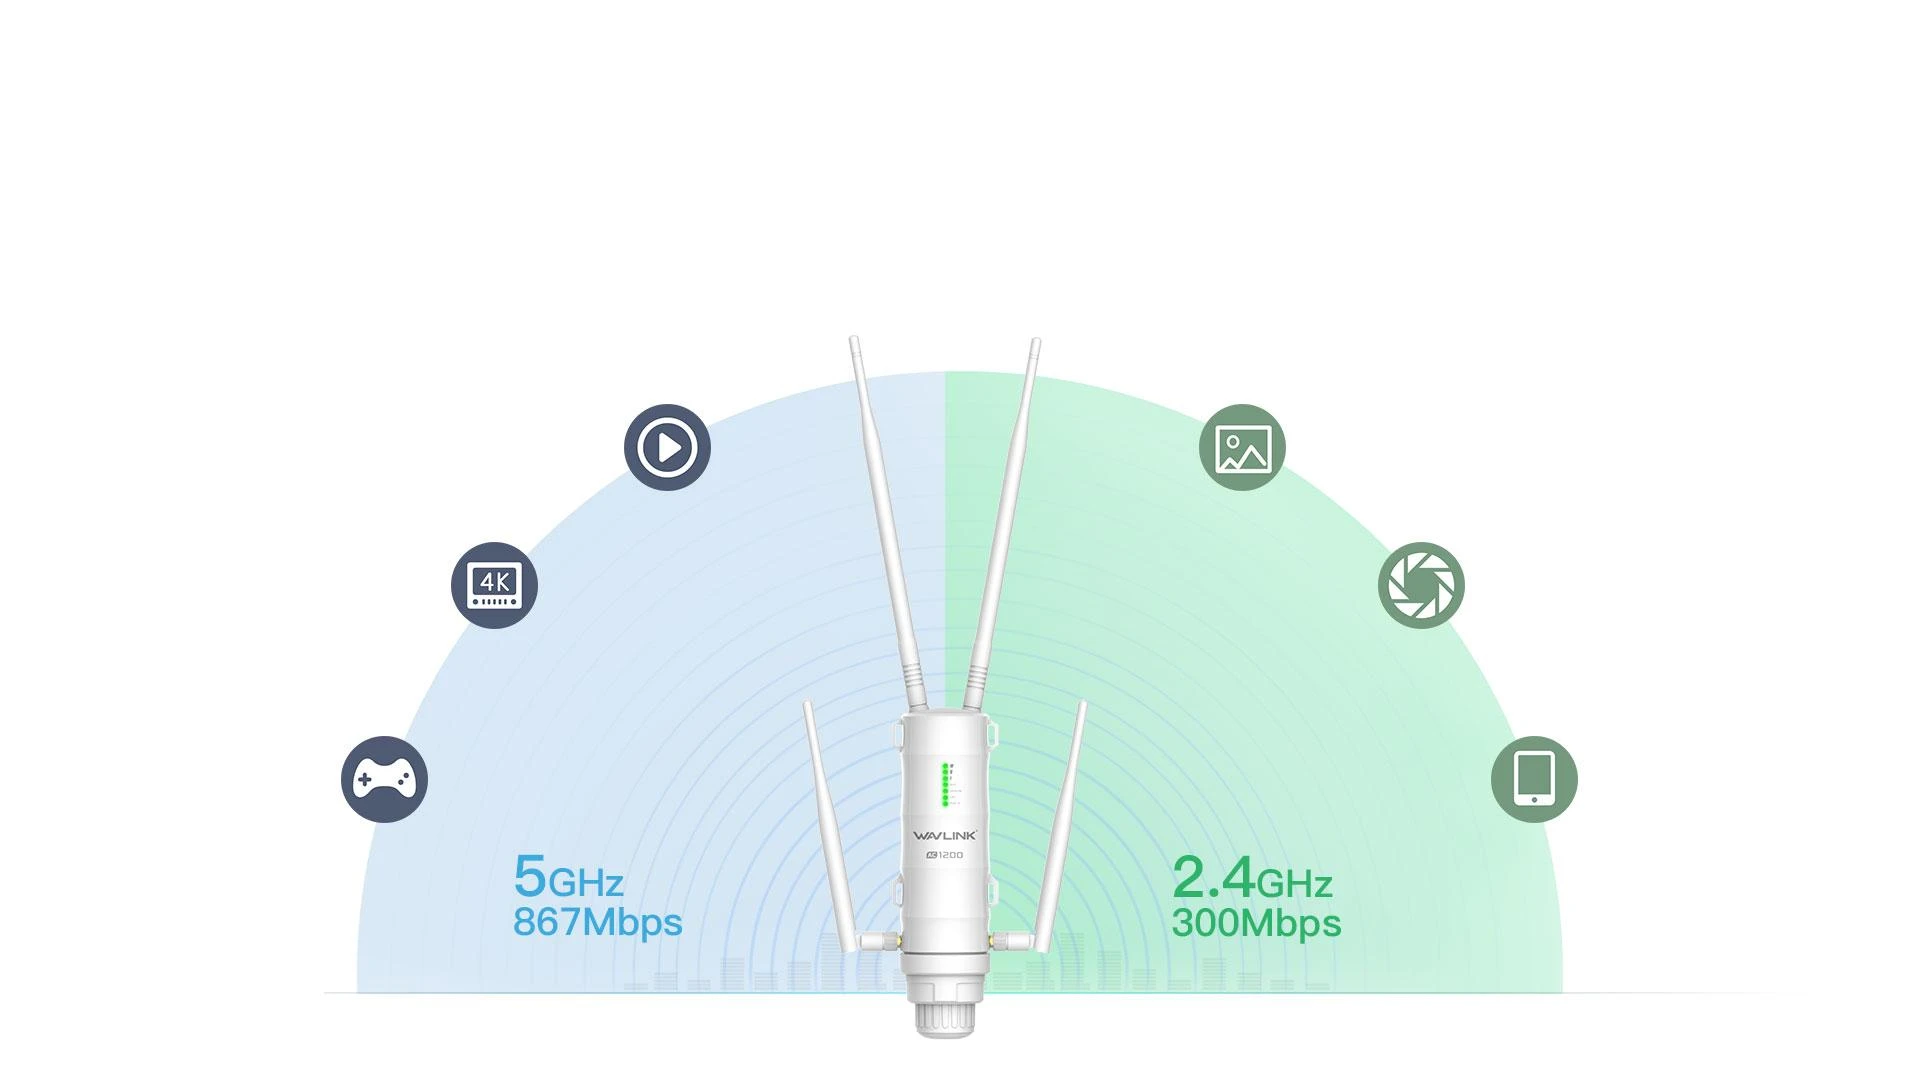
Connection To Wavlink Network
Now you have to select a client device which you have to connect with the wavlink network. This connection can be done by using the ethernet cable. Also you can use the wireless network details (standard) for connection. For wireless connection you have to access the wireless settings on your client device. Search for the standard network name and enter the standard password as specified on the device label. Entering the details click on connect option.
Open The Web Interface
Step further in the process you have to access the web interface. Make sure the browser you are using is the updated version of the browser. An outdated browser may create trouble in accessing the setup page. Also you have to clear the cache and cookies from the browser. To get access to the web interface you have to launch the web browser. In the homepage of the browser you have to go to the URL bar. Here you have to specify the web address or IP address to reach out the page.
Access The Admin Account
Once the page appears on the screen you have to get access to the page to start the Wavlink AC1200 setup. To get the access you have to enter the login credentials. Use the standard login details which is admin and password for username and password. As you get the access you can start the configuration.
Configure The Device Settings
Now you have to step further and start the configuration of your device. You can make changes in the admin account username and password, wireless network name and password, firmware update and other important changes.
Save The Setup
After making all the important changes you can save the settings by clicking on save option. Now wait and let the device apply the changes made by you. During applying the changes the device may start several times so don't worry just say back until your device boots up properly.
Test The Network
Once the device configuration is done you can test the network using a smartphone. Take your smartphone and connect it with the wavlink AC1200 Network. Connect by using the new password and id. After connection you have to play an online video from different locations of your space. This will help you in checking this strength of the signals in different locations of your home.
Conclusion
From the crux of the above description I would like to conclude that the wavlink AC1200 setup is not a difficult task to perform when you know exactly what to do. By reading the above mentioned steps you can easily perform the setup. In case of any issue you are facing while applying all the above steps you can contact technical experts. An expert can guide you better where you are making mistakes and help you in resolving the issue as well.
Sign in to leave a comment.