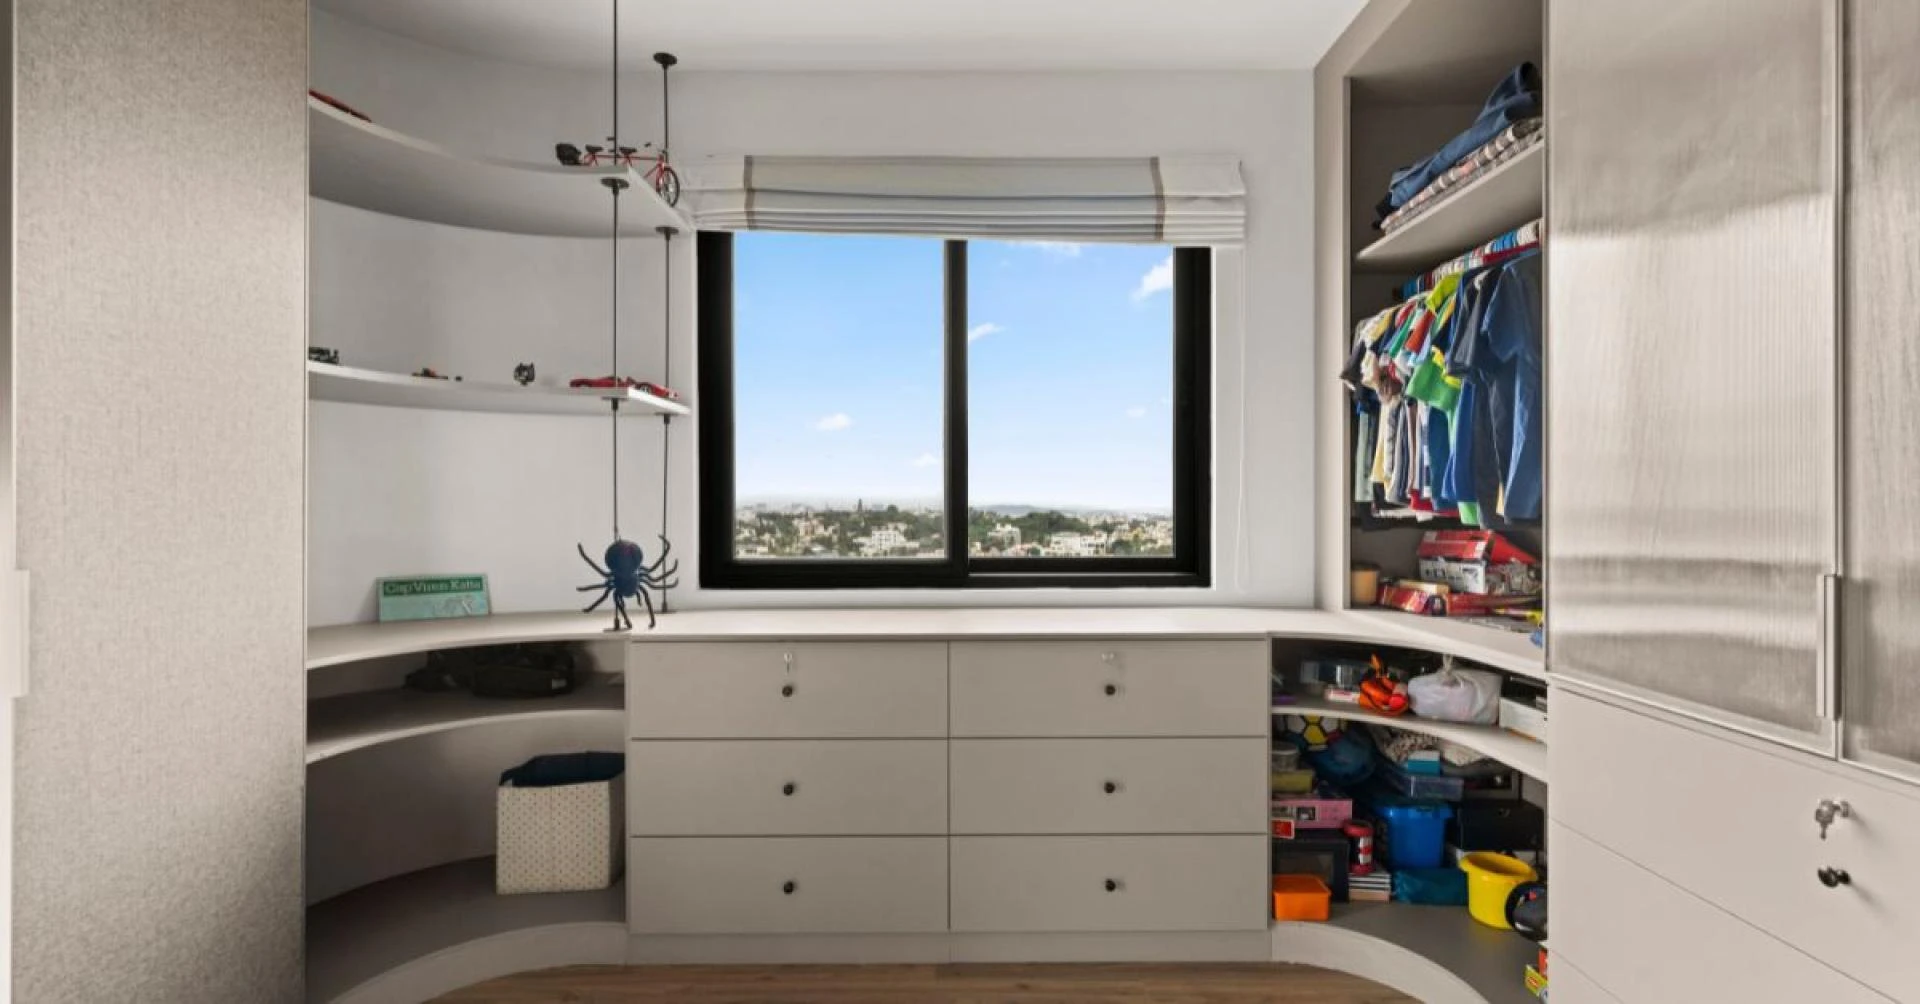
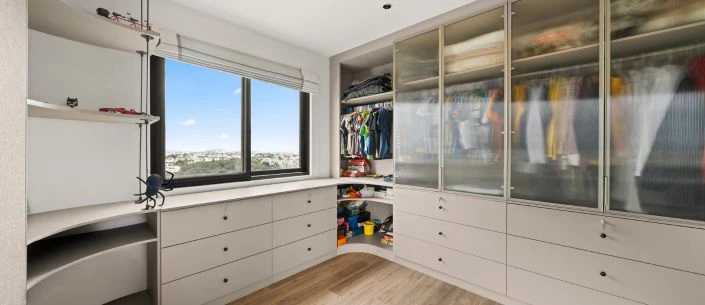
Well-fitted wardrobes add both style and functionality to the home storage system. It is true that the advice of measuring twice and cutting once is really worth it, as it makes a perfect fit to use the most out of the awkward corners and turn them into nice and useful areas. These wardrobes, such as the Floor to ceiling wardrobes, offer a custom-designed wardrobe that occupies all available space. Whether you're eyeing Bespoke wardrobes Hockley or the spacious Walk-in wardrobes styles, a pro-level outcome is what you get with simple planning and consistent practical work. To learn more about it, we will get into this informative piece and know how one can achieve a professional finish like a pro!
Planning and Preparation: The Foundation of Success
Get started by clearing out the area entirely to spot any issues early. Remove old bits and pieces so you can check everything accurately without distractions.
Take measurements from several spots – heights on each side and widths top to bottom. Go with the smallest numbers for a tight fit, which matters a lot for floor-to-ceiling wardrobes on uneven surfaces or sloped tops found in many houses.
Factor in details such as skirting, outlets, and door paths. Marking the outline with tape on the floor helps you picture the set-up and fix any problems upfront.
Building a Sturdy Framework
A strong base keeps the wardrobe reliable over time. Assemble the panels for sides, top, and base, a touch shorter than needed, so they go in smoothly.
Anchor it well to walls, floors, or ceilings with suitable hardware. For drywall, grab heavy-duty anchors to hold firm. In spots perfect for walk-in wardrobes in Essex, this creates a steady frame and opens up clever storage in odd nooks.
- Always use a level to check alignment at each stage, preventing leans that might cause doors to jam or shelves to droop later on.
- Cut back carpet where you fix down, attaching straight to the solid floor for better stability and no shaky feel.
- Install dividers inside from the beginning to organise sections, making it easier to sort clothes or accessories without overlap.
- Scan for hidden pipes or cables before drilling to avoid surprises that could halt progress or require fixes.
- Pick materials that suit your home's look, so the structure supports loads while fitting in nicely with the surroundings.
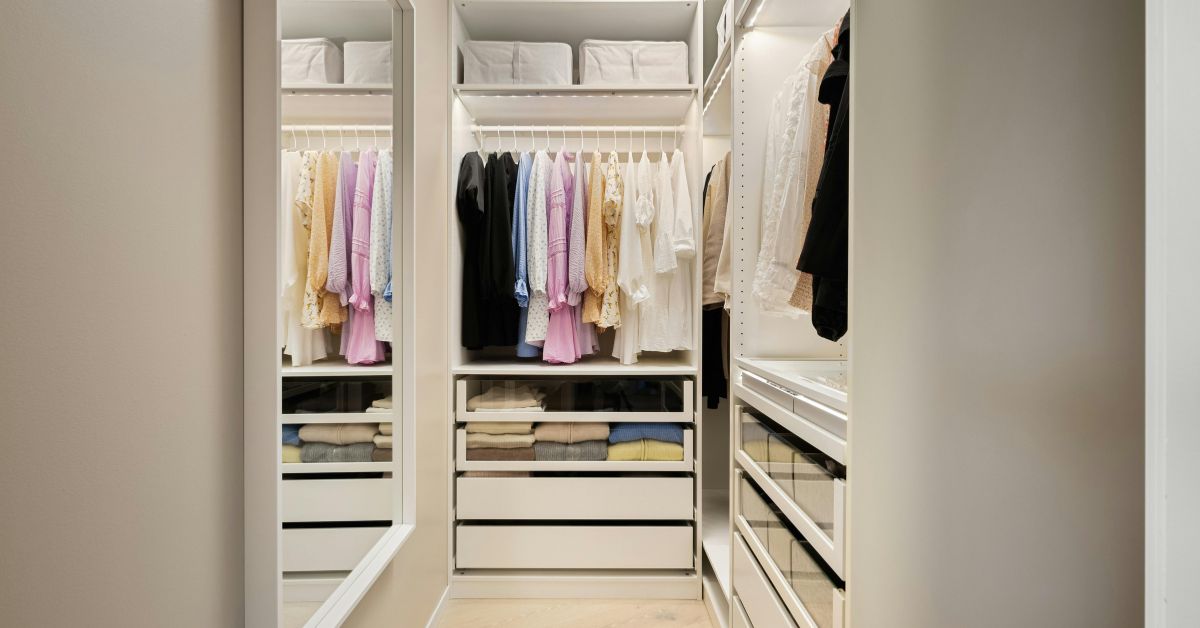
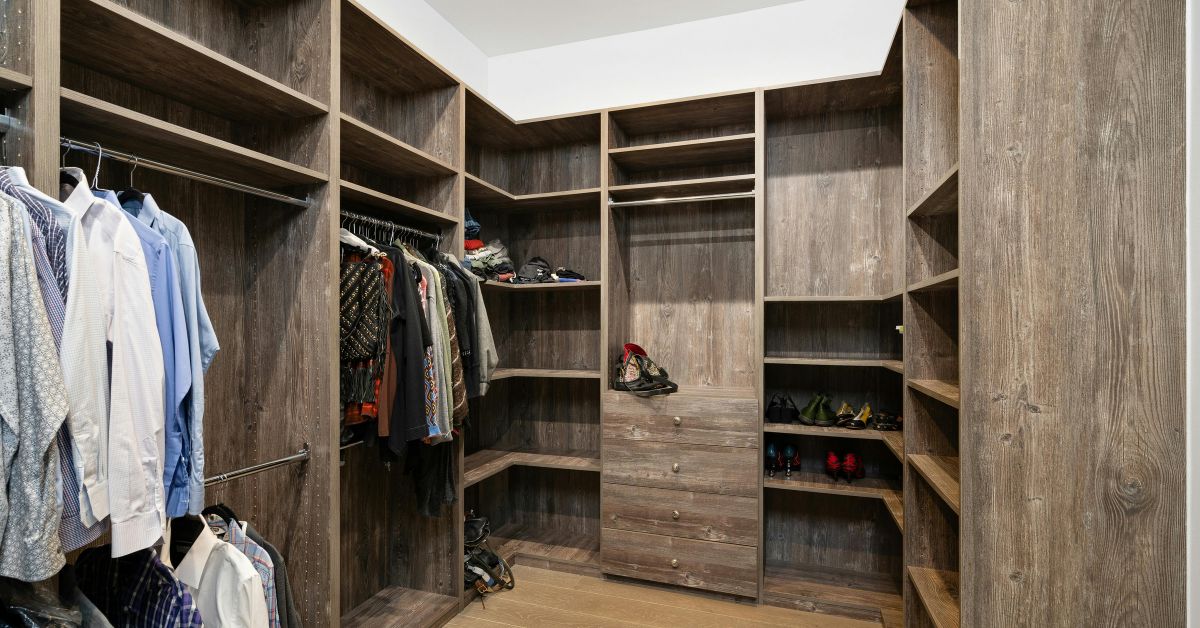
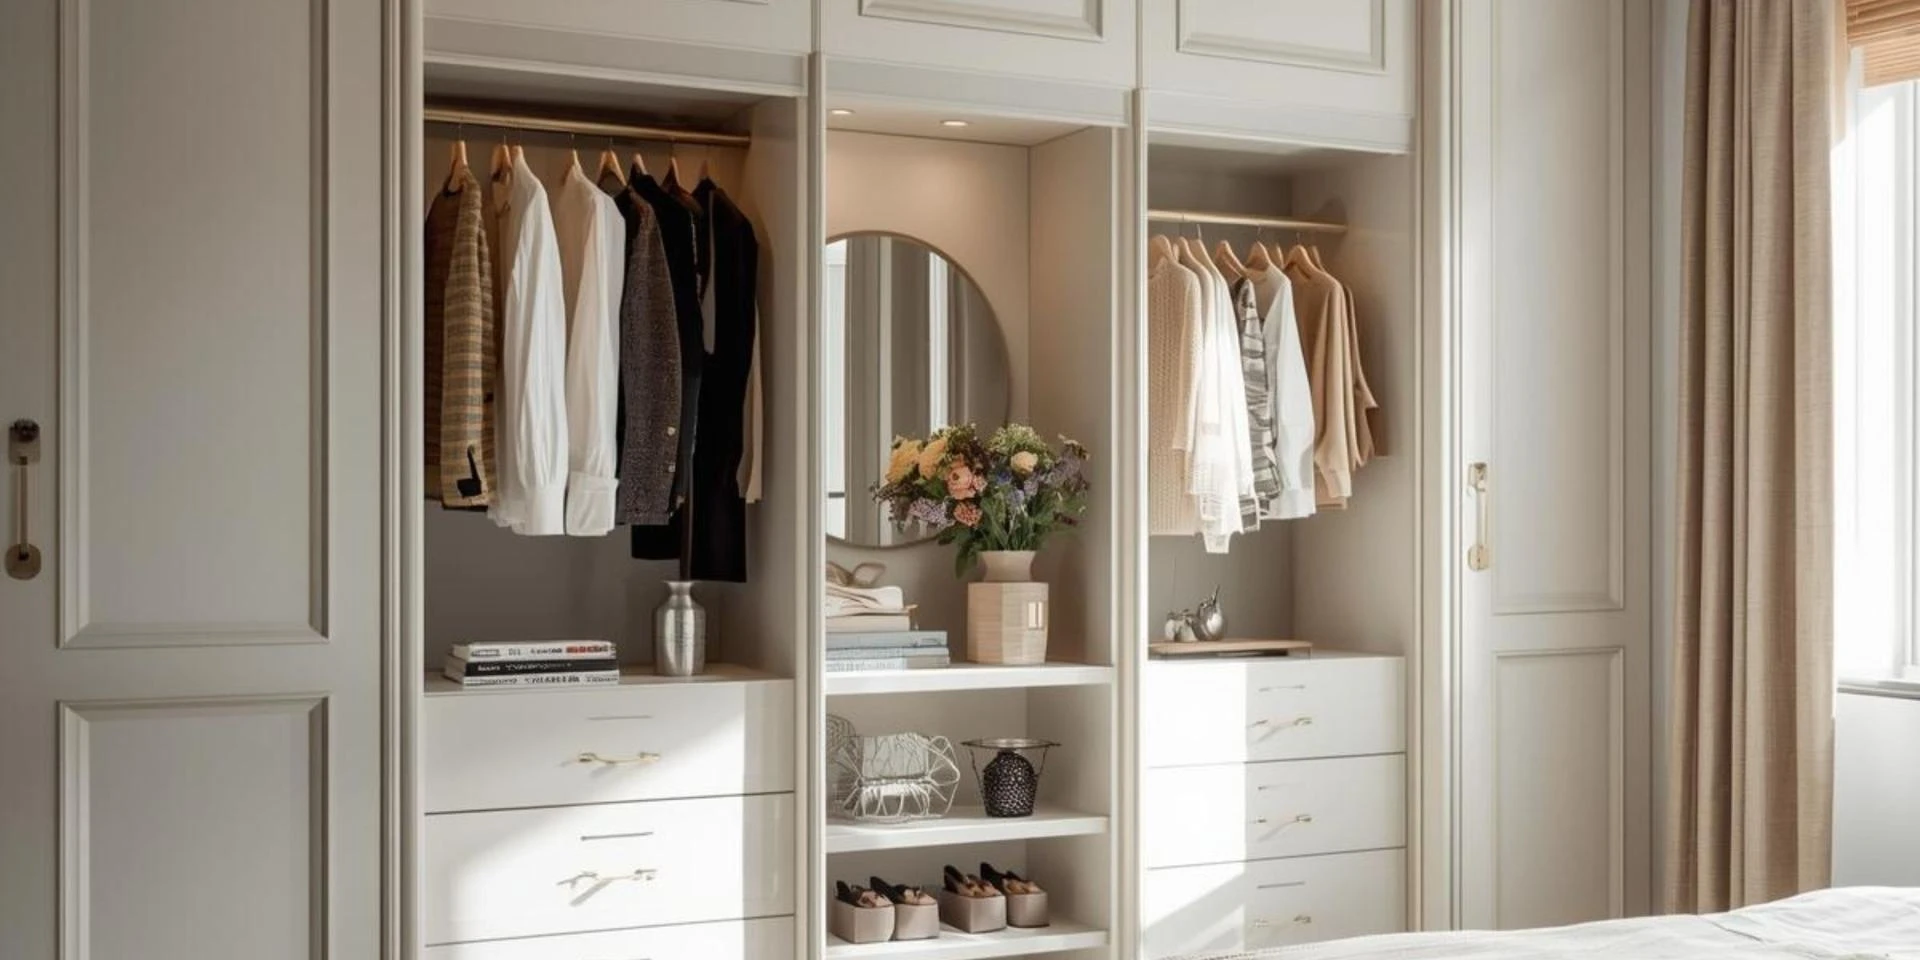
Adding Doors and Internal Features
Now that the frame's up, add doors – sliders for small rooms, hinged ones for bigger ones. Line up the tracks just right for effortless sliding, adjusting for any floor dips.
Fit internals like rails, shelves, and drawers to match your routine. Extras such as shoe trays or tie holders boost usability, especially in bespoke wardrobes and Hockley arrangements.
If you're after Fitted furniture near you, custom touches can transform a plain spot into a practical dressing area.
Achieving a Seamless Professional Finish
The little details make it look expert. Trim panels to follow wall shapes, using strips to cover gaps neatly.
Sand well before finishing with paint or stain that blends with your décor. Seal joints and add mouldings for a crisp result. Lights inside highlight depths, blending convenience with elegance.
- Sand edges smoothly to prep for even coating without bumps.
- Layer on quality finishes, drying each fully to prevent runs.
- Clean off dust and smudges for immediate, fresh use.
This approach takes floor to ceiling wardrobes from basic to beautifully refined.
Final Thoughts
Fitting wardrobes calls for careful steps, but the benefits – smart space use, lasting quality, and a clean vibe – make it rewarding. From compact units to full walk-in wardrobes Essex, these tips create durable results. For tailored pieces done right, specialists like Fine Measures offer skilled work that brings your plans to life. Visit them today and explore more on their website!
FAQ Section
Q1: What are the reasons behind measuring multiple times?
Measuring from different points ensures a snug fit, especially on uneven walls or floors, avoiding gaps and making the wardrobe stable for years without adjustments.
Q2: What is the key to a strong wardrobe frame?
Securing to studs with proper anchors builds reliability, while checking levels prevents tilts, and choosing matching materials helps wardrobes blend seamlessly into your home.
Q3: How to get a pro finish when installing wardrobes?
Sanding smooth, sealing joints, and adding lights create that polished look, turning functional storage into an elegant feature that enhances the room's overall feel.


Sign in to leave a comment.