
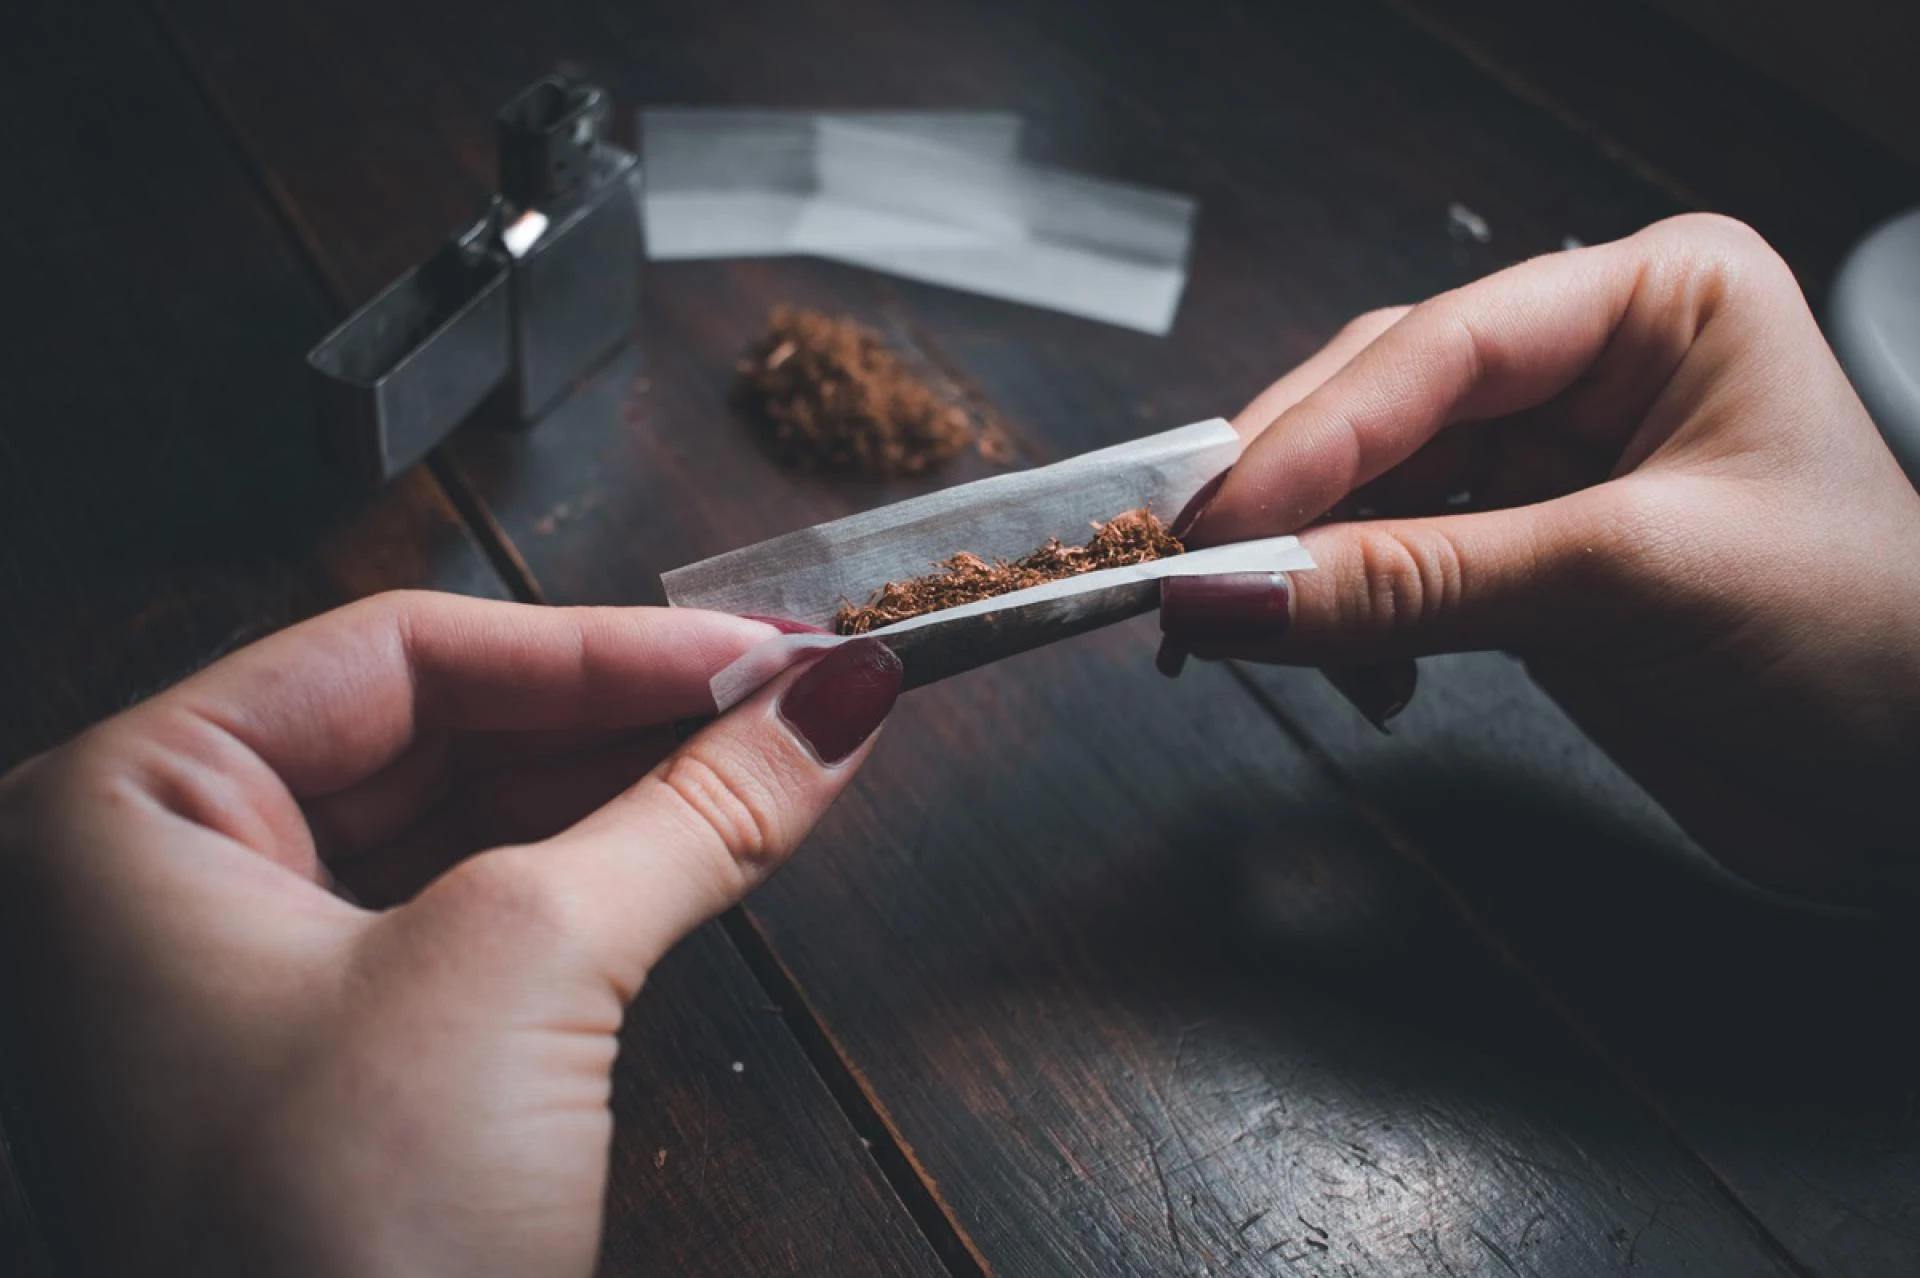
Tattooing is a painful process that requires a high level of tolerance as the needles penetrate the skin. However, tattoo numbing creams can help alleviate the pain significantly. Numbing creams are applied topically to the skin, and they work by blocking the pain signals from the nerves to the brain. In this blog, you will explore the steps of applying CS lab numbing cream
during a tattoo session.
Applying The Numbing Cream During the Tattoo Session: Follow These 6 Sequential Steps
Here listed below all the six sequential steps that you must follow while applying the numbing cream
Step 1: Cleanse The Skin
The first step to applying CS lab numbing cream is to clean the skin thoroughly. This is crucial to make sure that the skin is free of debris or oil that could reduce the numbing cream's potency. To cleanse the skin, you can use an alcohol wipe or a small amount of soap and water.
Step 2: Apply The Numbing Cream
Once the skin is clean, apply a thin layer of the numbing cream on the area to be tattooed. It is important to apply a thin layer to ensure that the cream is absorbed by the skin and does not interfere with the tattooing process. Use a clean cotton swab or your finger to apply the cream evenly over the area.
Step 3: Cover The Area
Cover the area with plastic wrap after applying the numbing cream. This helps to keep the cream in place and prevent it from evaporating. It also helps to enhance the effectiveness of the cream by allowing it to penetrate the skin deeply.
Step 4: Wait For The Deep Numbing Effect
It takes the numbing cream thirty to forty-five minutes to start working. During this time, you can relax and mentally prepare for getting inked. It is vital to remember that while the numbing cream considerably lessens the pain, it does not entirely eradicate it.
Step 5: Remove The Plastic Wrap And Wipe Off The Excess Cream
After the numbing cream has taken effect, take off the plastic wrap and use a fresh tissue or cotton pad to remove any leftover cream. To keep the excess cream from getting in the way of the tattooing process, it is critical to remove it.
Step 6: Begin The Tattooing Process
After wiping off the excess cream, the tattooing process can begin. The numbing cream should have reduced the pain significantly, but you may still feel some discomfort. It is important to communicate with your tattoo artist and let them know if you feel any pain during the process.
So here are all the six sequential steps to apply the CS lab numbing cream, at the time of the tattoo session, if you find this blog useful, then do visit our official website and explore our Strongest numbing cream for lip fillers uk available at very reasonable price range.


Sign in to leave a comment.