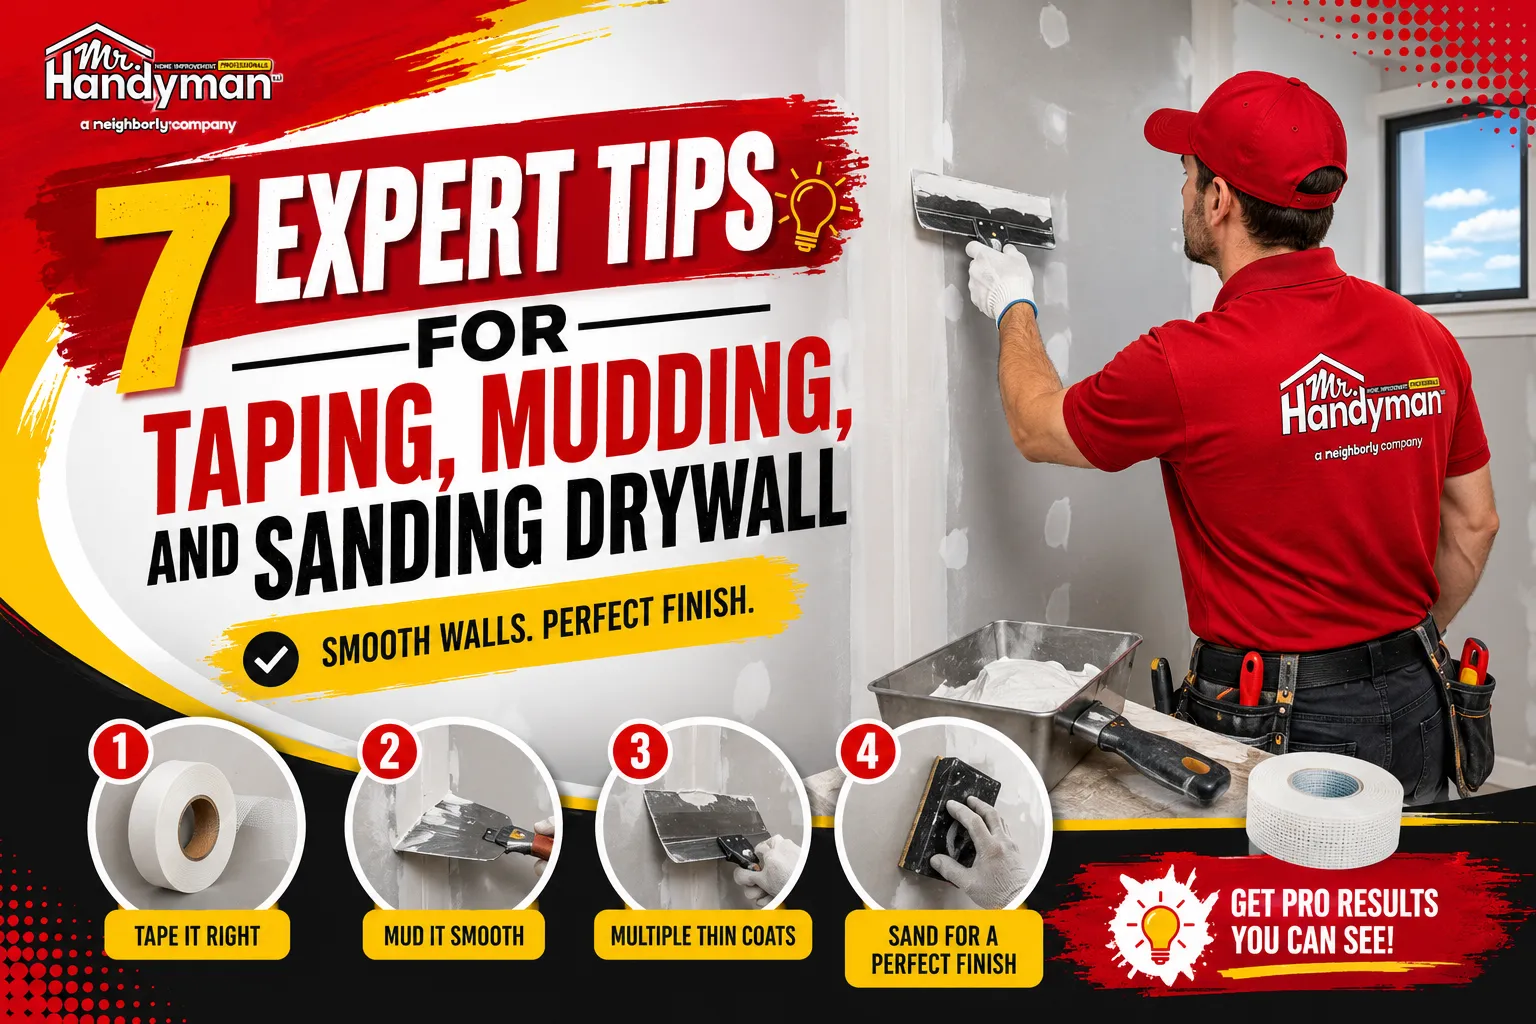

A smooth drywall finish can completely transform the look of a room, but achieving professional results requires patience, the right techniques, and quality tools. Whether you're repairing a small hole or finishing a newly installed wall, properly taping, mudding, and sanding drywall ensures a seamless surface that's ready for paint. If you're dealing with extensive wall damage or uneven joints, professional drywall repair in Dallas can help restore your walls efficiently while delivering a flawless finish that lasts.
Why Proper Drywall Finishing Matters
Drywall finishing isn't just about making walls look good. It also strengthens the joints, hides seams, and creates a smooth foundation for paint or wallpaper. Rushing through the process often leads to visible tape lines, cracked joints, or rough surfaces that become even more noticeable after painting.
By following the right techniques, you'll achieve a cleaner finish and reduce the need for future repairs.
1. Start with a Clean, Well-Prepared Surface
Before applying tape or joint compound, inspect the drywall carefully. Remove dust, trim away loose paper, and ensure all drywall screws are slightly recessed without breaking the paper surface.
A clean surface allows the joint compound to bond properly and helps prevent imperfections later in the finishing process.
2. Choose the Right Drywall Tape
Not all drywall tape is the same. Paper tape provides excellent strength for flat seams, while fiberglass mesh tape is easier to install and works well for repairing small cracks and holes.
Select the tape based on your project and always apply it evenly to avoid wrinkles or air bubbles. Proper tape placement creates a stronger joint and reduces the chance of future cracking.
3. Apply Thin, Even Coats of Joint Compound
One of the biggest mistakes beginners make is applying too much drywall mud at once. Thick layers take longer to dry and are more likely to crack or shrink.
Instead:
- Spread thin, even coats.
- Feather the edges with a wide drywall knife.
- Allow each coat to dry completely before adding the next.
Most projects require two to three coats for a smooth, invisible finish.
4. Sand with a Light Touch
Sanding removes minor imperfections, but using too much pressure can damage the surface and expose the drywall tape.
Use a fine-grit sanding sponge or sandpaper and focus only on high spots. Wear a dust mask and use adequate lighting to spot uneven areas before painting.
If you're working on multiple home improvement projects at once, a trusted handyman in Richardson can often assist with drywall finishing, trim installation, and other repairs to help complete the job efficiently.
5. Use the Right Tools
Professional-looking results often come down to using quality tools. Investing in reliable equipment makes the finishing process easier and improves the final appearance.
Helpful tools include:
- Drywall taping knife
- 10-inch or 12-inch finishing knife
- Mud pan
- Sanding sponge
- Pole sander for large walls
- Corner trowel for inside corners
Clean your tools after each coat to avoid dried compound creating unwanted ridges.
6. Don't Rush the Drying Process
Patience is essential when finishing drywall. Applying another coat before the previous one has fully dried can lead to peeling, uneven textures, and weak joints.
Drying times vary depending on humidity and temperature, but allowing each layer to cure completely will produce stronger, smoother results.
If possible, keep the room well-ventilated to help the compound dry evenly.
7. Inspect Before Priming and Painting
Before applying primer, shine a bright work light across the wall from different angles. This simple step reveals dents, ridges, scratches, and low spots that may not be visible under normal lighting.
Make any final touch-ups, lightly sand the repaired areas, and wipe away dust before priming. A careful inspection helps ensure the finished paint looks smooth and professional.
Common Mistakes to Avoid
Even experienced DIYers occasionally run into problems. Avoid these common errors:
- Applying overly thick coats of mud
- Skipping sanding between coats
- Using dirty or damaged tools
- Painting before the compound is fully dry
- Ignoring small imperfections before priming
Taking a little extra time during each stage will save effort and produce better-looking walls.
Conclusion
Learning how to tape, mud, and sand drywall properly takes practice, but the results are worth it. By preparing the surface, choosing the right tape, applying thin coats of joint compound, sanding carefully, using quality tools, allowing proper drying time, and inspecting your work before painting, you can achieve a smooth, professional finish. Whether you're tackling a small repair or finishing an entire room, these expert tips will help you create walls that look clean, seamless, and ready for years of use.
Frequently Asked Questions (FAQs)
1. How many coats of drywall mud are usually needed?
Most drywall projects require two to three coats of joint compound to fully conceal seams and create a smooth finish.
2. Should I sand between every coat of drywall mud?
Yes. Light sanding between coats removes ridges and imperfections, making it easier to apply the next layer smoothly.
3. Which drywall tape is better: paper or mesh?
Paper tape is stronger for flat seams, while mesh tape is easier to install and works well for many repair jobs.
4. How long should drywall mud dry before sanding?
Drying time depends on the product and room conditions, but most joint compounds should dry for at least 24 hours before sanding.
5. Why do drywall seams become visible after painting?
Visible seams are often caused by insufficient mud coverage, uneven sanding, or skipping primer. Proper finishing techniques help create a seamless, paint-ready surface.

























Sign in to leave a comment.