Paint can refresh walls, but it can't cover up problems that haven’t been addressed. Cracks, residue, lingering moisture, and failing finishes often undermine results, even when premium products are used. Residential painters know that preparation makes the difference between a short-term fix and a finish that lasts. 7 paint problems residential painters solve before the first stroke include structural weaknesses, environmental issues, and hidden flaws that directly impact performance.
This overview looks at how experienced painters identify these issues, what steps they take to fix them, and why skipping those steps leads to peeling, uneven results, and extra labor later.
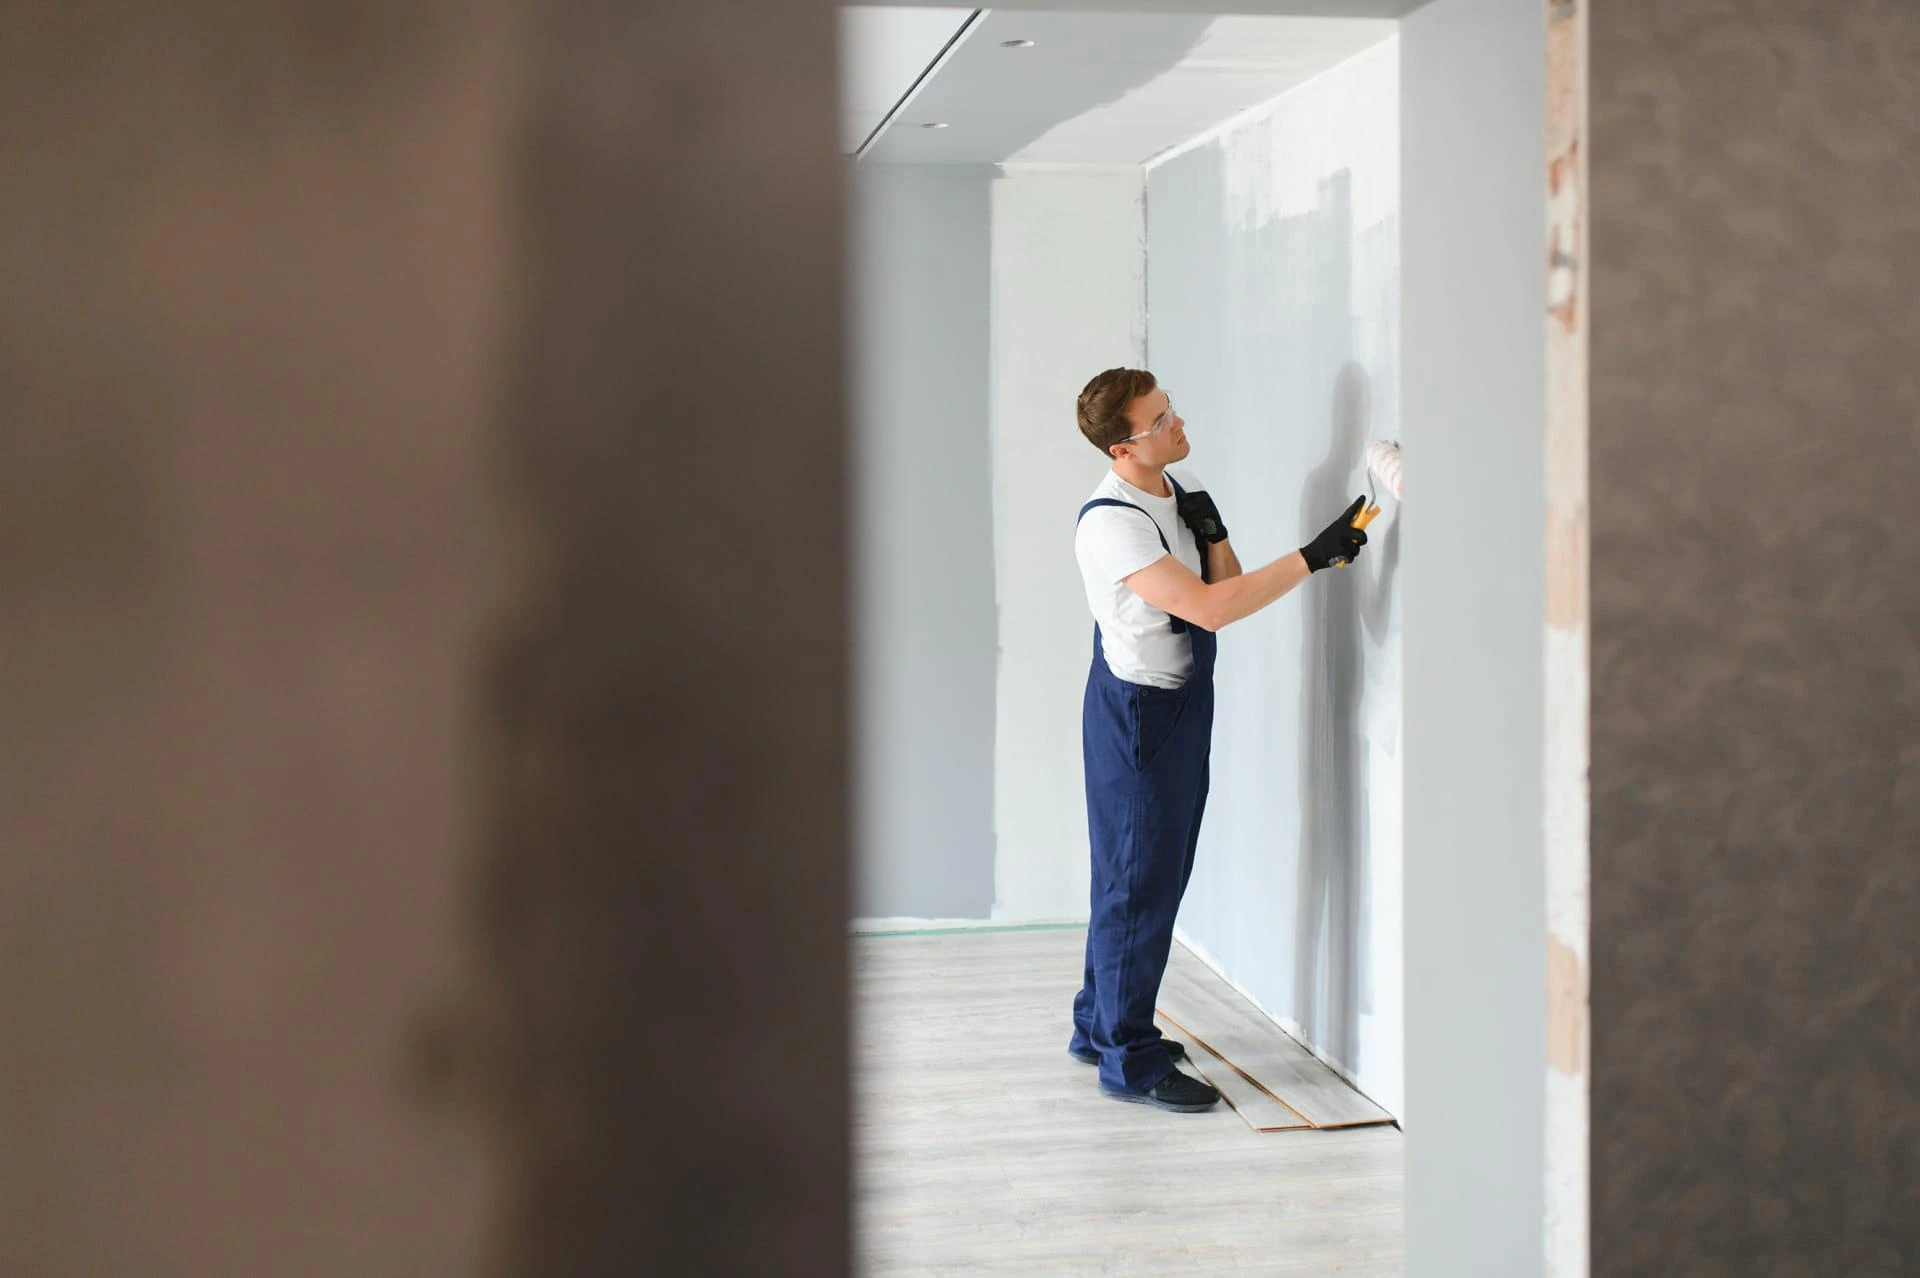
1. Uneven Walls Disrupt Paint Flow
Walls with rough patches, dips, or uneven spackle may look acceptable before painting, but they often betray flaws once color is added. Subtle imperfections stand out under directional lighting, especially with low-sheen or semi-gloss finishes. Residential painters check every surface with careful attention to both texture and light exposure.
They use straightedges, spotlights, and drywall knives to pinpoint surface irregularities. When needed, they apply leveling compounds or feather high spots to ensure a smoother, more consistent foundation.
- Inconsistencies become obvious under natural light or overhead fixtures
- Skim coats help flatten large areas with multiple imperfections
- Proper sanding between steps reduces visible seams and patches
2. Moisture Intrusion Destroys Paint Bonding
Moisture behind a surface can silently destroy even the most carefully applied paint job. Warped drywall, stained trim, or slight bulging in corners often indicates water damage. Residential painters assess these areas thoroughly before applying primers or topcoats.
They inspect bathrooms, laundry rooms, and basements for signs of ongoing moisture issues. Using moisture meters, they determine if drying or repair is required before sealing with mold-resistant products or encapsulating stains with barrier primers.
- Moisture-related damage causes bubbling and surface delamination
- Water stains often require sealing with shellac- or oil-based primers
- Areas with poor ventilation benefit from moisture-curing formulas
3. Failing Paint Layers Interfere With Adhesion
Old paint doesn’t always provide a stable surface. If layers are cracking, flaking, or powdery to the touch, new coats won’t adhere properly. Professional painters inspect for these signs by lightly scraping and testing adhesion before proceeding.
They remove compromised sections using heat guns, wire brushes, or sanding discs. Once the weak layers are gone, they prime the area to reinforce the surface, creating a better bond for the paint to follow.
- Flaking paint indicates underlying failure from age or improper application
- Primers restore grip on chalky or worn-down surfaces
- Sanding increases mechanical adhesion for smoother application
4. Surface Contaminants Block Paint Penetration
Even clean-looking walls may have film from smoke, cooking oil, or airborne dust. These films prevent proper paint bonding and can cause visual blemishes. Residential painters remove these layers as part of a careful surface preparation process.
They use high-alkaline cleaners, degreasers, and abrasives to remove residue. Once cleaned, they may lightly scuff the surface to improve mechanical grip and eliminate glossy finishes that repel paint.
- Residue can lead to poor coverage and streaking during application
- Glossy surfaces require deglossing to promote even drying
- Clean, dry, and dull surfaces absorb paint more uniformly
5. Incompatible Paints Lead to Failure
Water-based paint applied over oil-based surfaces without proper prep leads to peeling, cracking, and separation. Most homeowners can't distinguish between them by sight, but professional painters confirm compatibility before coating.
They test with alcohol or use visual indicators to determine whether sanding, bonding primer, or full removal is needed. Once confirmed, they treat the surface so the new finish bonds as intended.
- Oil-based finishes require etching or priming before repainting
- Bonding primers allow cross-compatibility between paint types
- Paint mismatches commonly cause early surface deterioration
6. Trim Gaps Create Jagged Results
Trim that has shifted or shrunk over time develops visible gaps where pieces meet or where wood meets drywall. These lines show up under paint and create an unfinished appearance. Residential painters fill these spaces with flexible, paintable caulk.
They shape the caulk for smoothness and ensure it blends into the surface before applying paint. This not only improves aesthetics but also prevents future cracking as trim materials expand or contract with seasonal changes.
- Clean caulk lines improve visual sharpness around trim and doors
- Proper gap filling reduces airflow, dust collection, and paint separation
- Flexible sealants remain stable through temperature changes
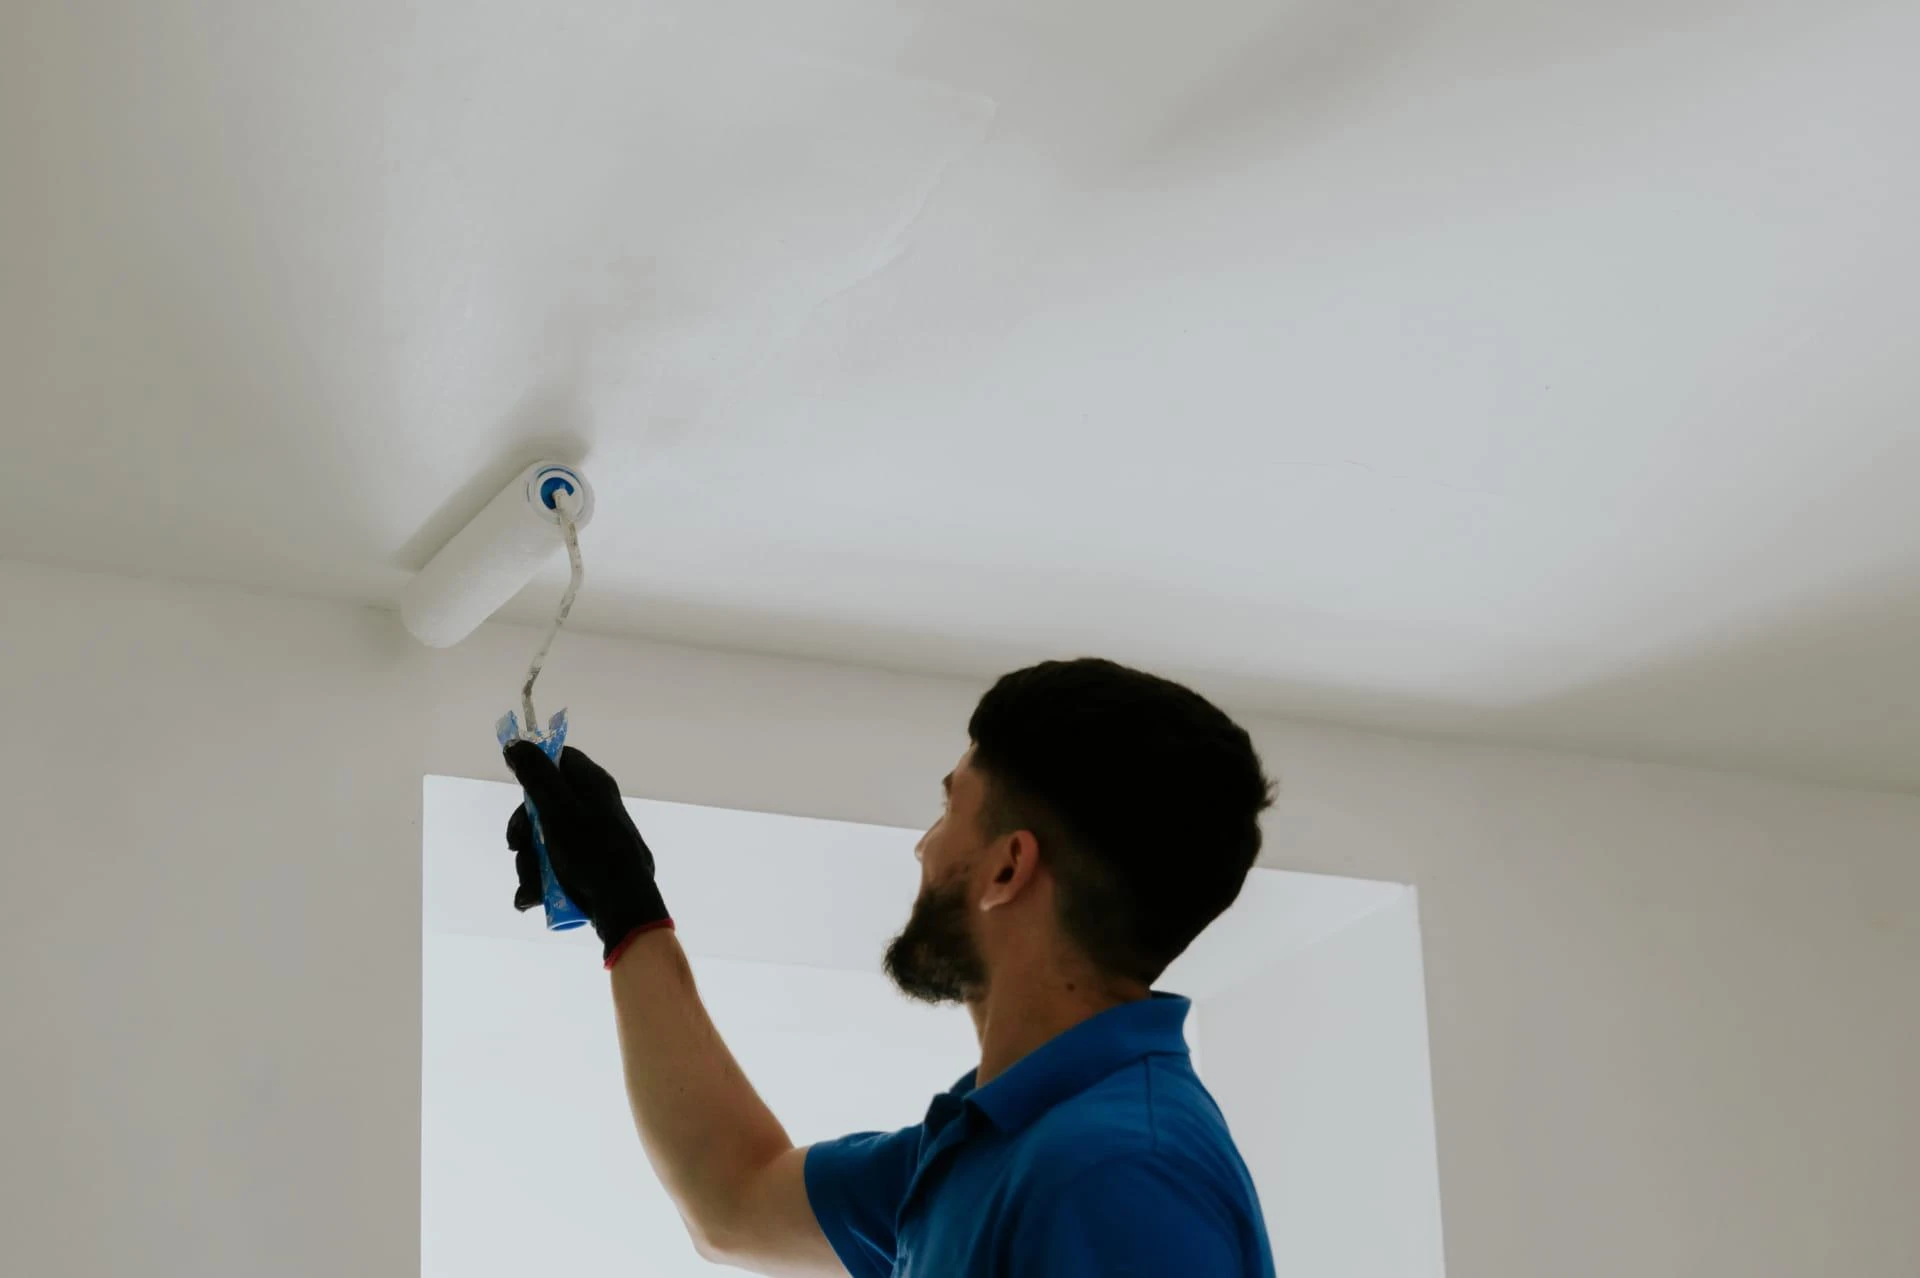
7. Room Conditions Change Paint Behavior
Air temperature, humidity, and airflow all influence how paint dries and cures. Without proper environmental control, paint can dry too slowly or too quickly, resulting in streaking, uneven sheen, or tackiness. Residential painters measure these factors before they begin.
They monitor climate conditions and adjust as needed using fans, dehumidifiers, or by selecting slower- or faster-drying products based on the space. Waiting for optimal conditions ensures the paint cures properly and looks uniform.
- High humidity increases dry time and can lead to sagging
- Low temperatures prevent curing, causing dull or soft finishes
- Even airflow reduces dust settling on wet surfaces
Why Prep Solves Problems Before They Happen
Surface flaws don’t disappear under paint, they get worse. Quality prep work stops small issues from becoming major defects. Experienced residential painters spend extra time on this stage because it prevents callbacks, touchups, and material waste.
When surfaces are smooth, dry, clean, and stable, paint does what it’s meant to do: protect and enhance. Skipping those steps always shortens the life of the work, no matter how skilled the application.
Key Takeaways on Paint Problems Residential Painters Handle Early
- Surface repairs prevent texture inconsistencies in the final finish
- Moisture detection stops bubbling and long-term wall damage
- Old paint must be tested and stabilized before applying anything new
- Thorough cleaning and sanding eliminate adhesion problems
- Controlled temperature and humidity help paint dry evenly and stay intact
Frequently Asked Questions
Why does paint peel after a few months?
The surface may not have been cleaned or primed properly. Flaking usually points to moisture issues or weak adhesion.
How do painters check for moisture in walls?
They use handheld moisture meters and visual inspection around windows, ceilings, and plumbing areas.
Is it necessary to sand every surface before painting?
Not every surface, but glossy or contaminated areas should be sanded lightly to improve bonding.
What happens if you skip caulking trim?
Paint settles into gaps and cracks, leading to visible seams and potential air or moisture intrusion.
Does room temperature really affect paint quality?
Yes. Paint dries unevenly or too slowly in poor conditions, which impacts the finish and lifespan.


Sign in to leave a comment.