Roof installation is a critical part of home construction and renovation. A well-installed roof provides shelter, protects against the elements, and enhances the overall aesthetics of your home. Whether you're a DIY enthusiast or planning to hire professionals, understanding the process can help ensure the job is done right. In this comprehensive guide, we'll walk you through each step of roof installation, covering everything you need to know.
When it comes to ensuring a top-quality roof installation, hiring professionals can make a significant difference. For those who prefer to leave it to the experts, seeking the Best Roof Installation Services is essential. Professional roofers bring expertise, experience, and the right tools to get the job done efficiently and effectively. They can handle everything from selecting the best materials to ensuring proper installation and adherence to local building codes. Trusting your roofing project to the best services not only guarantees a durable and long-lasting roof but also provides peace of mind knowing your home is well-protected.1. Planning and Preparation
Assess Your Needs
Before starting any roofing project, assess your specific needs. Consider factors like the climate in your area, the architectural style of your home, and your budget. Different roofing materials offer various advantages, so choose one that suits your requirements.
Select the Right Roofing Material
The choice of roofing material is crucial. Here are some popular options:
Asphalt Shingles: Affordable and easy to install, asphalt shingles are a common choice for residential roofs.Metal Roofing: Durable and long-lasting, metal roofing is ideal for areas with extreme weather conditions.Clay or Concrete Tiles: These tiles are aesthetically pleasing and highly durable but require a sturdy roof structure due to their weight.Wood Shingles or Shakes: These provide a natural look but require regular maintenance.Slate: Slate is a premium option known for its longevity and classic appearance.Obtain Necessary Permits
Check with your local building authority to determine if you need permits for your roofing project. Obtaining the required permits ensures that your installation complies with local building codes and regulations.
Hire a Professional or DIY?
Decide whether you want to hire a professional roofing contractor or tackle the project yourself. While DIY can save money, roofing is a complex and potentially dangerous task that requires expertise. Hiring a licensed contractor can ensure quality work and peace of mind.
2. Preparing the Roof Surface
Remove Old Roofing
If you're replacing an existing roof, start by removing the old roofing materials. Use a roofing shovel or a pry bar to carefully strip away shingles, nails, and any underlayment. Be cautious to avoid damaging the underlying structure.
Inspect the Roof Deck
Once the old roofing is removed, inspect the roof deck for any damage. Look for signs of rot, mold, or structural issues. Replace any damaged sections to ensure a solid foundation for your new roof.
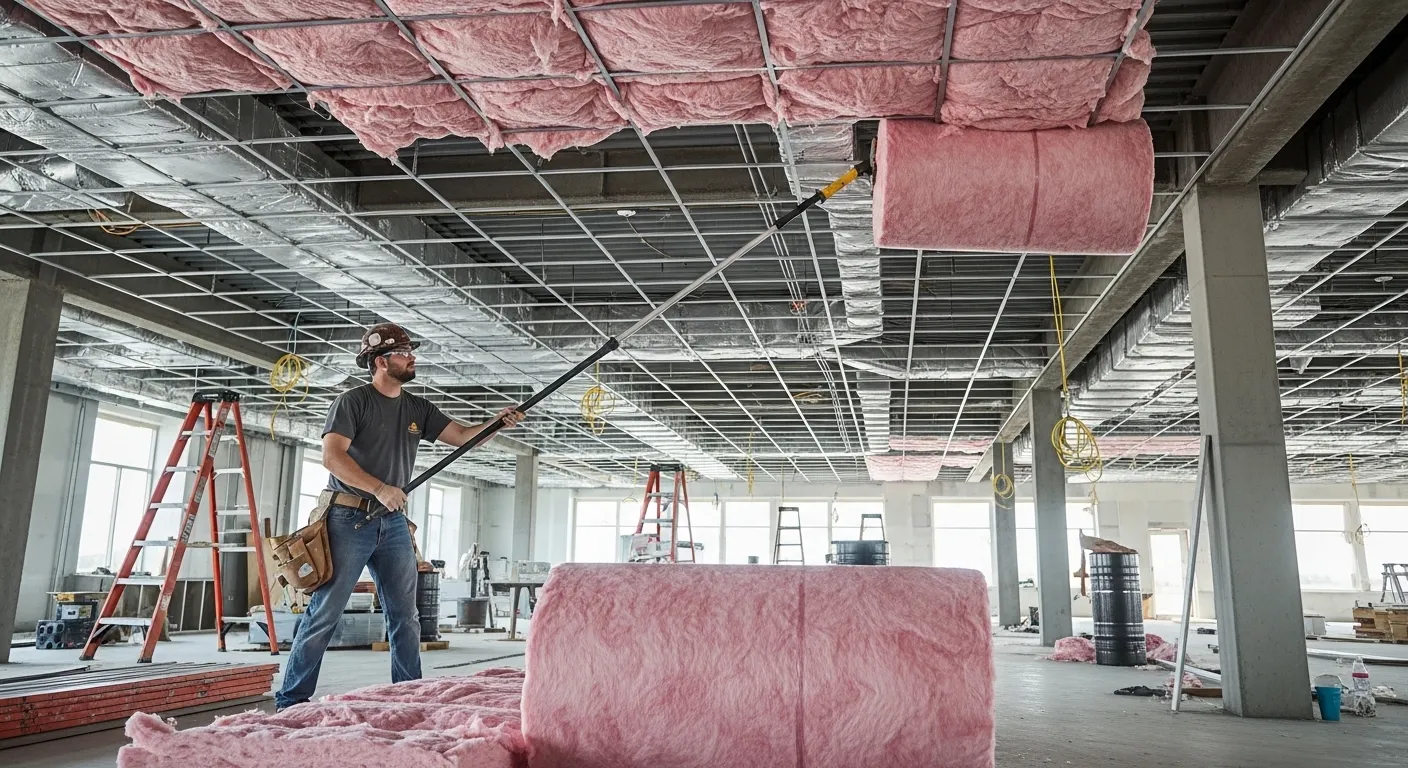
Install Roof Deck Protection
Roof deck protection, also known as underlayment, is a crucial step in roof installation. It provides an additional layer of defense against water infiltration. Popular options include:
Asphalt-Saturated Felt: Traditional and affordable, but less durable than synthetic options.Synthetic Underlayment: Lightweight, durable, and resistant to tearing, synthetic underlayment is a modern choice for added protection.3. Installing the New Roof
Install Drip Edge
A drip edge is a metal strip installed along the edges of the roof to direct water away from the fascia and prevent water damage. Install the drip edge along the eaves and rakes before laying down any underlayment or shingles.
Lay the Underlayment
Roll out the underlayment over the roof deck, starting at the bottom and working your way up. Overlap each row by about 6 inches to ensure complete coverage. Secure the underlayment with roofing nails or staples.
Install Flashing
Flashing is used to seal and protect areas of the roof where different surfaces meet, such as around chimneys, vents, and skylights. Properly installed flashing prevents water from seeping into these vulnerable areas.
Begin Shingle Installation
Start laying shingles at the bottom edge of the roof, working your way up. Follow the manufacturer's instructions for spacing and nailing. Most shingles require four nails per shingle, placed about 1 inch above the cutout and near the edges.
Install Ridge Vent
A ridge vent is an essential component for proper roof ventilation. It allows hot air to escape from the attic, preventing heat buildup and reducing the risk of ice dams in colder climates. Install the ridge vent along the peak of the roof and cover it with ridge cap shingles.
Inspect and Clean Up
Once the shingles are installed, inspect the roof for any missed nails, damaged shingles, or other issues. Ensure all flashing is secure and properly sealed. Clean up any debris and dispose of old roofing materials responsibly.
4. Final Touches and Maintenance
Install Gutters and Downspouts
Properly functioning gutters and downspouts are crucial for directing water away from your home. Install or repair gutters and ensure they are securely attached and free of debris.
Perform Regular Inspections
Regular roof inspections help identify potential issues before they become major problems. Check for loose or missing shingles, damaged flashing, and signs of water damage. Address any issues promptly to extend the life of your roof.
Schedule Professional Maintenance
Even if you installed the roof yourself, consider scheduling professional maintenance every few years. A professional roofer can perform a thorough inspection and make any necessary repairs to keep your roof in top condition.
Conclusion
Roof installation is a significant investment that requires careful planning, precise execution, and regular maintenance. Whether you're tackling the project yourself or hiring a professional, understanding the process ensures a successful outcome. By following this step-by-step guide, you can achieve a durable, long-lasting roof that protects your home and enhances its value for years to come.
Choosing the Best Roof Installation Services also means you'll benefit from comprehensive warranties and customer support. These professionals stand by their work, offering guarantees that cover both materials and labor, which can save you from unexpected repair costs in the future. Additionally, reputable roofers are up-to-date with the latest industry standards and innovations, ensuring your roof is installed using cutting-edge techniques and materials. Investing in top-tier roof installation services is a smart decision that enhances your home's value, improves energy efficiency, and provides long-term protection against the elements.
Remember, safety should always be a top priority. If you're not confident in your roofing skills or the project involves complex structural work, it's best to hire a licensed roofing contractor. A well-installed roof is an essential component of a safe and comfortable home, and getting it right the first time will save you time and money in the long run.


Sign in to leave a comment.