A reliable cooling system can make an immediate difference in how comfortable a property feels, especially during long stretches of heat. Homeowners often explore trusted service providers that offer smooth, stress-free installation experiences. As more people look for dependable AC installation in Alpharetta, GA, a common question arises about what exactly takes place during a professional setup. What should someone expect from start to finish?
Why Professional Installation Matters
Professional installation provides structure, accuracy, and support that DIY attempts simply cannot match. A trained technician follows industry standards, detailed safety procedures, and system-specific requirements to ensure the AC unit runs efficiently. This attention to detail helps the system perform better, reduces strain on components, and supports long-term reliability.
A proper installation also protects energy efficiency. Small mistakes like incorrect refrigerant levels or improper duct sizing can affect airflow and raise utility bills. A certified installer helps avoid these issues by evaluating the home’s layout, identifying correct unit sizes, and implementing installation best practices.
Step 1: Initial Assessment and System Sizing
The installation typically begins with a full assessment of the space. Technicians examine the home’s layout, insulation quality, and ventilation to determine the correct AC capacity. Choosing the right system size is essential, especially when discussing AC installation in Alpharetta, GA, where summer temperatures can rise quickly and stay high for long periods.
This step ensures the AC system is neither oversized nor undersized. A system that is too large may cycle on and off too frequently, while a smaller system may struggle to cool the home efficiently. Accurate sizing prepares the installation for success.
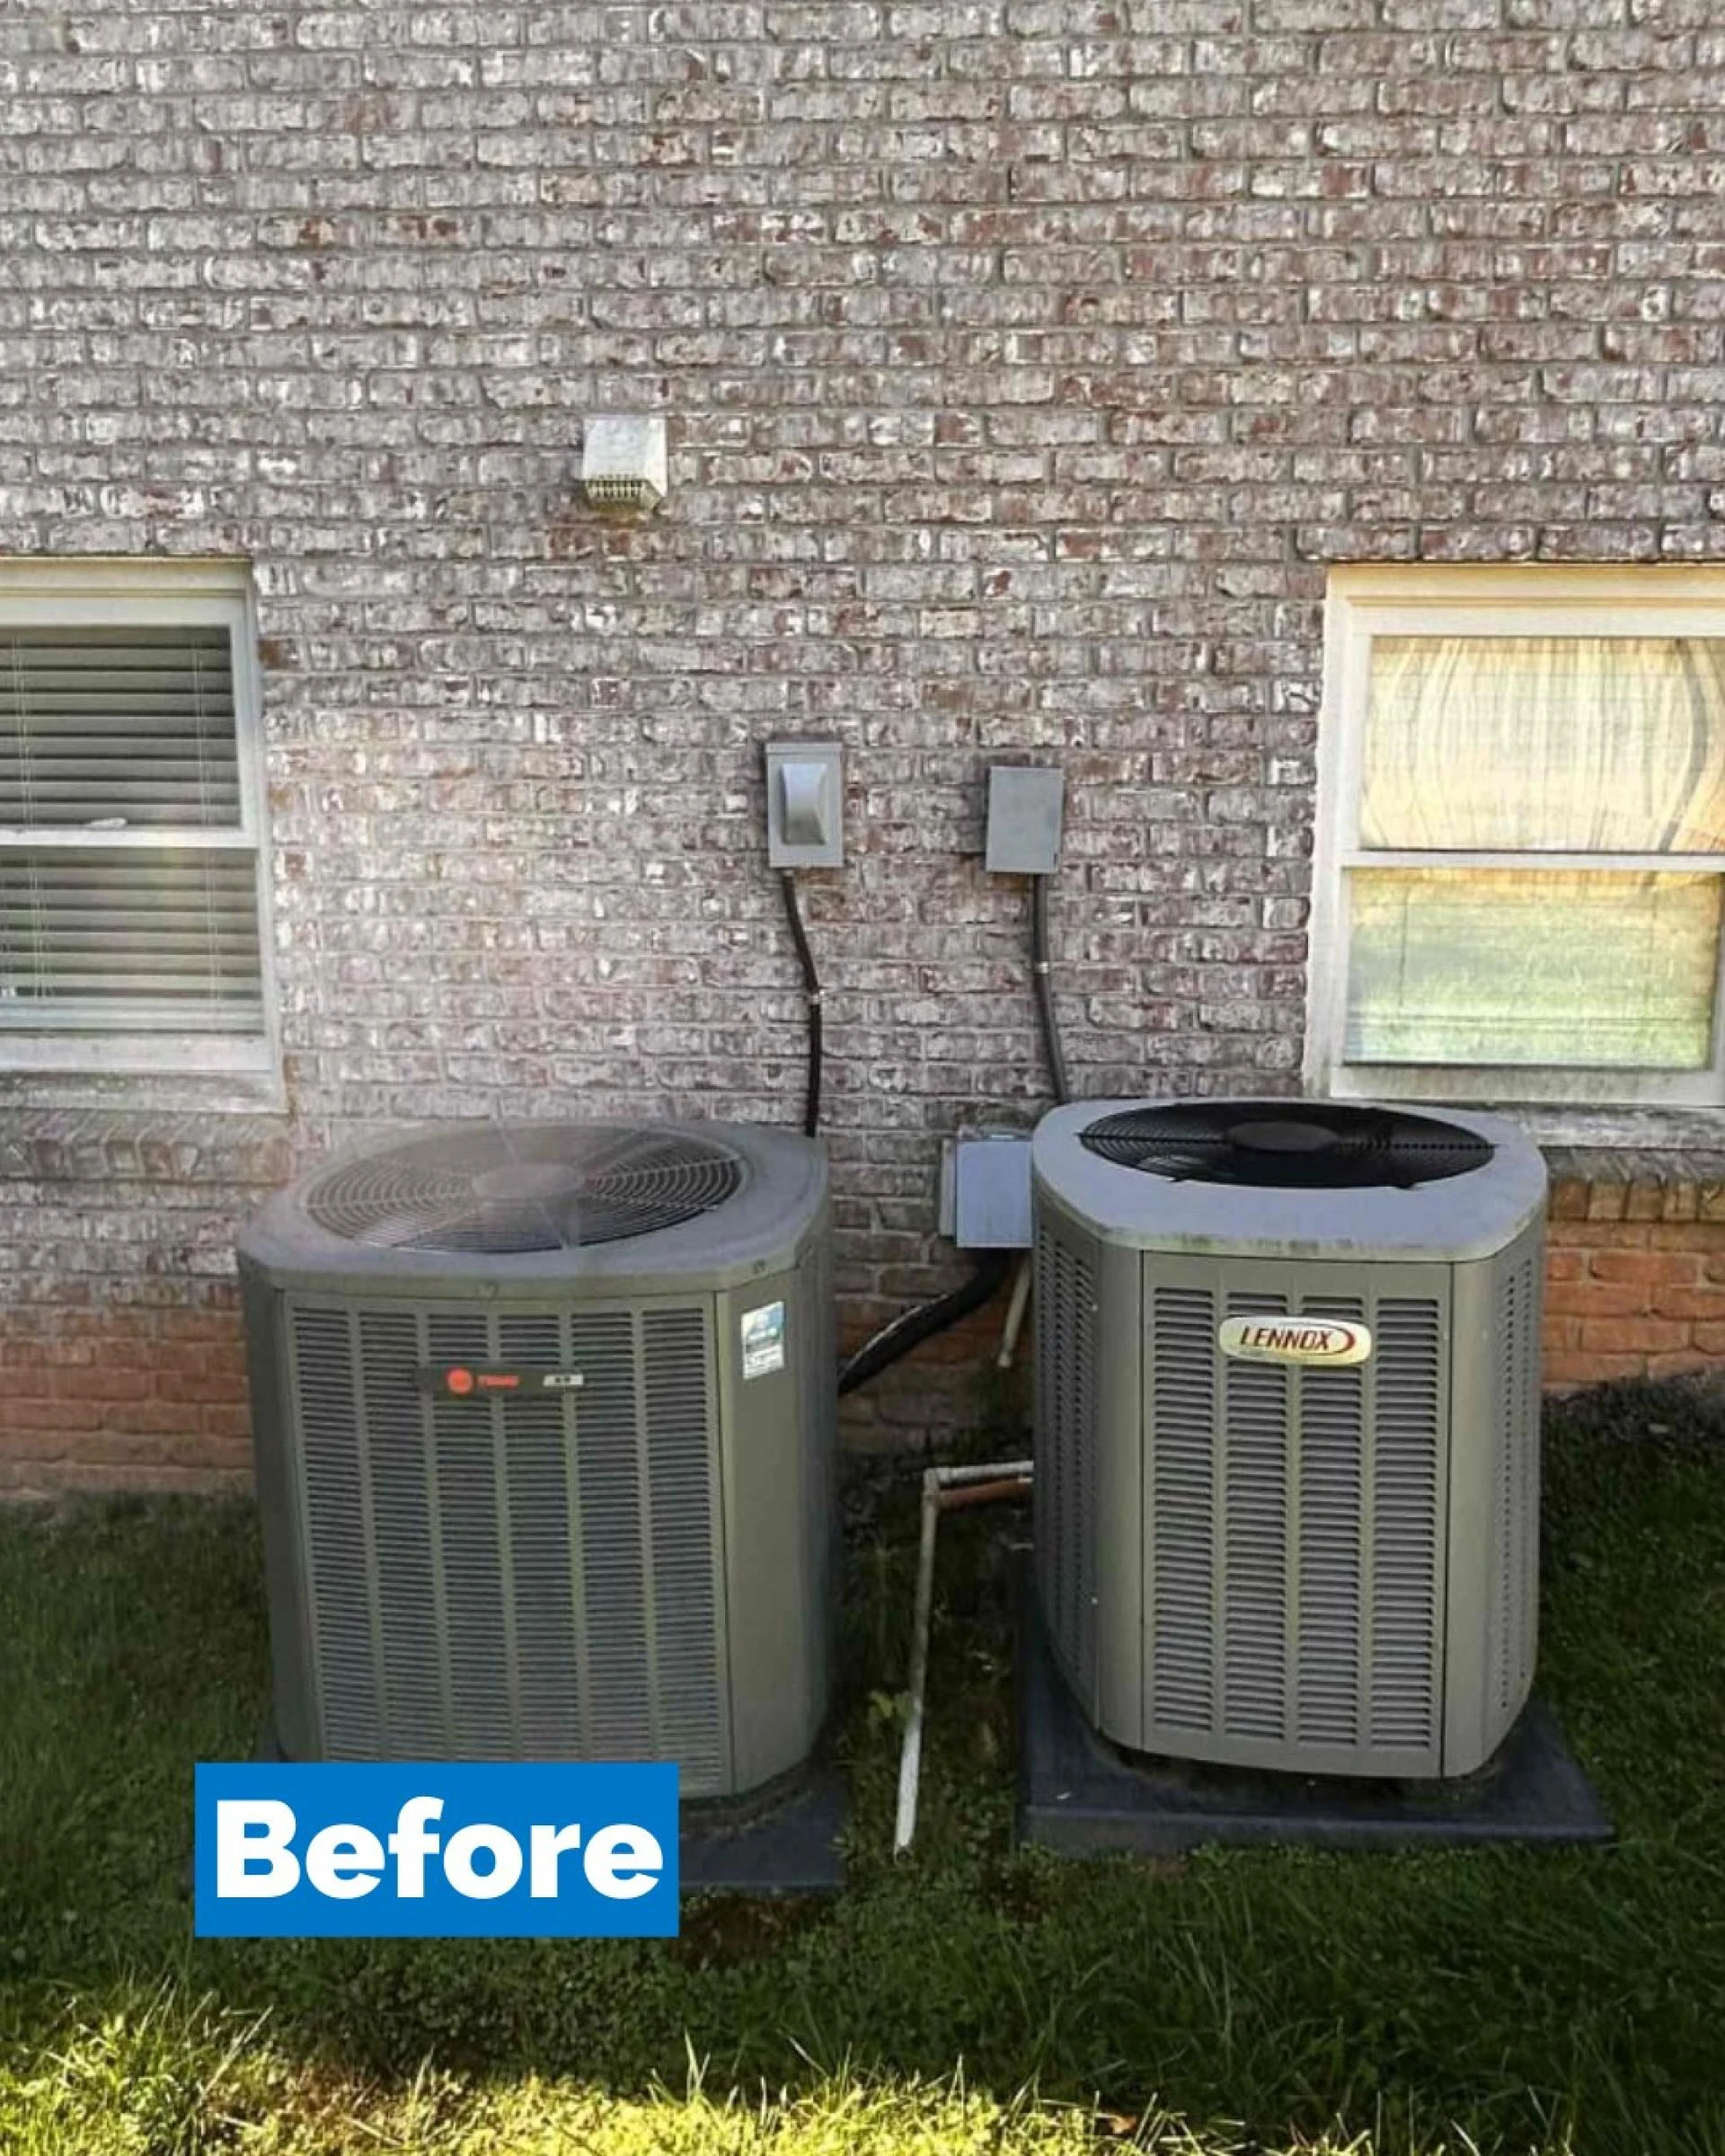
Step 2: Removing the Old Unit Safely
If an existing unit is in place, the technician disconnects and removes it. This includes managing refrigerant according to environmental guidelines and safely disconnecting electrical connections. Proper disposal of old equipment protects the environment and prevents hazards.
The area where the new unit will be installed is cleaned and prepared. Any worn-down parts of the mounting surface, duct connections, or electrical lines are assessed and upgraded if necessary.
Step 3: Preparing the Installation Area
Before setting the new system in place, technicians prepare both indoor and outdoor components. Indoor preparation involves checking the ductwork, air handler location, and drainage line. Outdoor preparation includes leveling the condenser pad and ensuring adequate clearance around the unit for future service needs. This stage is crucial for airflow, drainage, and system stability. It also supports long-term performance by preventing issues like blockages, overheating, or moisture buildup.
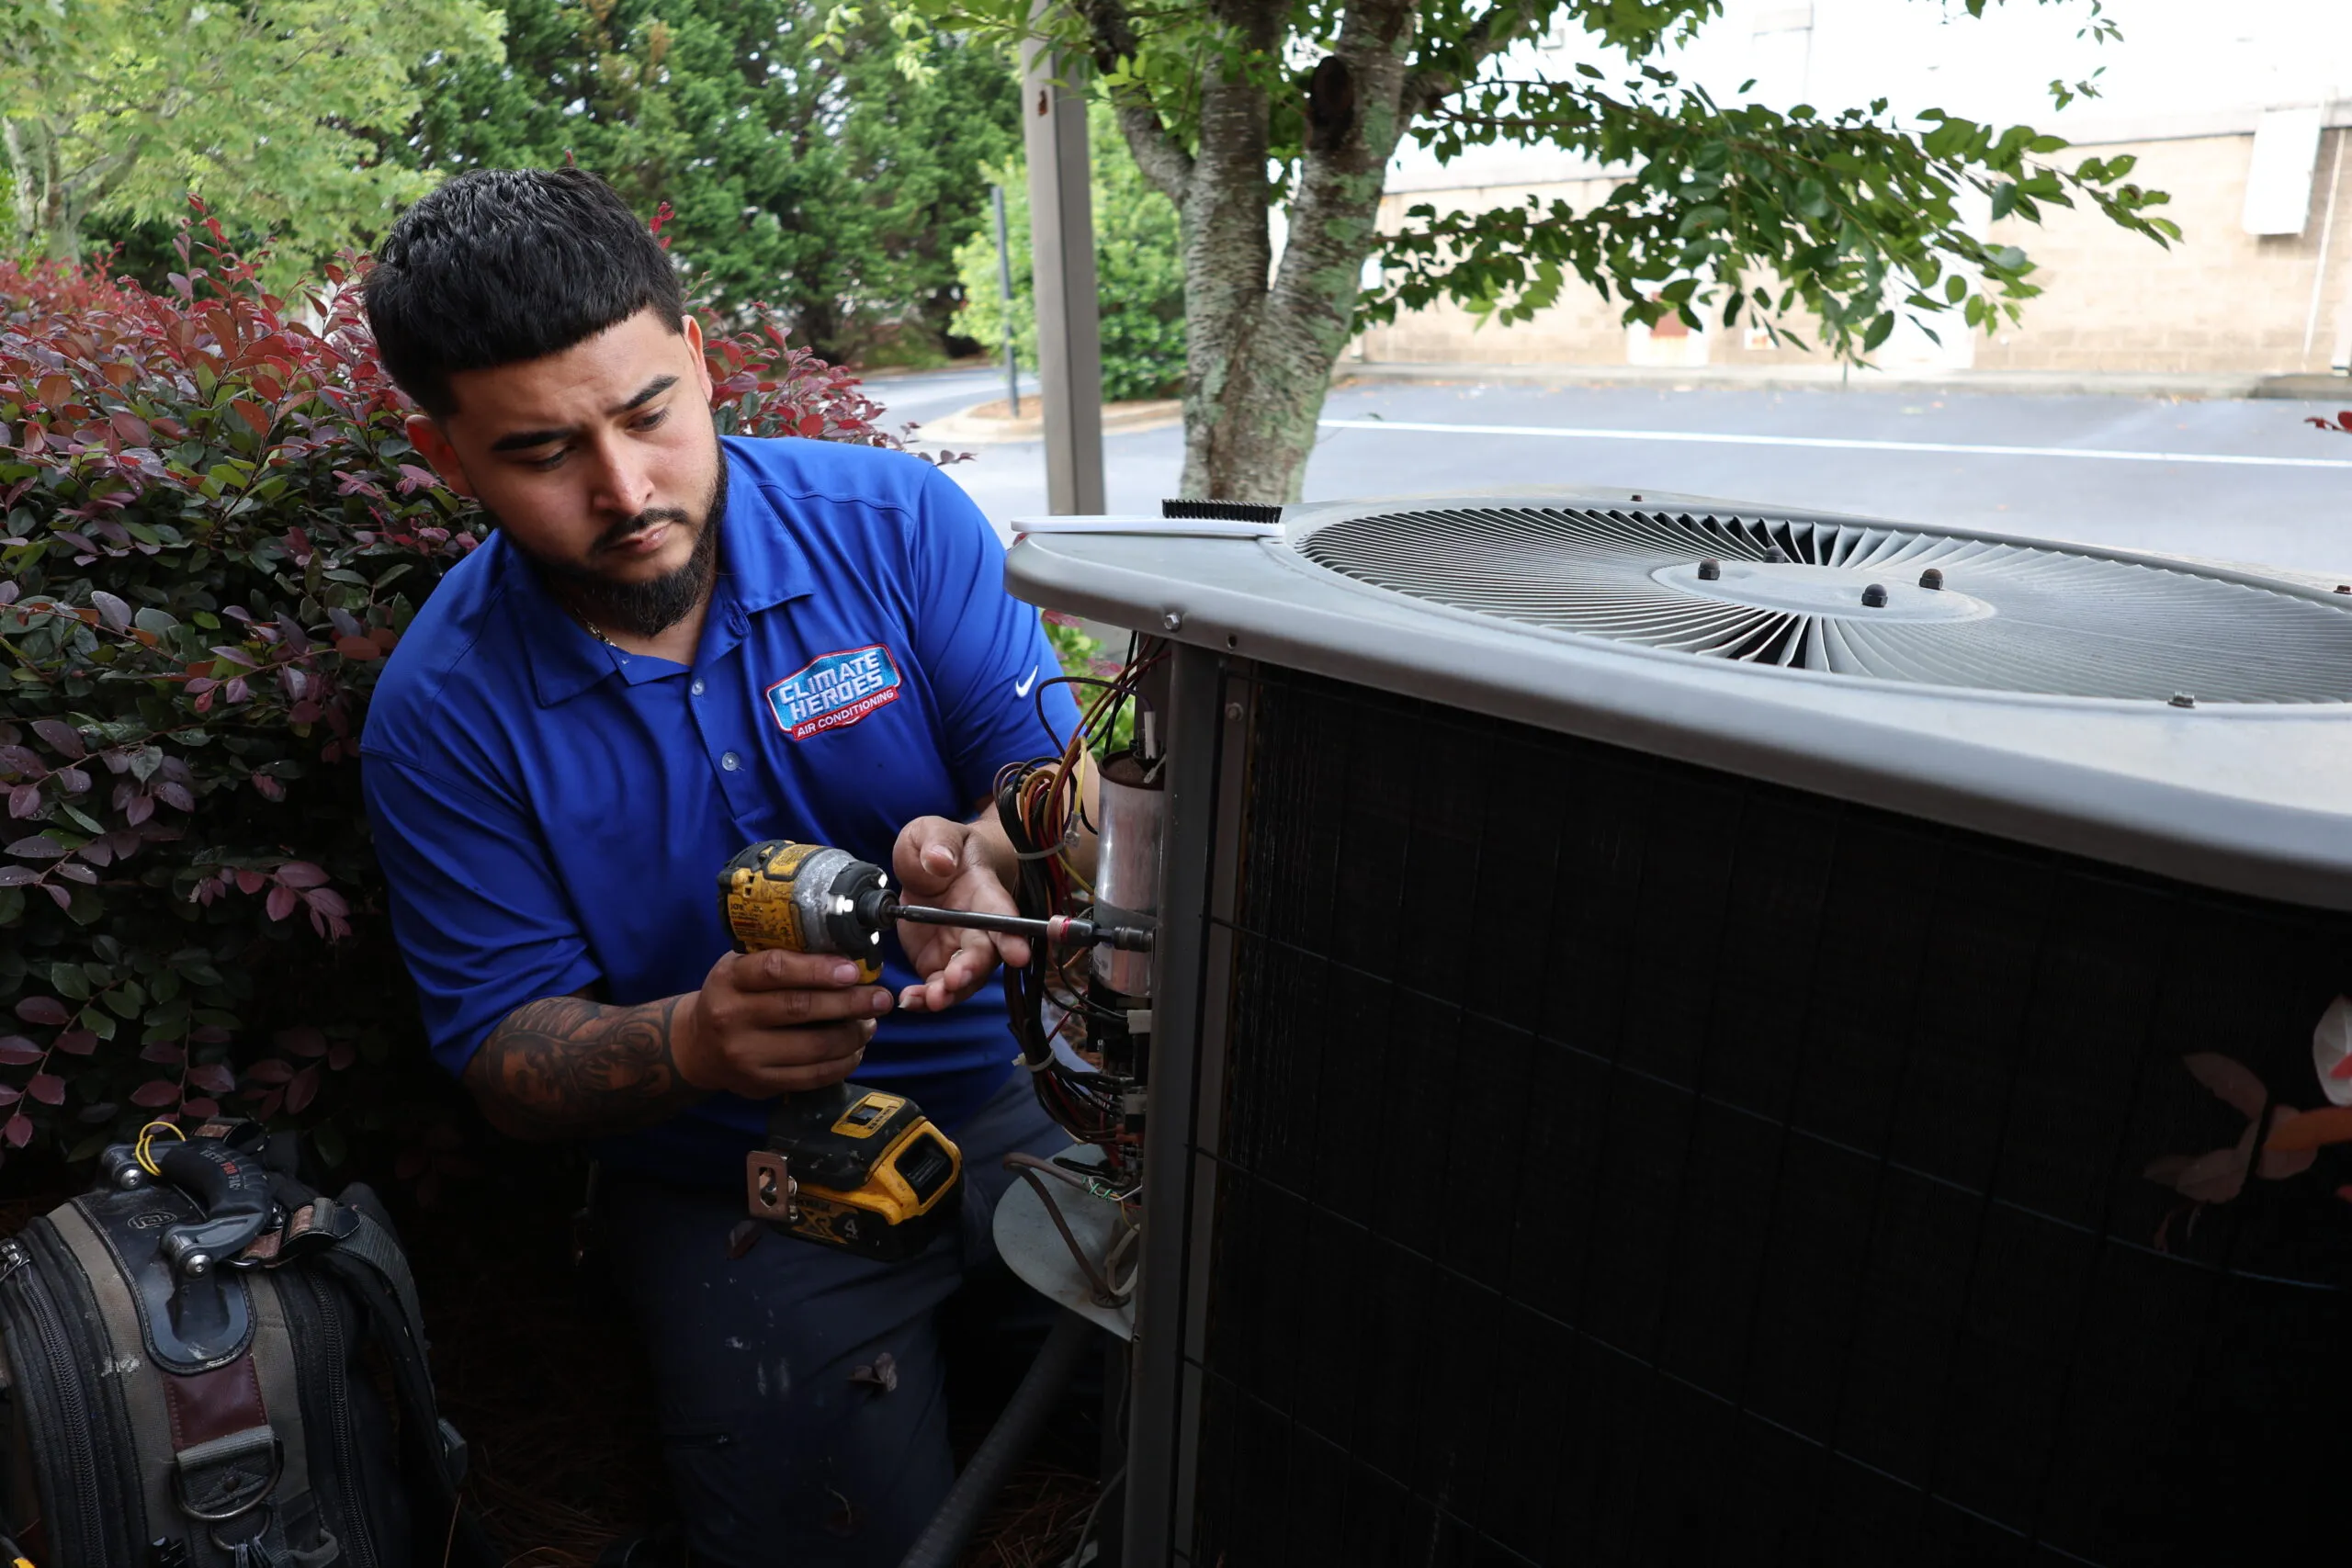
Step 4: Installing Indoor Components
The technician installs the evaporator coil, connects the air handler, and ensures all parts are securely fitted. Drainage lines are positioned to avoid leaks and prevent water damage inside the home.
Electrical wiring is inspected and connected safely. The thermostat may also be replaced or upgraded, depending on the homeowner’s preferences. Smart thermostats are commonly recommended because they support better temperature control and energy efficiency.
Step 5: Installing the Outdoor Condenser
The outdoor unit is positioned on a stable surface and connected to the indoor system through refrigerant lines and electrical wiring. Proper placement helps with airflow, noise reduction, and overall system performance. Technicians ensure all lines are sealed tightly to prevent refrigerant leaks. They also check that the outdoor area has enough ventilation space so the system can release heat effectively.
Step 6: Connecting Refrigerant Lines and Sealing the System
Refrigerant lines are dried, sealed, and tested for leaks. Any leak in the system can reduce efficiency and damage essential components, so this step is handled with great care. Once the lines are confirmed to be secure, the technician charges the system with the correct amount of refrigerant. This ensures the AC can cool the home efficiently without straining the compressor.
Step 7: Electrical Setup and Safety Testing
Every electrical connection is checked to guarantee safe operation. The technician verifies voltage levels, grounding, and breaker compatibility before starting the system.
Safety testing ensures:
- All components operate properly
- Airflow is consistent
- The thermostat responds correctly
- The system has no electrical hazards
- The drainage line is working efficiently
This step gives homeowners confidence that the system is safe and ready for long-term use.
Step 8: System Startup and Performance Testing
The technician turns on the AC and evaluates performance. This includes checking temperature output, airflow, refrigerant pressure, and motor operation.
Adjustments are made to optimize:
- Cooling performance
- Energy efficiency
- Noise levels
- Thermostat accuracy
This is one of the most valuable parts of a professional installation because it ensures the system is functioning at peak efficiency before the job is completed.
Step 9: Final Walkthrough and Helpful Maintenance Tips
To help homeowners care for their new system, technicians often share guidance on filter changes, thermostat settings, and routine maintenance schedules. This information helps the system last longer and maintain performance throughout seasonal changes.
Conclusion
A professional AC installation involves careful planning, precision, and safety checks at every step. From system sizing to final performance testing, each stage ensures reliable cooling and long-term comfort. For homeowners seeking dependable AC installation in Alpharetta, GA, understanding this structured process creates confidence in choosing a skilled service provider and prepares them for a smooth installation experience.
Take control of home comfort with reliable AC installation services. Book a professional assessment now and enjoy a smoother, cooler living experience.


Sign in to leave a comment.