

An all-in-one background remover can feel like a shortcut that solves everything. Upload an image, click once, and the background is gone. But in real projects, results depend on how and when you use it.
This guide focuses on smart usage, not blind usage. You’ll learn where all-in-one background removers save time, where they struggle, and how professionals use them in real workflows without hurting quality.
Quick Summary
- Best for fast, high-volume, web-first image workflows
- Works well with clear subjects and simple backgrounds
- Struggles with hair, glass, transparency, and print-quality needs
- Delivers best results when combined with manual refinement
What Is an All-in-One Background Remover?
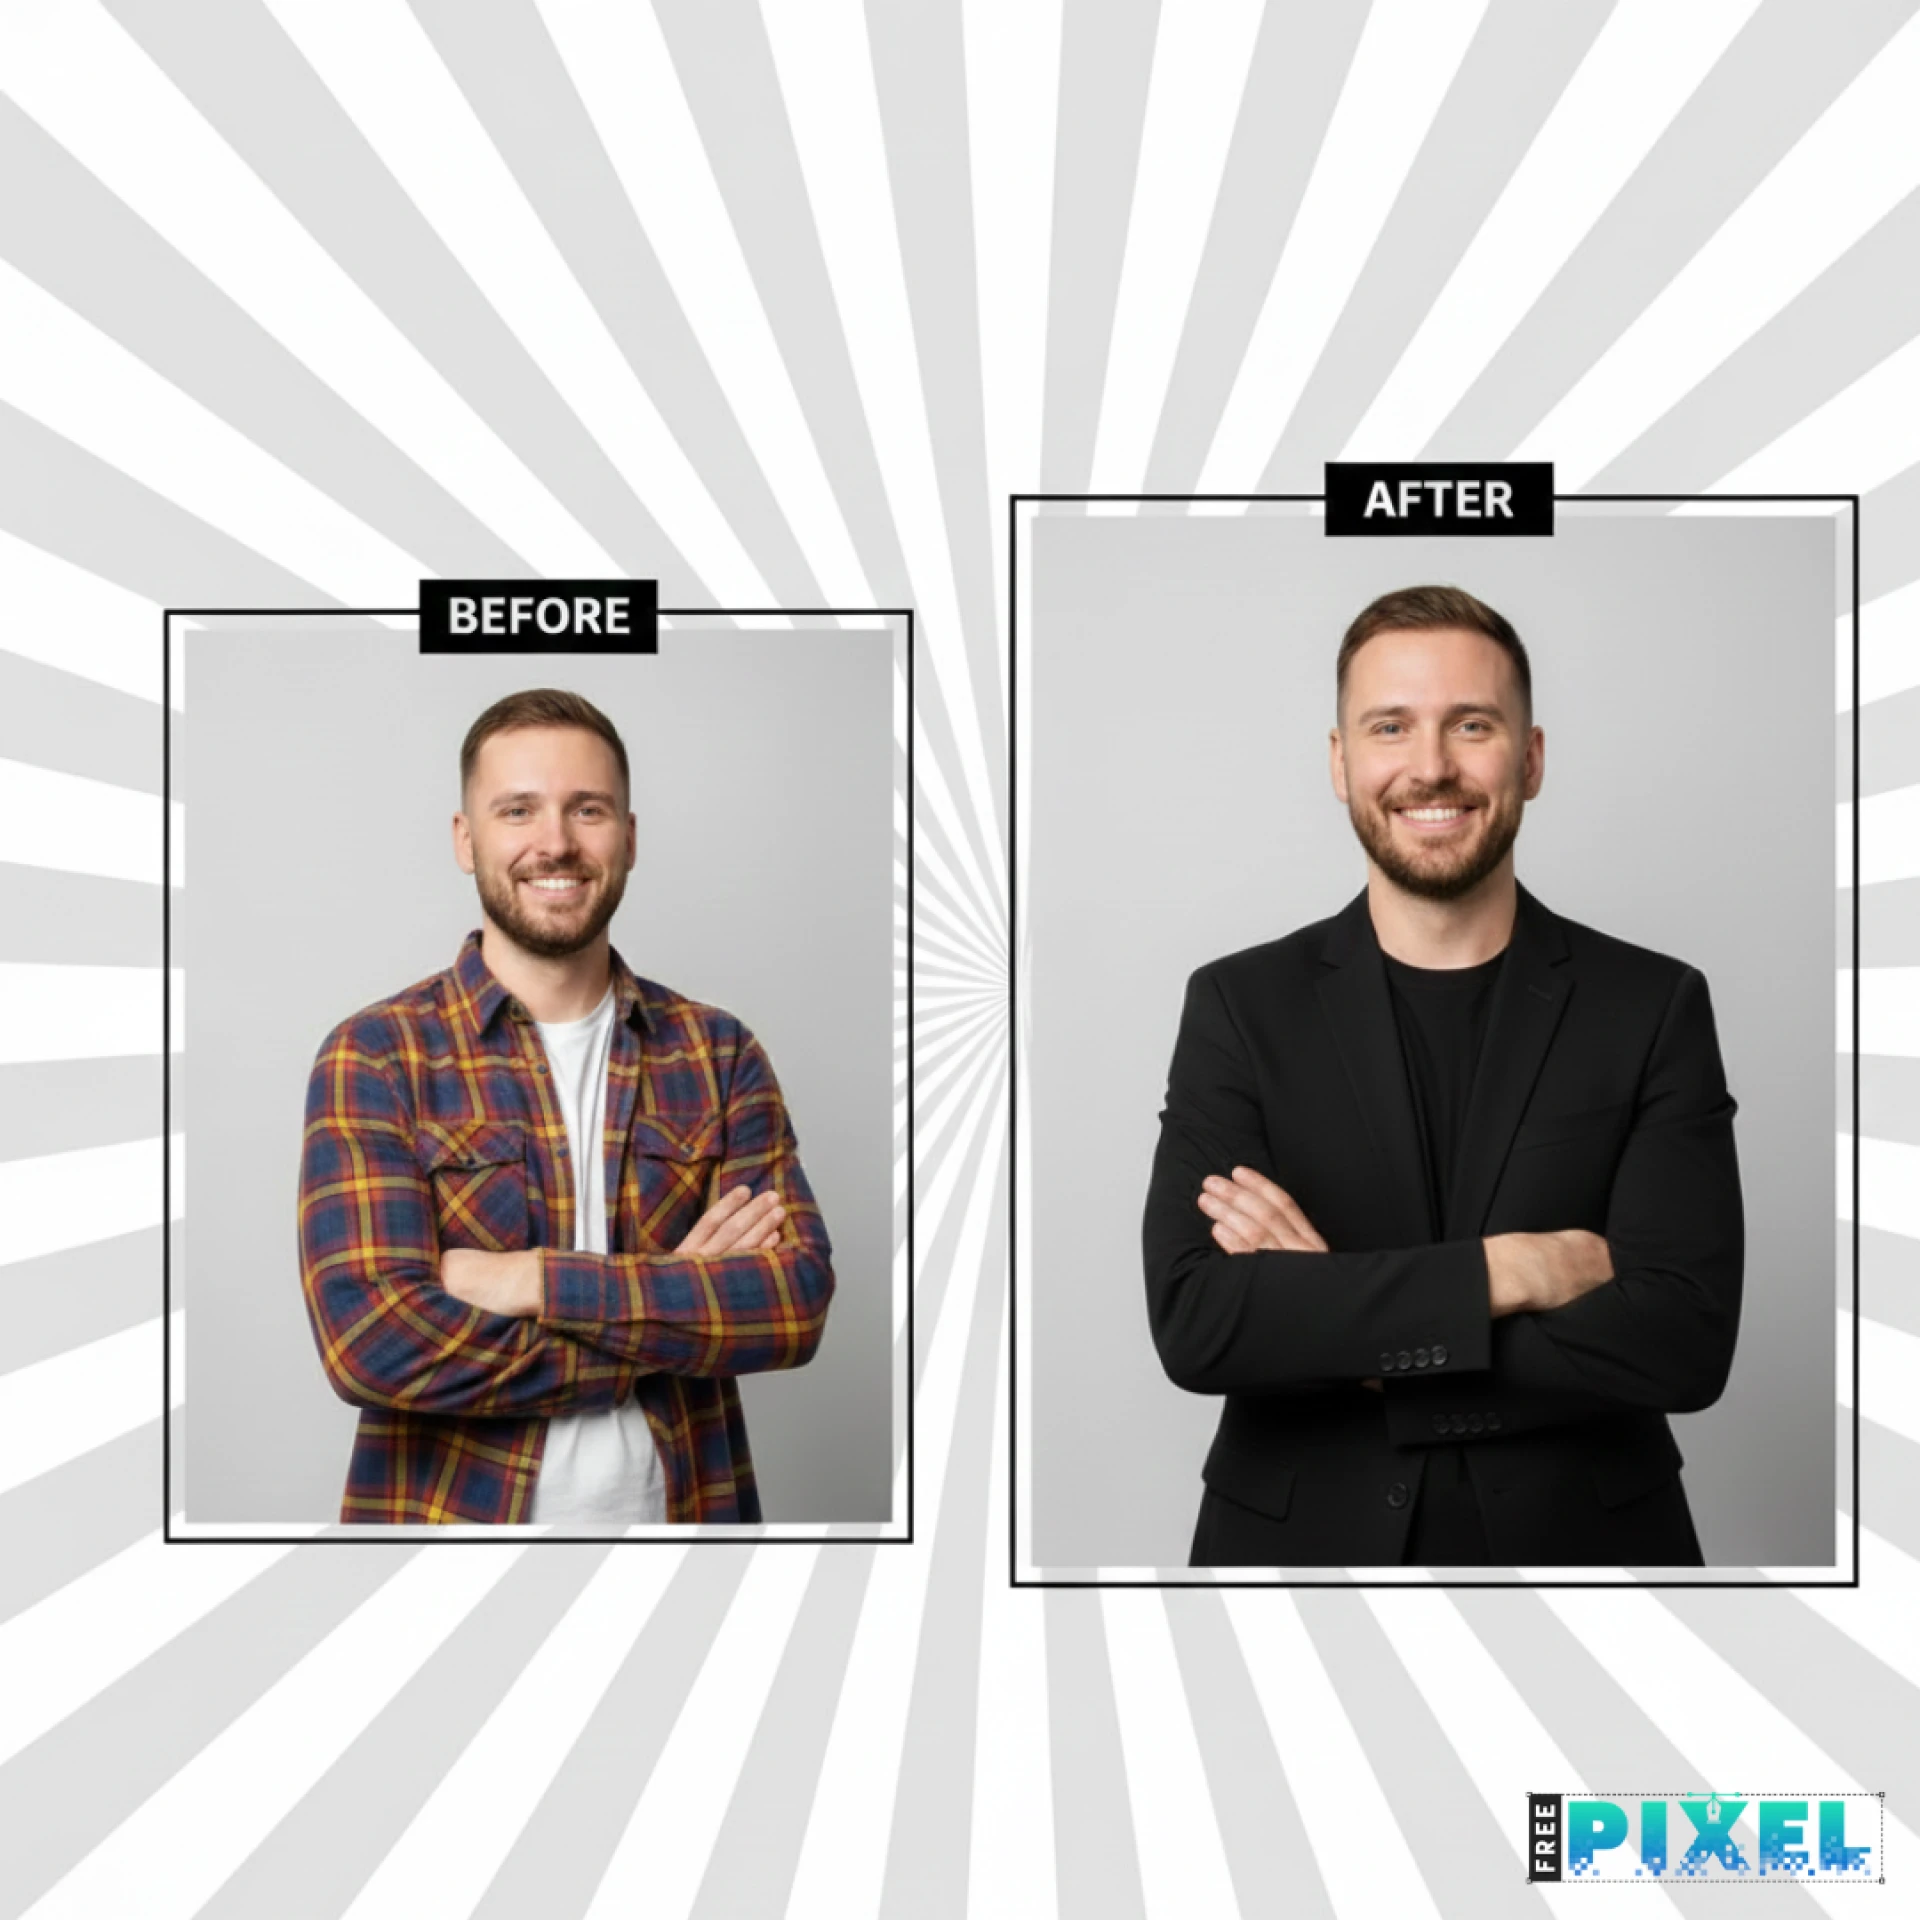
An all-in-one background remover is an AI-powered tool that automatically separates a subject from its background.
Behind the scenes, it uses computer vision and image segmentation models trained on large datasets. These models predict which pixels belong to the foreground and which belong to the background.
What most tools can do
- Detect people, products, and objects automatically
- Remove backgrounds in seconds
- Export transparent images (PNG)
- Handle common formats like JPG, PNG, and WebP
- Process images one by one or in batches
The promise is speed and simplicity. The limitation is reduced manual control.
Why “Smart Usage” Matters in Real Projects
In real projects, images are not just visuals. They affect:
- Brand perception
- Conversion rates
- Design consistency
- Production quality
Using an all-in-one background remover without context often leads to rework later. Smart usage means matching the tool to the task.
Where an All-in-One Background Remover Works Best
1. E-commerce and online catalogs
AI background removal works well for large product catalogs.
Why
- Plain or consistent backgrounds
- Speed matters more than perfect edges
- Visual consistency is more important than micro-detail
Smart tip:
Use AI for the entire catalog. Manually refine only hero images.
2. Content marketing and blogs
For blog banners, thumbnails, and illustrations:
- Images are viewed at smaller sizes
- Minor imperfections are rarely noticed
- Deadlines are usually tight
AI background removal helps teams publish faster.
3. Social media visuals
For posts, ads, and stories:
- Speed matters more than pixel-level accuracy
- Images are consumed quickly
- Consistency matters more than perfection
AI results are usually sufficient.
4. Early-stage design and mockups
Designers often use AI background removal to:
- Test layouts
- Preview compositions
- Share ideas quickly
Manual refinement can follow later if needed.
Where an All-in-One Background Remover Falls Short
1. Complex edges and fine details
AI struggles with:
- Hair and fur
- Thin outlines
- Textured or busy backgrounds
Edges may appear soft on close inspection.
2. Transparent and reflective objects
Objects like:
- Glass
- Bottles
- Sunglasses
- Plastic packaging
are difficult for AI to interpret correctly.
3. Print-ready and brand-critical assets
For:
- Large prints
- Packaging
- High-end marketing visuals
Manual background removal offers better control and reliability.
AI vs Manual: Choosing the Right Approach
| Project Need | AI Background Remover | Manual Editing |
|---|---|---|
| Speed | Excellent | Slow |
| Volume | High | Low |
| Edge precision | Medium | Very high |
| Skill required | Low | High |
| Print quality | Limited | Reliable |
Rule of thumb:
Use AI to move fast. Use manual editing to finish strong.
Smart Hybrid Workflow for Real Projects
Most professionals combine both approaches.
A practical workflow
- Remove the background using an all-in-one background remover
- Zoom in and inspect edges
- Identify problem areas (hair, glass, shadows)
- Refine manually only where needed
- Export in PNG for transparency
This saves time without sacrificing quality.
Common Mistakes to Avoid
- Using AI-only results for print projects
- Skipping edge checks
- Exporting JPG instead of PNG
- Expecting AI to fix low-quality images
- Ignoring lighting and contrast issues
Real-World Examples
Online store refresh
AI handled most product images. Manual editing was applied only to homepage visuals.
Marketing campaigns
AI was used for fast social creatives. Manual work focused on ads and landing pages.
Design agency workflow
AI sped up drafts. Manual refinement ensured final quality.
Conclusion
An all-in-one background remover is a practical tool when used intentionally. It shines in real projects that demand speed, volume, and consistency, but it does not replace careful manual work for complex or high-stakes visuals.
The smartest results come from knowing when to rely on AI and when to step in manually.
If this article helped, feel free to share it, leave a comment, or explore related guides on image optimisation and visual workflows.
If you’re comparing how AI background removal performs in real projects, tools like FreePixel can be useful reference points to explore different workflows.
FAQ: All-in-One Background Remover
When is an all-in-one background remover the right choice?
When speed, scale, and simplicity matter more than perfect edges.
Is AI background removal good enough for professional work?
Yes for digital projects. Print and premium visuals still benefit from manual refinement.
Can beginners rely on AI tools?
Yes. These tools are beginner-friendly and reduce the learning curve.
Which export format works best?
PNG offers the best balance of transparency and quality.


Sign in to leave a comment.