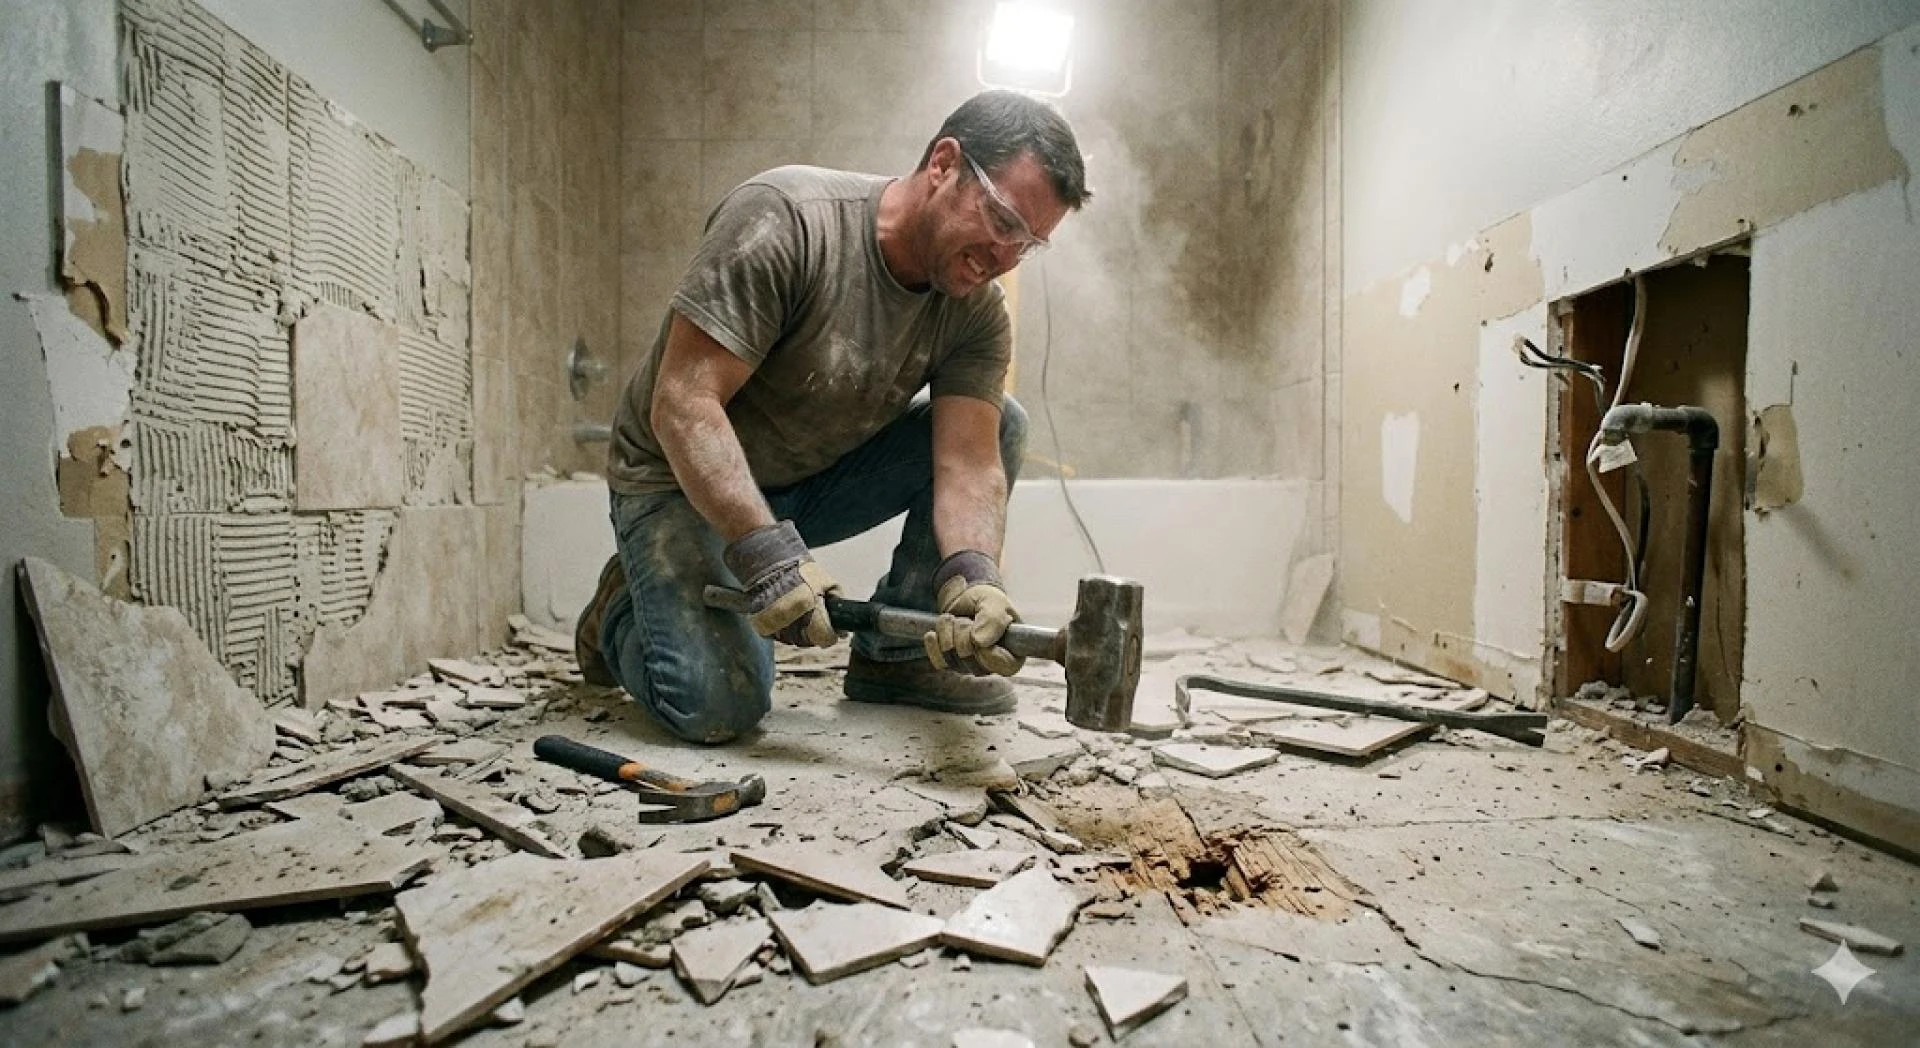
Tile removal might look simple—just grab a hammer, start smashing, and call it a day, right? Not quite. What many homeowners don’t realize is that tile removal is one of the easiest ways to accidentally waste time, money, and energy if done incorrectly.
From damaged subfloors to skyrocketing repair costs, a few common mistakes can turn a straightforward project into a full-blown renovation disaster. The good news? You can avoid all of them.
In this guide, we’ll break down the 10 most expensive tile removal mistakes—and show you exactly how to avoid them like a pro.
Why Tile Removal Mistakes Are So Costly
Before diving into the list, it’s important to understand why these mistakes matter.
Tile isn’t just sitting on the surface—it’s bonded to layers beneath, including adhesive, underlayment, and sometimes even structural components. One wrong move can damage everything underneath.
Bottom line: A small mistake during removal can lead to major repair costs later.
Mistake #1: Skipping Proper Preparation
This is the most common—and costly—mistake.
What Goes Wrong
- Dust spreads throughout your home
- Furniture and fixtures get damaged
- You lose valuable time cleaning up
How to Avoid It
- Remove all items from the area
- Seal doorways with plastic sheets
- Cover vents and nearby surfaces
Pro Tip: Spending 30 minutes on prep can save hours of cleanup.
Mistake #2: Using the Wrong Tools
Not all tools are created equal—and using the wrong ones can slow you down or cause damage.
Common Tool Mistakes
- Using a regular screwdriver instead of a chisel
- Skipping a pry bar
- Avoiding power tools for large areas
Smart Solution
Invest in or rent:
- A masonry chisel
- A sturdy hammer
- A floor scraper
Money Insight: The right tool pays for itself in saved time and effort.
Mistake #3: Starting in the Middle
It might feel natural to start wherever you’re standing—but that’s a big mistake.
Why It’s a Problem
Tiles in the middle are tightly secured and harder to remove.
Better Approach
Start at:
- Edges
- Corners
- Loose or cracked tiles
Pro Secret: The first tile is the hardest—choose your starting point wisely.
Mistake #4: Using Too Much Force
Tile removal is not about brute strength.
What Happens
- Subfloor damage
- Broken tools
- Increased fatigue
What to Do Instead
- Use controlled, precise strikes
- Keep your chisel at a low angle
- Let the tool do the work
Golden Rule: Technique beats force every time.
Mistake #5: Ignoring Dust Control
Tile removal creates a surprising amount of dust—and ignoring it can cause serious problems.
Risks
- Breathing issues
- Dust is spreading through your home
- Longer cleanup time
Simple Fixes
- Use a dust mask or respirator
- Lightly mist surfaces with water
- Vacuum frequently
Pro Tip: Dust control isn’t optional—it’s essential.
Mistake #6: Not Scoring the Grout Lines
This small step makes a huge difference.
Why It Matters
Grout holds tiles together. Without scoring it, tiles resist removal and break unevenly.
How to Fix It
- Use a utility knife or grout saw
- Cut along grout lines before removing tiles
Insider Trick: This reduces resistance and protects surrounding tiles.
Mistake #7: Overlooking Subfloor Damage
Many people focus only on the tiles and forget what’s underneath.
What Can Go Wrong
- Hidden water damage
- Rot or mold
- Uneven surfaces
Smart Move
Inspect the subfloor after removing tiles and repair any issues immediately.
Pro Insight: Fixing problems early prevents expensive surprises later.
Mistake #8: Rushing the Adhesive Removal
Removing tile is only half the job—adhesive removal is where many people cut corners.
Why This Is a Problem
- New flooring won’t sit properly
- Uneven surfaces lead to future damage
Best Approach
- Use a floor scraper for thin layers
- Grind down thick mortar
- Take your time
Reality Check: A smooth surface is critical for a professional finish.
Mistake #9: Poor Debris Management
Tile removal creates a lot of waste—and poor handling can slow your project down.
Common Issues
- Piles of debris in your workspace
- Increased risk of injury
- Difficult cleanup
Better Strategy
- Clean as you go
- Use heavy-duty bags
- Break tiles into manageable pieces
Efficiency Tip: A clean workspace keeps you moving faster.
Mistake #10: Ignoring Safety Precautions
This is the most dangerous mistake of all.
What’s at Risk
- Cuts from sharp tile edges
- Eye injuries from flying debris
- Breathing in harmful dust
Stay Protected
- Wear gloves and goggles
- Use a dust mask
- Take regular breaks
Pro Reminder: No project is worth risking your health.
Bonus Mistake: Underestimating the Time Required
Many DIYers assume tile removal is a quick job—it’s not.
What Happens
- Projects drag on for days
- Fatigue leads to mistakes
- Costs increase
How to Plan Better
- Break the project into sections
- Set realistic timelines
- Allow extra time for adhesive removal
Truth: Good planning saves more time than rushing ever will.
How to Remove Tile the Right Way (Quick Recap)
To avoid all these costly mistakes, follow this simple formula:
- Prepare the space properly
- Use the right tools
- Start at edges or weak points
- Focus on technique, not force
- Control dust and clean as you go
- Take your time with adhesive removal
Stick to this process, and you’ll save both time and money.
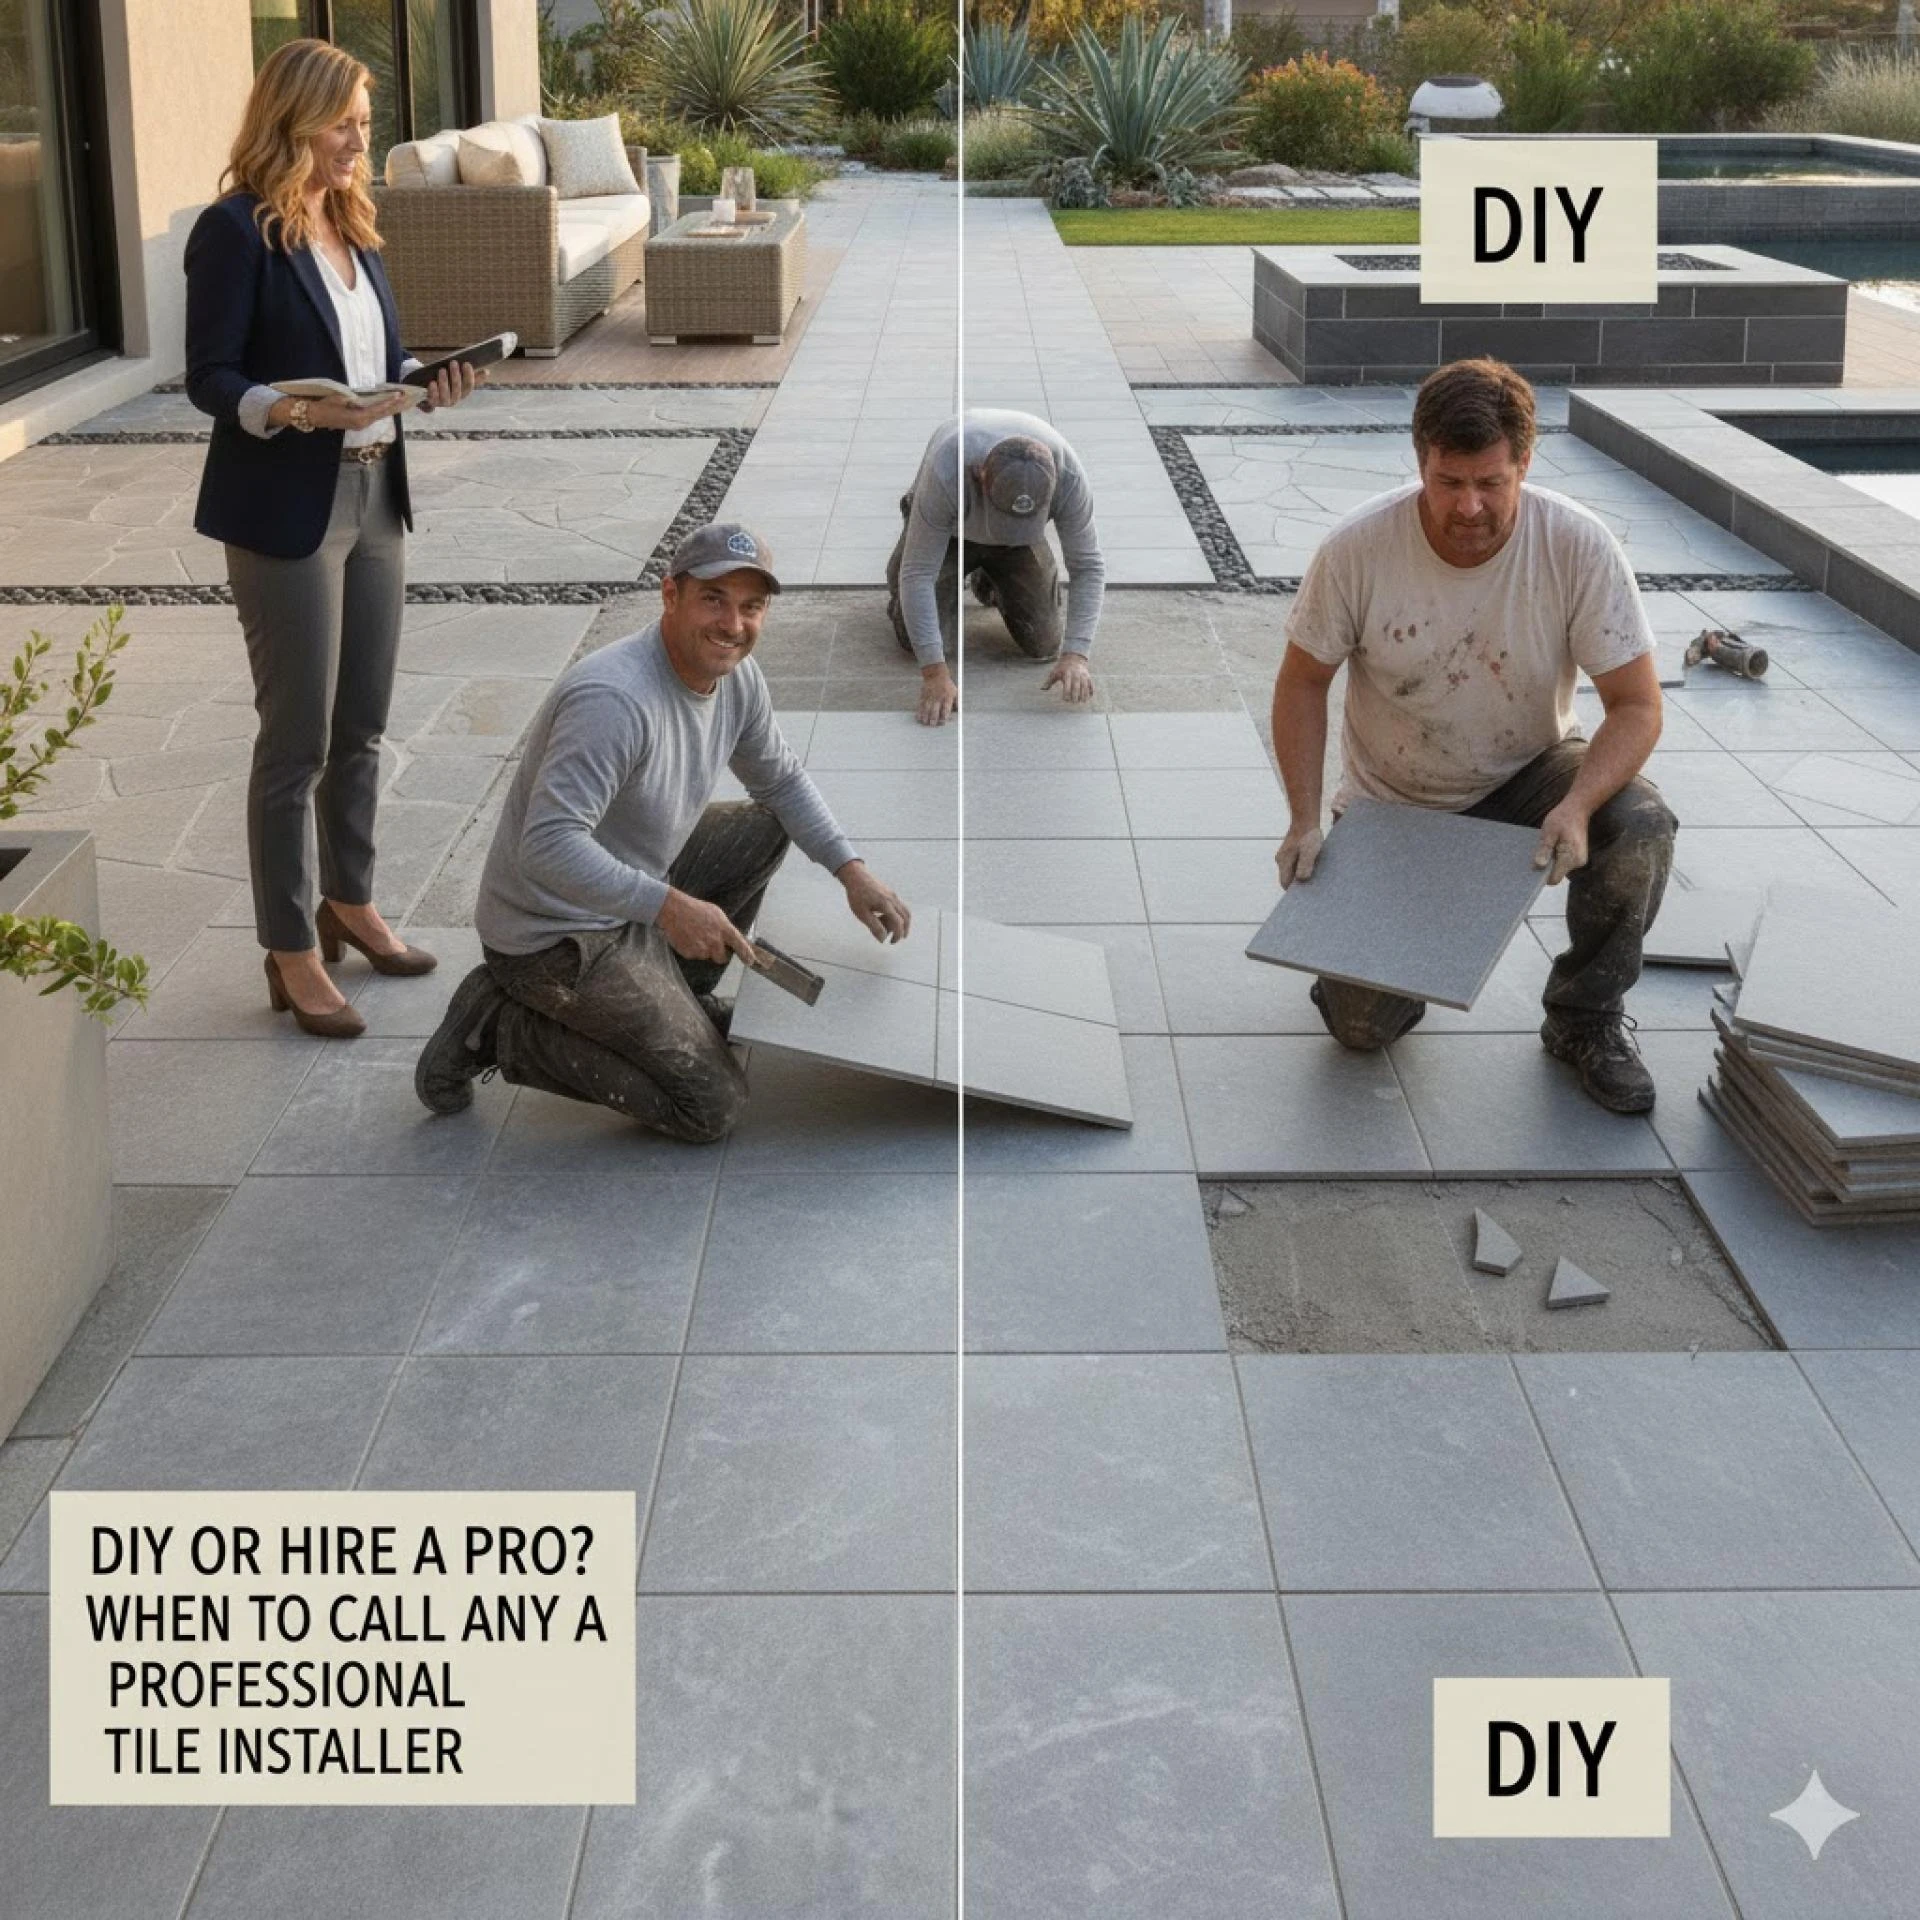
When It’s Worth Calling a Professional
Even with the best preparation, some jobs are better left to experts.
Call a Pro If:
- You suspect asbestos
- The subfloor is severely damaged
- The area is large or complex
Rule of Thumb: If the risks outweigh the savings, bring in help.
Conclusion: Avoid These Mistakes and Save Big
Tile removal doesn’t have to be a costly headache—but it can quickly become one if you make the wrong moves. By avoiding these 10 common mistakes, you’ll protect your home, your budget, and your time. For expert guidance, check out Salem Tile Setters to make sure you get it right.
The key takeaway? Preparation, patience, and proper technique are everything. Skip them, and you’ll pay the price. Follow them, and you’ll complete your project efficiently, safely, and with professional-level results.
So before you grab that hammer, take a step back, plan smart, and remove tile the right way—the first time.


Sign in to leave a comment.